


Today is the Sew Much Fun Blog Hop & let me tell you–it’s been amazing! 10 amazing bloggers are sharing free quilt blocks with you! I hope you caught Jen’s free block over at Patterns By Jen and our other great bloggers, you’ll be glad you did.
Today I’ve got a simple and wonderful little 12″ quilt block for you—you’re going to be seeing more of it in a few weeks when my newest quilt pattern releases—you’re going to love it when you see it all together!
Update: The full pattern is now available in my shop! This is a great tutorial to go along with the pattern but is not the entire pattern! You can purchase the full pattern by clicking here.
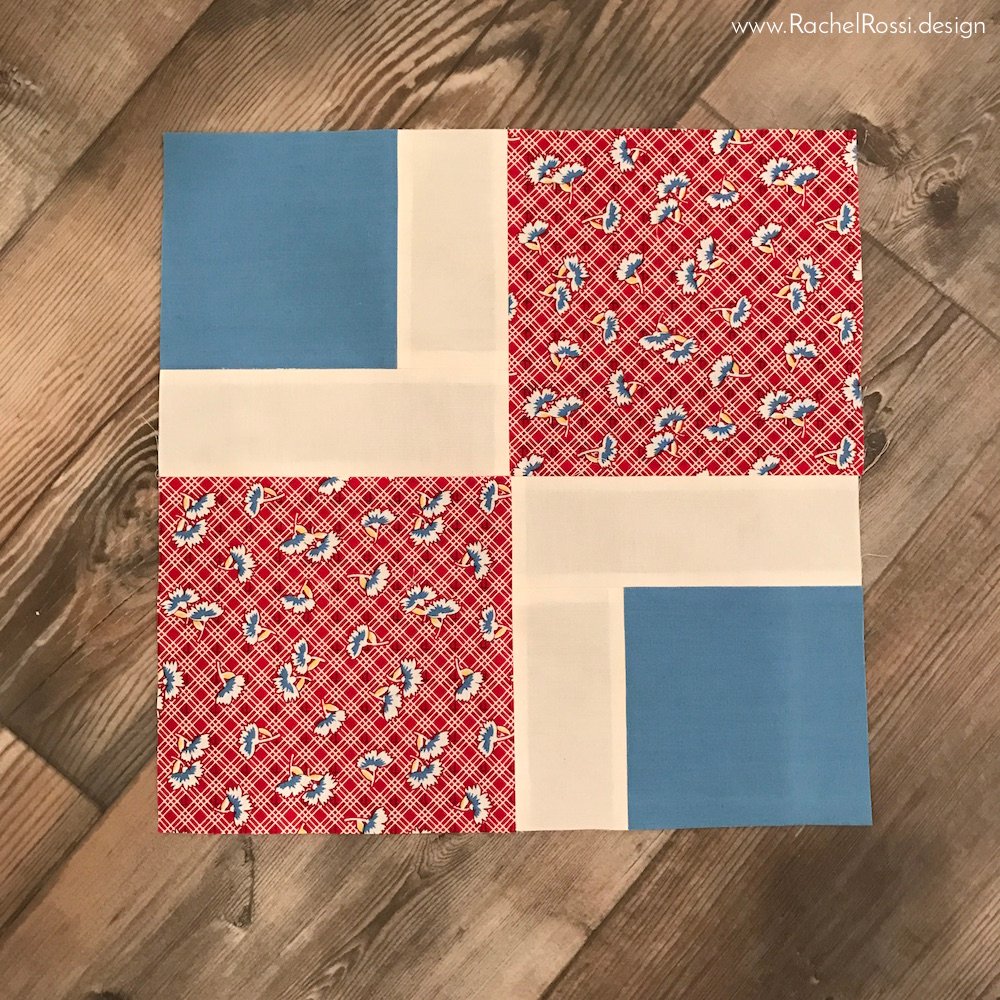
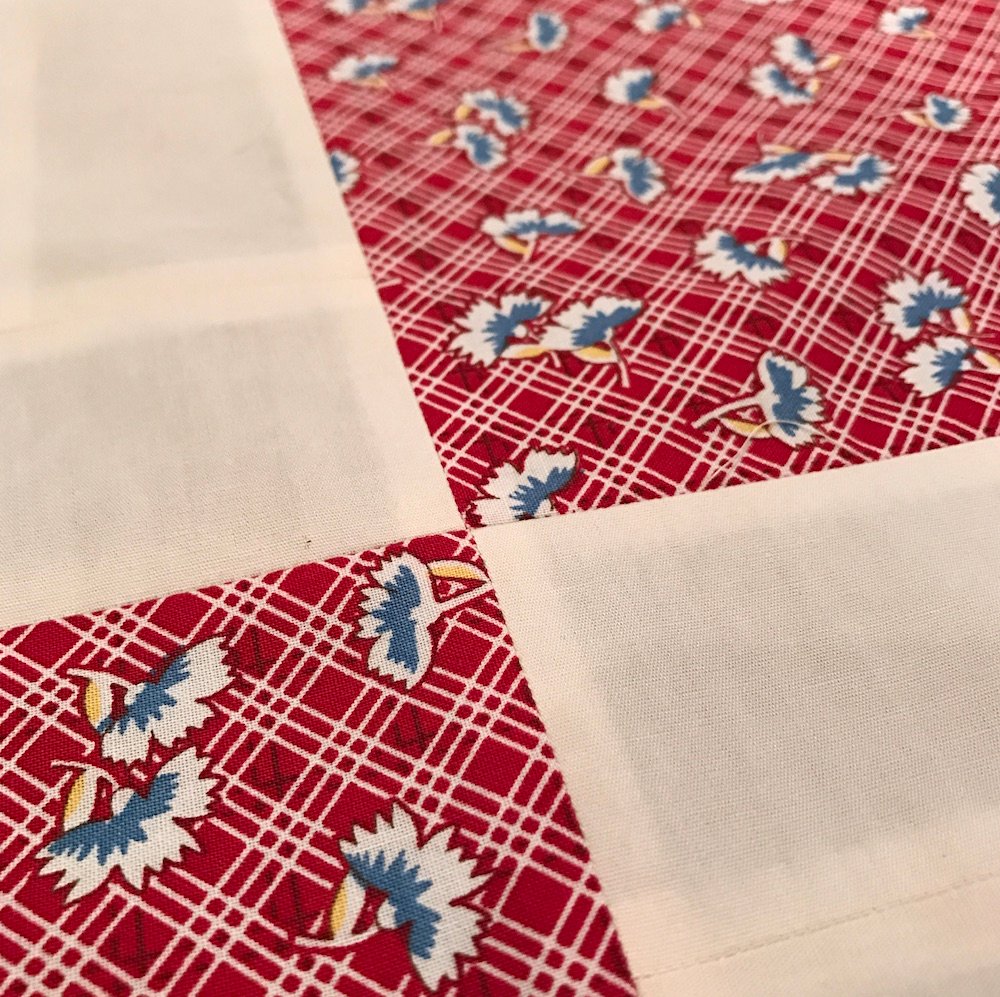
I thought I’d go with some fun reproduction fabrics. This block lends itself well to the sweet and vintage patterns of these 20’s and 30’s reproductions. I feel a sweet vintage-feel baby quilt coming on after working on this block! I forgot how much I love these adorable prints.
Here’s my initial rendering of what I designed this quilt to look like:

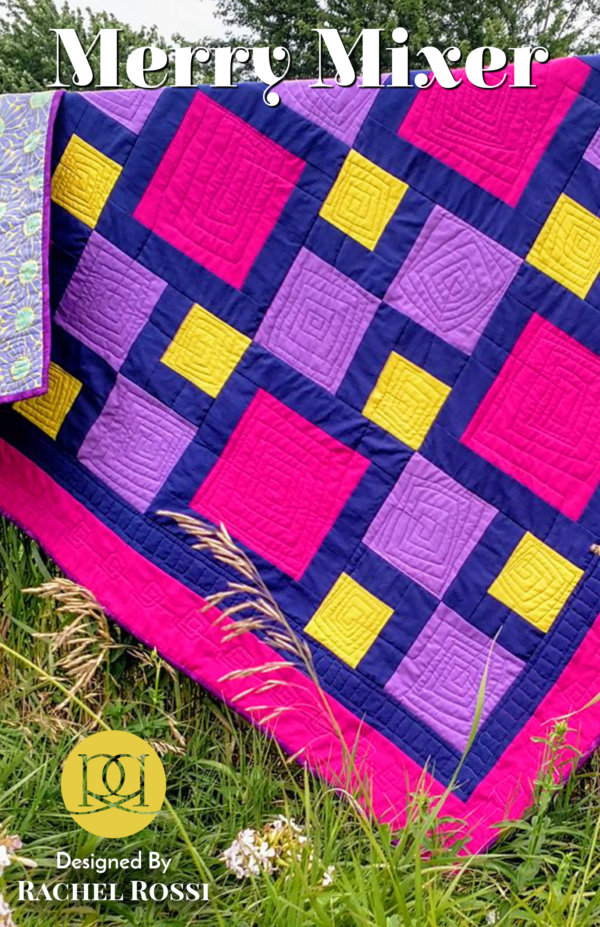
And here it is in real fabric! I just love how different this quilt can look, depending on the fabrics you choose!
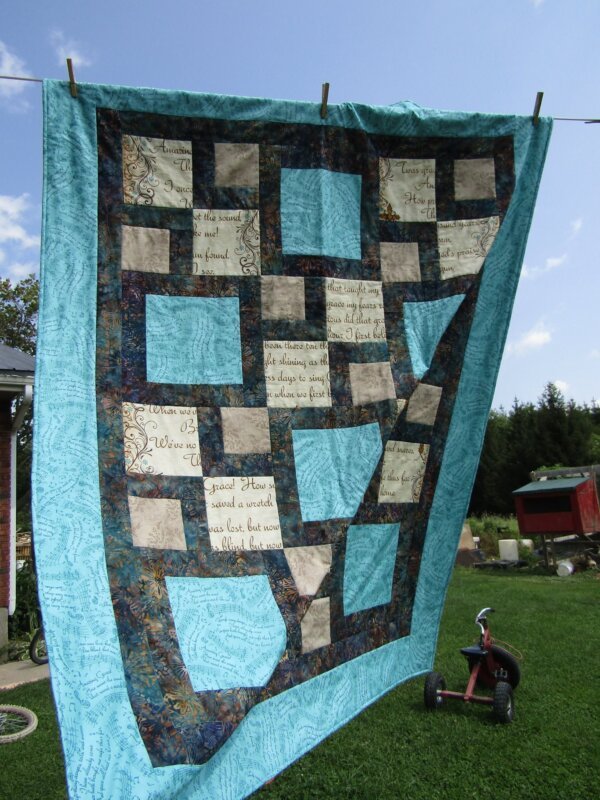
This blue version, by Sonya, is just so lovely fluttering in the wind!
The block itself is a twist on the original Patience Corners quilt block. I’m excited to show you how I’ve incorporated it into my super simple free pattern when it releases! For now, let’s get started with this block, shall we?
Cutting
The instructions below will actually make two quilt blocks (you’ll see why once you start sewing!):

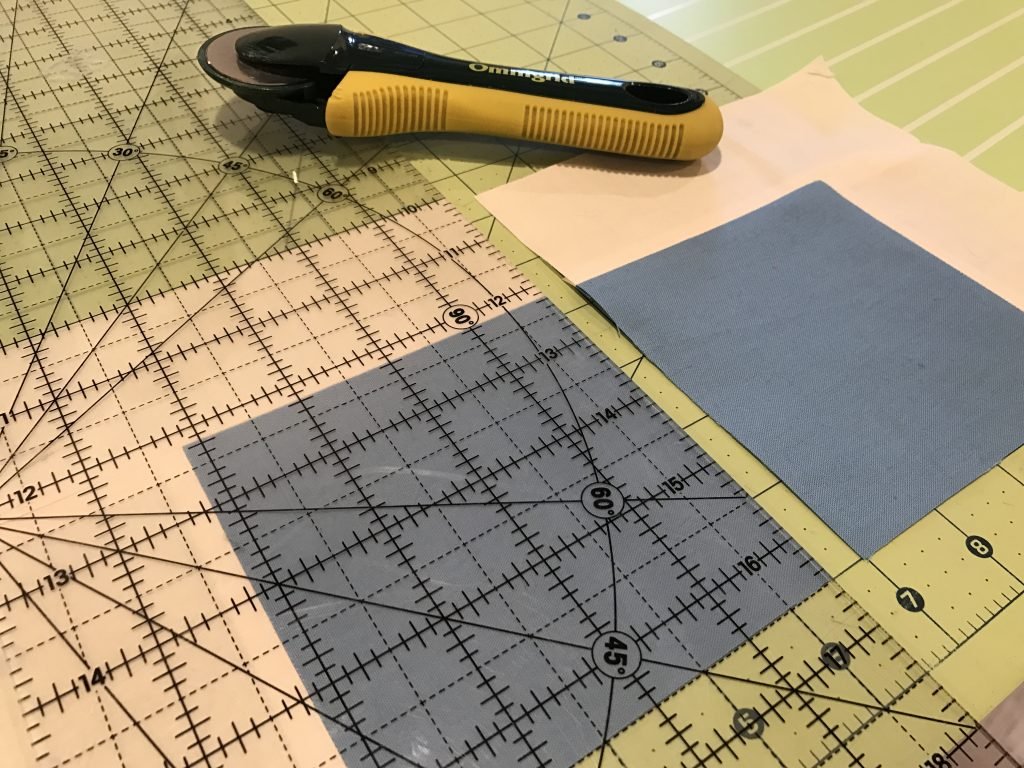
- From the red print fabric, cut (4) 6-1/2″ squares
- From the blue solid fabric, cut (1) 9″ x 9″ square
- From the white background fabric:
- Cut (4) 2-1/2″ x 9″ rectangles
- Cut (4) 2-1/2″ x 13″ rectangles
Sewing
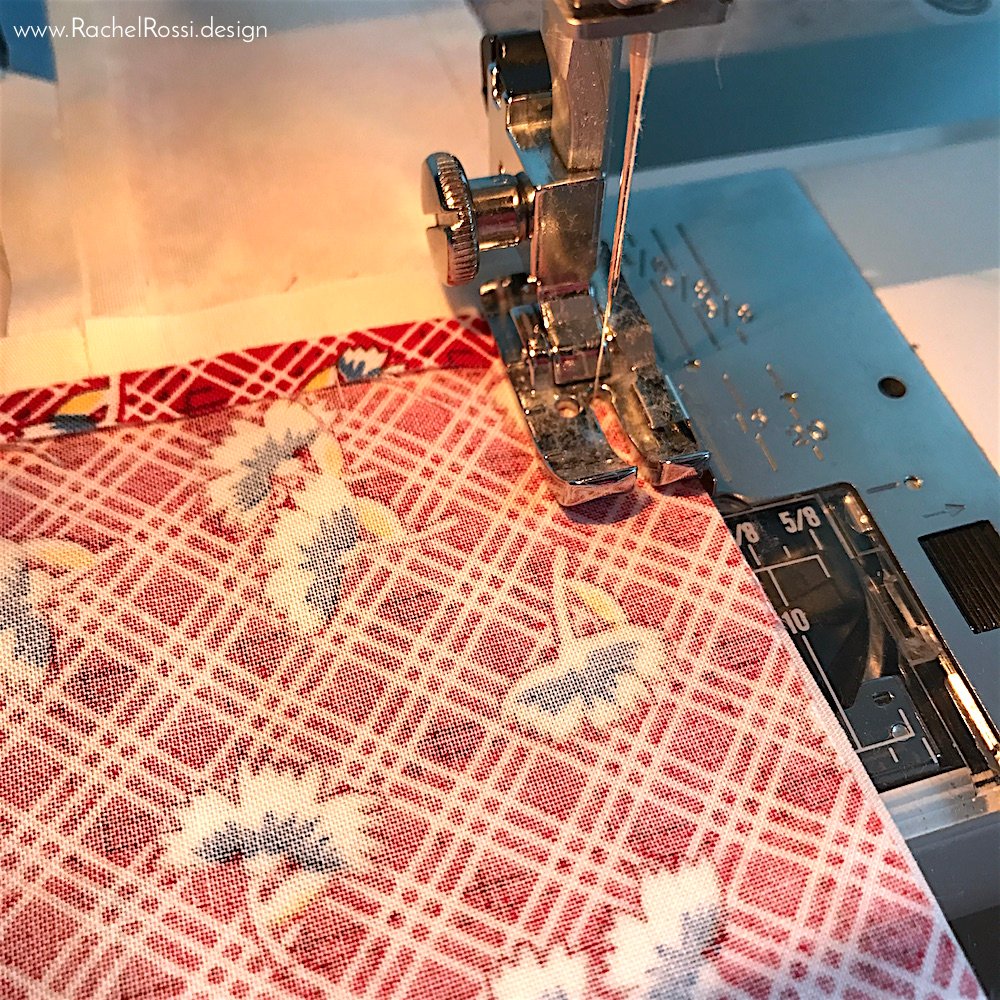
(A) First, using your Blue Solid Square and (1) 9″ Background Piece, stitch together long sides. Press seams open (read more about why I like to press seams open, here!). Repeat on opposing side.

(B) Sew (1) 13″ Background Piece to the long edge of the set from step A. Press seams open. Repeat on opposing side.
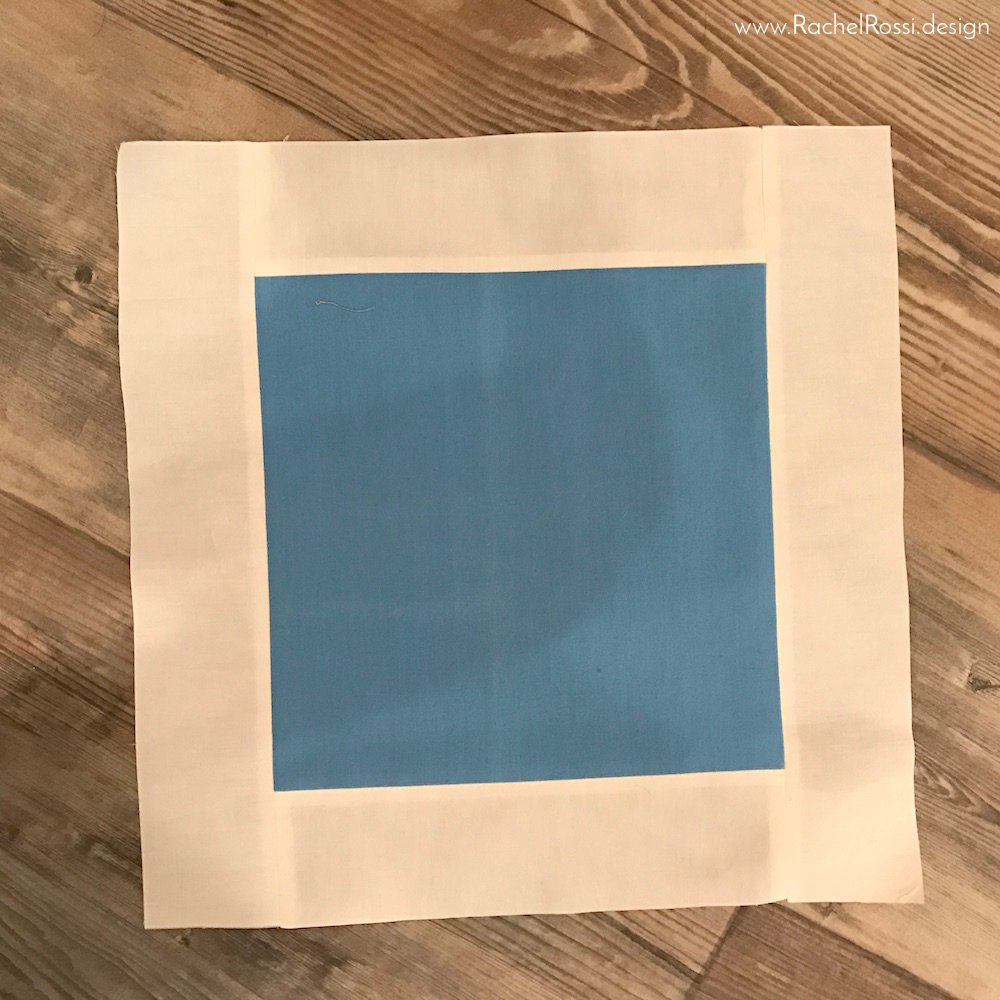
(C) Square up your edges so that everything is nice and straight.
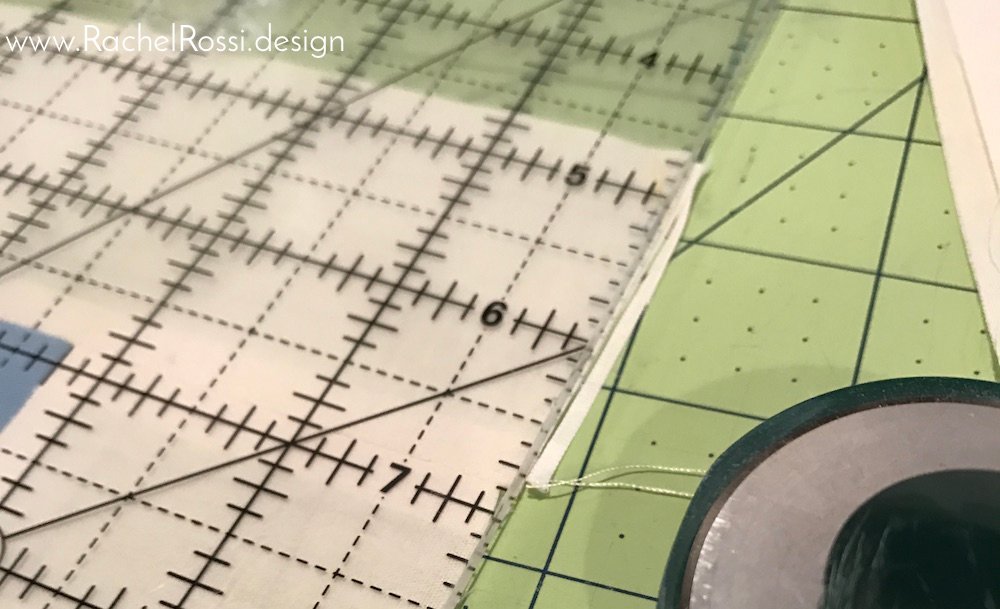
(D) Place your block on a cutting mat. Measure in 6-1/2″ from the edge (make sure that this is center) and cut the block in half.

(E) Set one half aside for now, turn the half-block and cut in half again at 6-1/2″
(F) Set aside, and repeat Step E on the remaining half-block.
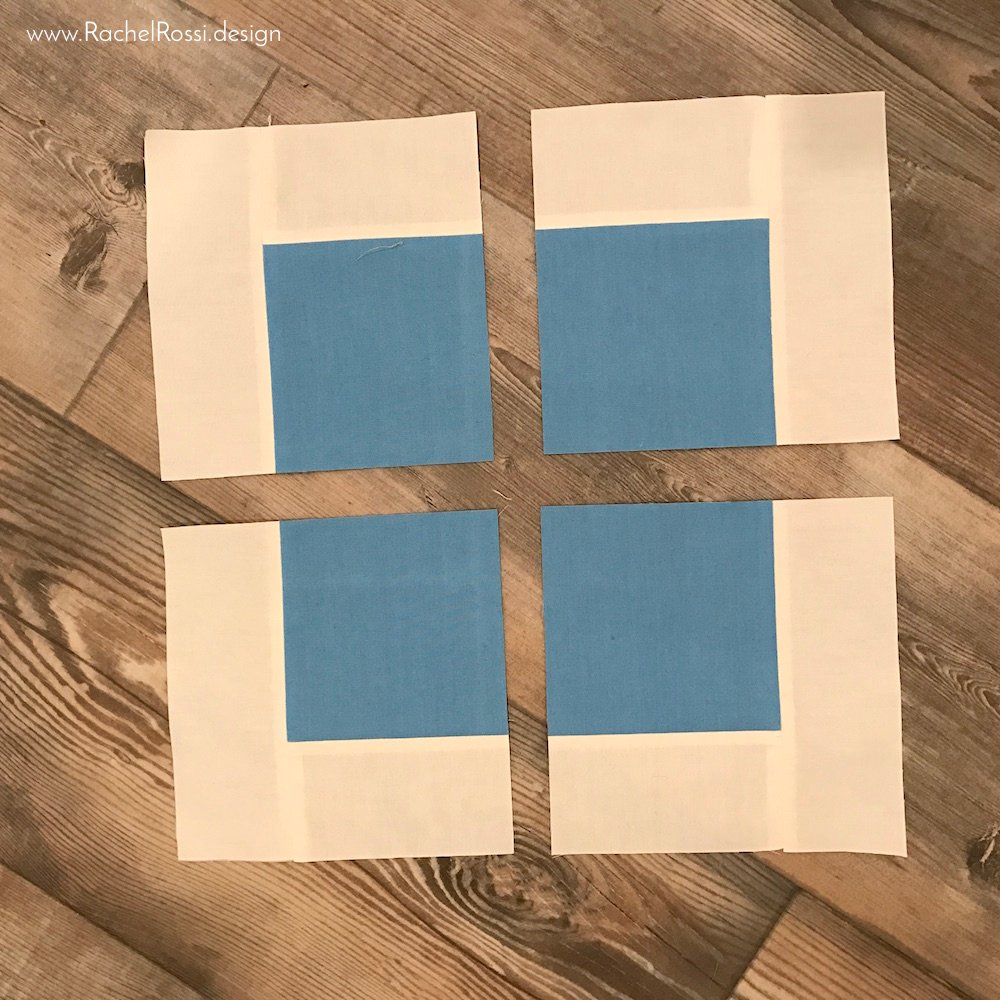
(G) Lay out your block as shown below and sew one quarter block to a red block.

(H) Repeat step G on the remaining set.
(I) Sew all four blocks together along the long edge to finish your block!
That’s all there is to it! Lather, rinse, and repeat to make your second block.
This block has endless possibilities! I think it would make an adorable reproduction quilt or pillow. If you’d like to make the whole quilt, I’d definitely suggest getting a copy of my Merry Mixer pattern! The instructions make this block even more efficient (yeah—it’s possible!) and you’ll see how to do the second blocks and borders. I promise you’ll be pulling this pattern out time and time again! Make sure to get your copy today!
Pattern Now Available in my Shop
Click here to get your copy
Enjoy reading this post? To make sure you don’t miss a thing, follow me on Pinterest, Facebook, and Instagram and sign up for an email subscription to my blog.
If you’d like to join into the next blog hop, be sure to visit Sew Much Fun’s Blog Hop Page!
Hello Rachel, I like the print fabric in your block and admire your wonderfully clear close-up photos. Amanda
Oh, thank you Amanda! 🙂 I used to love those reproduction fabrics—I’ve been working from my fabric stash and fell in love all over again!
This would make a great 4th of July quilt with those colors. Love the simplicity.
Oh- how cute! Now I’ve got a real quick deadline! Thanks a lot! 😉
Cute block! I love that you can make two at a time. Speedy sewing projects are a plus!
Absolutely, Leanne! I don’t like to let projects sit too long!
This is a really cool block! thanks!
Thanks Betty! A new spin on an old block keeps things fresh and simple!
This *is* a fun twist on an old design – really appreciate how fresh yours is. Thanks for joining in!
Thanks so much Jen! I was thrilled to be a part of the hop! 🙂
Great block(s) and amazing layout. I need to make a baby quilt… this looks fast and fun. Thanks.
Thanks so much Melva! Keep an eye out for the full pattern soon!