


Today I come to you with a great little project that will have your bathroom looking 10 years younger is no time flat! It’s time to tackle that nasty caulk around you tub, people. It’s actually not as hard as you think and I’m going to share 1 trick with you that will make all the difference!
My bathroom hasn’t changed in half of a century, and though we hope to tackle that in the near future next 5 years we’re doing what we can with it for now. There was some seriously nasty caulk all around the bath tub that I just couldn’t handle for any longer, and re-caulking turned out to be a much easier project than I expected. It made a huge difference in the dinge-factor of the space!
Out With the Old
First things first: Get rid of that nasty, moldy, falling out caulk. You can do this by gently tugging on it (if it’s loose), or loosening it up with a utility knife. I just used the blade of the utility knife because the handle was getting in the way. (Please be very careful- history has taught me just how sharp these things are!)
Clean it Up
Now go through and bleach, Tilex- do whatever you need to do to get the cracks all clean and moisture-free. Make sure you let everything dry out before you start the next step.
In With the New
Now that those nasty little cracks are sparkling clean, it’s time to caulk
them up! If you’re working with a new bottle of caulk, try to cut the tip on a 45(ish) degree angle, it makes things a lot easier to work with.
Run a small bead of caulk
along the crack.

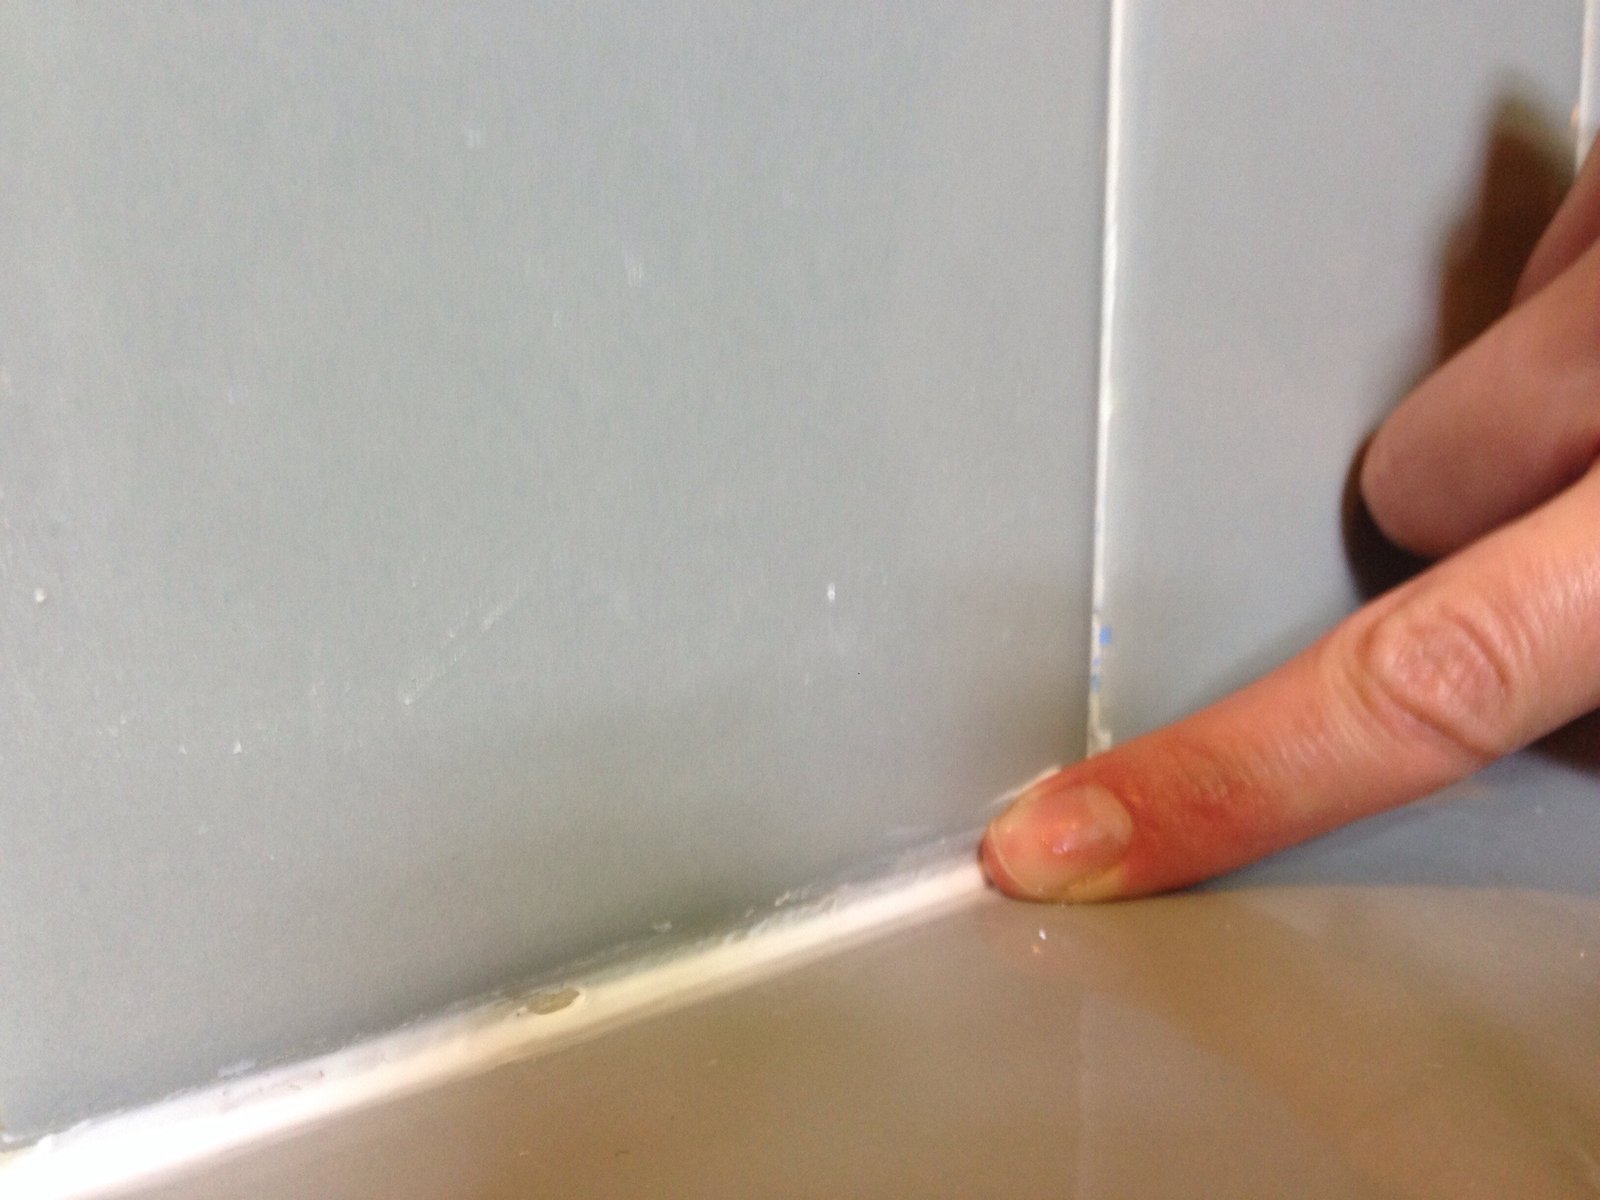
Dip your finger in a little bit of rubbing alcohol and drag along the bead of caulk that you just made.
That’s it! Let the caulking dry for about 3 hours before getting water/moisture on it. Some drying times may vary, so read it before installing!
Tips
I know that those 4 sentences made everything look super simple…right? I actually had a hard time getting everything to work the first time for me, but after a few trial and errors, I got it down, so don’t be discouraged if it isn’t looking perfect at the first try. Here’s some tips if things don’t go as planned:
The Caulking Smoooshed Up The Wall
This was my first problem. There was a line from where the extra caulk on my fingers got on the wall above the crack. To get it off without ruining your caulk, take your razor blade and just “push” the caulk back towards the crack, it should soak right into the rest. After that, just wipe the edge with a corner of a rag (a little rubbing alcohol on the rag helps too).
Bubbles
As you can see in a few of my pictures, there were some bubbles that decided to ruin my perfect caulking! Go ahead and pop them and try to run your alcohol-dipped finger across the offending bubble. If it doesn’t fill in, just add a little dab of caulk to the area and rub again.
Be sure to leave a comment below if you have your own caulking tips or questions!