


Self-watering might sound a little bit robotic, so maybe I should title this post DIY Sub-irrigation Pots and Planters, but that doesn’t sound nearly as fun! But, let’s be clear, this home made system can be really really helpful when it comes to watering, but you’ll still need to water your plants once in a while.
So, what began this experiment? Let me explain: as part of our front yard un-landscaping project I’ve done my research on how to keep my window boxes lovely and lush all summer long. Even though I adore this simple front yard decor, I forget to water, which makes them not-so-lovely. The answer to my watering problems: sub-irrigation.
I know I promised this post a while back, but I wanted to make sure that these self-watering systems really held up to the hype. In my summer of experience, I can say that these help, but you’ll still need to water your plants at least once a week. Possibly every other or every few days, depending on your climate.
Note: Some links in this post may be affiliate links. This means that if you choose to click on and purchase through these links that I may receive a small commission. This is how I’m able to give you fantastic tutorials and patterns every week, free of charge. Thank you for your support!
Supplies Needed
Everyone knows that farms use irrigation to water their crops, but did you know that you can do the same in your window boxes and planters? All you need is:
- PVC pipe
- PVC end cap
- PVC elbow
- PVC primer
- 100% cotton rope (I’d suggest 1/2″ rope & it HAS to be 100% cotton or this won’t work! The easiest place to find this is on Amazon)
- Drill (The Black and Decker is my favorite!)
Building A Sub-Irrigation System
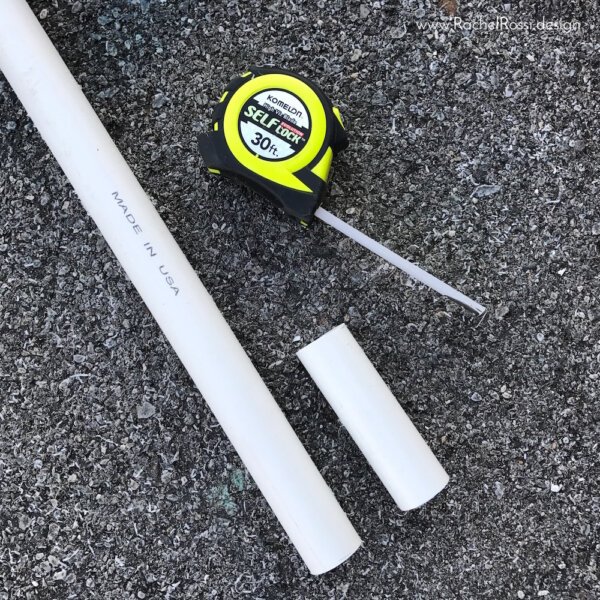
Start by measuring the length of you pot. Cut one piece of PVC pipe a few inches shorter than the length of your pot. Cut a second piece that is about 2″ taller than your pot. You’ll need to remember to leave room for the end cap and elbow that you’ll be adding later. (If you’re wondering how to cut PVC, I cut mine very carefully with my chop saw).
Using primer attach the end cap and elbow to your horizontal pipe.
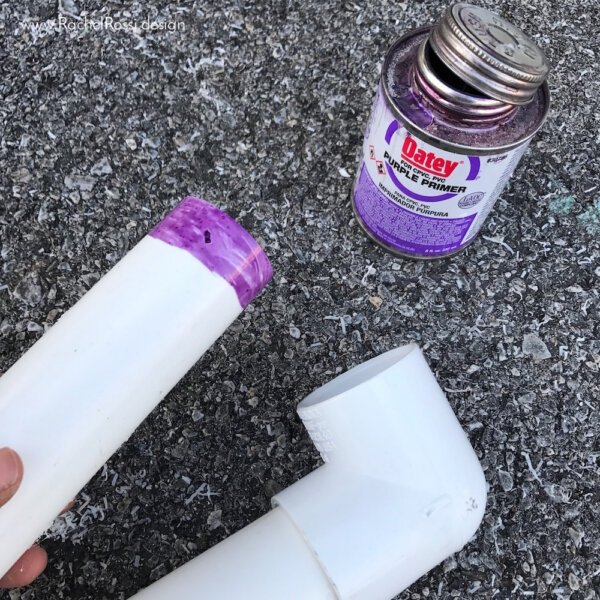
Add your vertical pipe to the elbow and double check your measurement, ensuring that everything fits inside of the pot and comes about 2″ above the rim of your pot.
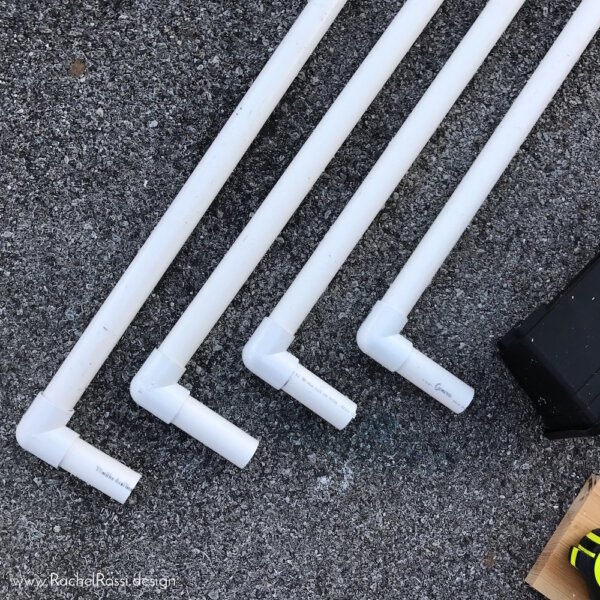
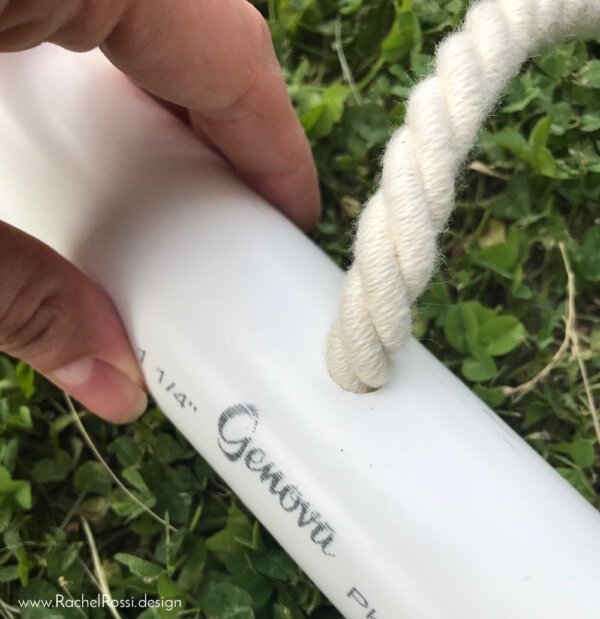
Using a drill bit that is a little bit smaller than your cotton rope, drill one hole for every 6 inches of length in the top of the horizontal pipe (so, if you think of it as an L shape, drill into the top of the lower part of your L). Carefully insert rope into each hole, about halfway. If your rope is thinner then the hole you drilled for, be sure to tie a knot and glue the knot to the outside of the pipe .If it’s a tight fit, then don’t worry about it and move onto the next step!
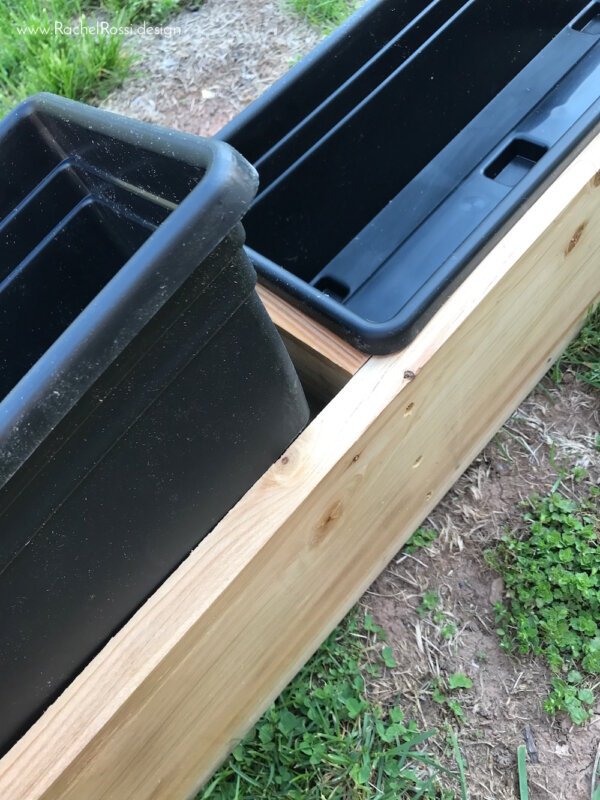
If your pot doesn’t already have holes for drainage add them now with your drill bit.
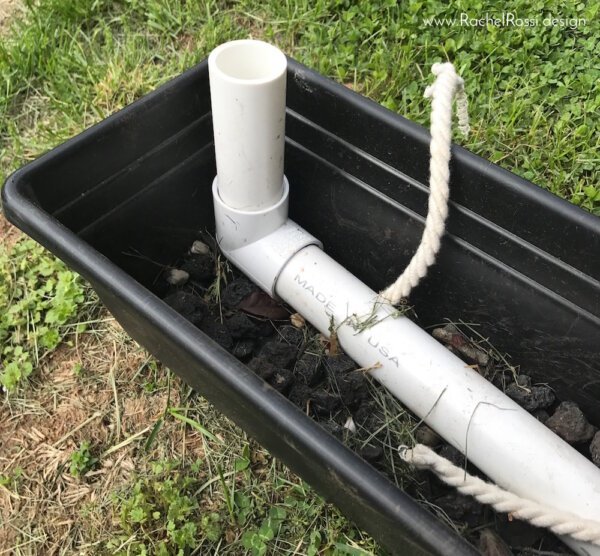
After glue has fully dried, place your pipe system into your pot/planter and hide the vertical pipe in the corner or center, depending on your plant placement. Add rocks to the bottom of the planter for drainage and to hold the pipe in place.
Add top soil and plant your flowers!
Now that your flowers are planted, go ahead and fill up your vertical pipe with water and watch the magic happen. As the roots of your plants dry out they will “sip” the water from the cotton wicks. I would suggest watering the entire pot initially and continuing to make sure that your pipe is full, until you get an idea of how thirsty your plants are & how quickly they drink all the water.
I’m sure the effectiveness of this system depends on your climate. For me, in central PA, it helps keep the edge off, especially when I forget to water most mornings. My flower boxes have managed to survive, and probably could be brilliantly thriving if I did a thorough watering once a week and filled these sub-irrigation systems once a week.
I’d love to hear how your adventure goes with this system! Make sure to leave comments and pictures below! Suggestions are always appreciated by other readers too!
Enjoy reading this post? To make sure you don’t miss a thing, follow me on Pinterest, Facebook, and Instagram and sign up for an email subscription to my blog.
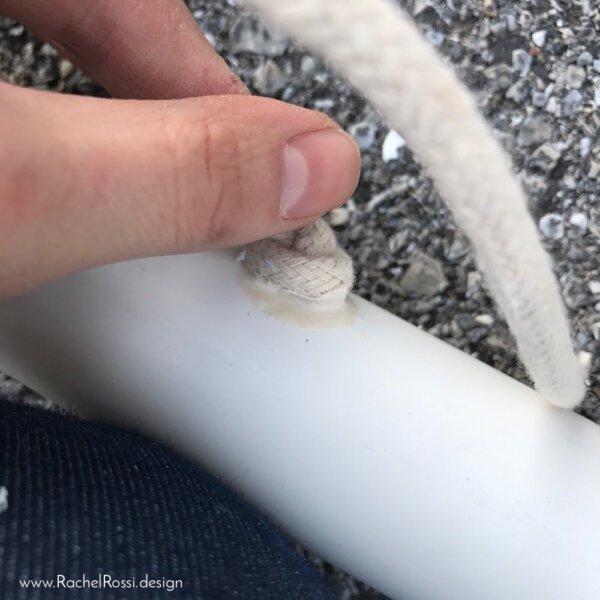
Thanks for this tutorial! I was wondering if you would be so kind as to give a bit more information on how you inserted the cotton rope through the ‘slightly smaller’ hole in the pvc pipe? Thanks
Great question, Rhegan! I got the ends wet and twisted them so that they could squeeze through. If that doesn’t work, wrapping a piece of tape around the end will help compress the fibers so that it fits through the hole.
Great tutorial! Do you have an idea as to how long the cotton rope will last in the box? Thanks!
It’s going on two years now and it’s still as good as new (a little dirty though)!
Could I do this in a 4×4 bed and have 4 of these off a split. And do you have these capped on the ends
Yes, you absolutely could! I do have the ends capped.
Happy gardening!
Thanks so much Rachel. These look simple and great. How much rope do you put inside the pipe? Looks like 4 to 6 inches on the outside. Correct?
That’s right! There are actually just knots on the inside. I thread a long piece in through the outside, tie a knot at the end, pull it back and then trim.