Last month’s embroidery project was a fun Super Bowl jersey (there’s still time to stitch it up, if you’re quick!), and this month is a special project that your family will love for years and years to come. This project started a long time ago when my sister mentioned that she wanted something for her living room wall but wasn’t sure what. After lots of ideas and drafts, we finally came up with the perfect design. Today I’m going to share it with you—I can’t wait to see your take on it!
Note: Some of the links below may be affiliate links, meaning that if you choose to click on and purchase through a link below, I will be compensated. This is how I can continue to give you great content and free designs every week! Thank you for your support.
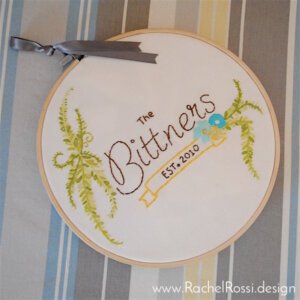
But first, some glamour shots!

How sweet and simple is this?! I love embroidery framed in an embroidery hoop. It just makes sense!

Are you itching to make your own version of this?! Me too! Here’s how:
What You’ll Need:
- 8″ Embroidery Hoop
- Tear-Away Fabric Stabilizer
- Embroidery Floss
- Embroidery Hand Needles
- Sheet of Felt
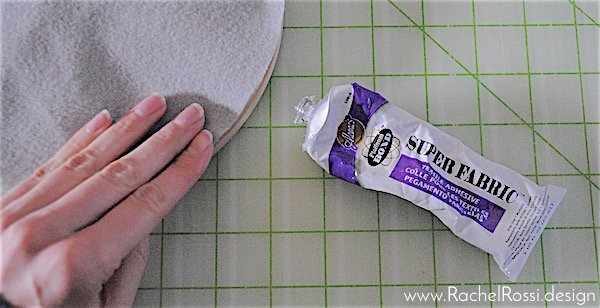
- Fabric Glue
- Stain
for the wooden hoop or fabric to wrap around the edges
- Erasable Fabric Marker
You can download the design here for free! I would suggest saving your file as a .jpg or .png and then adding it to a word processor (like Microsoft Word). After that, you can add your name and date. If you don’t play with the scale/size of this file at all, it will print for an 8″ embroidery hoop.
Embroider the Fern Design
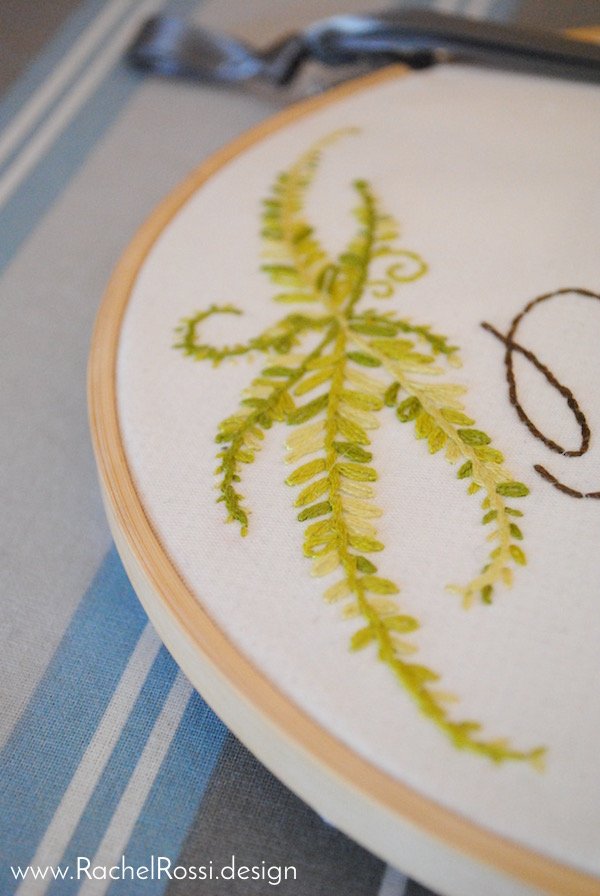
The first step is to embroider the design. I used a Stem Stitch on the banner and fern stems:

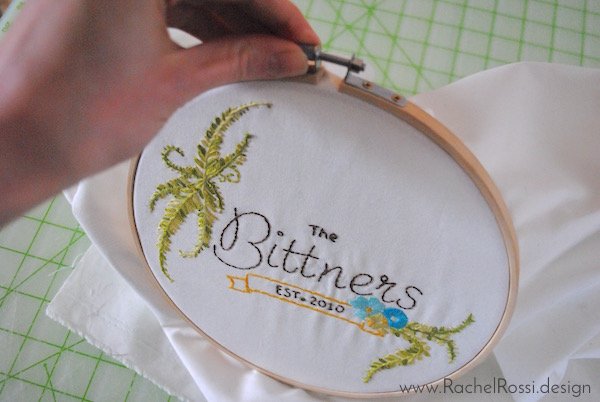
I used a simple Satin Stitch on the flowers and a Back Stitch for the lettering:

The fern leaves were made using a Lazy Daisy Stitch:

Frame With An Embroidery Hoop
The next part is so simple and exciting! First, trace the small wooden hoop onto the felt. Cut the felt out on the line you drew and set aside.

Iron and starch your design. Make sure everything is nice and flat.

Stain or wrap the outside of the hoop as desired. Make sure it’s dry and won’t get glue or stain on your fabric.
Place the embroidered design in the hoop. Center, tighten and fidget until it’s just the way you like it!
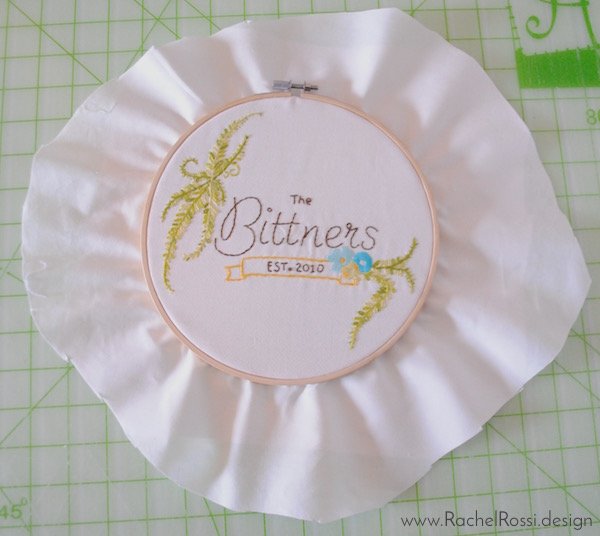
Trim the excess fabric on the back to be about 2″ all the way around. Tuck it to the inside of the hoop.
With small dabs of fabric glue, glue the felt onto the back of the embroidery hoop. Make sure to get all excess threads and fabric tucked in between the back of the hoop and the felt.
Tie a small ribbon to the metal workings on the hoop. This will give you something to hang the embroidery hoop on.
Show off your new family heirloom in the comments below! I’d love to see your take on this project, I might even feature it on next month’s Evening Exhale!
Enjoy reading this post? To make sure you don’t miss a thing, follow me on Pinterest, Facebook, and Instagram and sign up for an email subscription to my blog.
See this, and lots of other great posts on Made By You Mondays: