


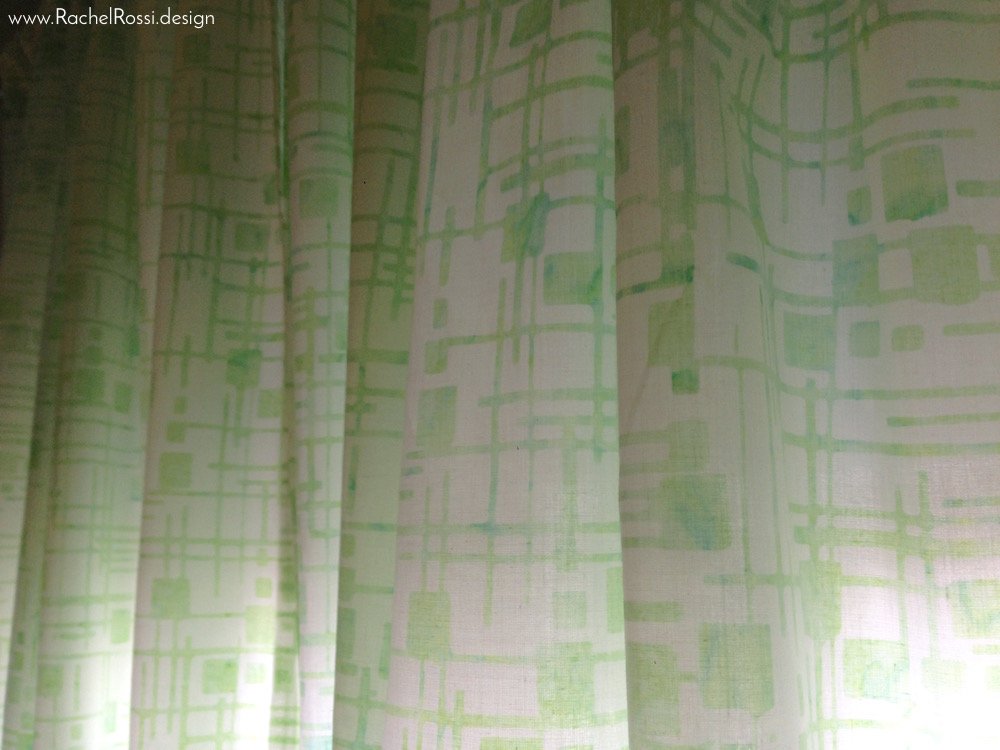
There’s a fun fabric store near me that I love to visit. If you happen upon it on a sunny day, you’ll see a tractor wagon full of fabric bolts–there’s every color and style you could imagine on there! Batiks, Civil War, Novelty, Floral—whatever you’re into. The deal on the wagon? You’ve got to buy the whole bolt & if you do, it’s usually around $2-$3 a yard. Well, on one sunny day, fate intervened, and on the wagon was the perfect fabric for my nursery: Mint and Baby Blue Batik, geometric, airy and whimsical…exactly what I had in mind. After doing the math, I realized that 15 yards of fabric at $2 a yard was a steal, especially because I needed to get 6 full-length (84 inch) curtain panels out of it. When all was said and done, I had just enough fabric left on the end of the bolt to make a matching tissue box cover (get the pattern here for free!).

This tutorial will show you step-by-step instructions (with measurements) on how to make your own 84 inch curtain panels with a rod pocket. In an average room, this would be the right length to go from the top of your window molding and float right above the floor. Make sure that you measure before getting started though! Once you’re done, you’ll have a panel that measures about 41″ wide x 84″ long.
What You’ll Need
- 45″ wide fabric: 2-1/2 yards for each panel (If you’re doing 2 panels on each window, you’ll need 5 yards per window)
- Matching Thread
- Sewing Machine
The next 3 items are optional, but the will make your life 1000x easier!
- Rotary Cutting Mat
- Rotary Cutter
- Clear Quilting Ruler (1 large for cutting and 1 small for pressing)
Cutting Out the Panels
To get started, you’ll want to get out your cutting tools listed above. We’ll start by cutting the length of each curtain to make this long length of fabric a little more manageable. If you need help managing this much fabric, or if your cutting board is much smaller than what you’re cutting, hop on over to my tutorial on how to cut large pieces of fabric straight…you’ll be glad you did! Unfold your fabric on your cutting mat so that it’s folded as if it was coming off of the bolt (so that you have 45″ of fabric folded in half in front of you, with the yardage off to your right [or left, depending on how you cut]). Cut your length to 89.” This should leave you with a piece of fabric that measures 45″ x 89.” Repeat this step for however many curtain panels you’ll need.

Cutting long pieces of fabric can be tricky, make sure to see my tips on this tutorial!
If you are using a Batik fabric, you can likely skip this step, as there isn’t a noticeable selvedge edge. If you have a selvedge edge, you need to fold your fabric lengthwise and carefully line up the edges. Once you’re sure that everything is nice and straight, cut off your selvedge edge(s).
Press, Press, Press
Most of curtain-making has to do with pressing. And I can promise you: if you take your time and press well, your curtains will come out beautifully! So make sure to take your time…it really makes all the difference!
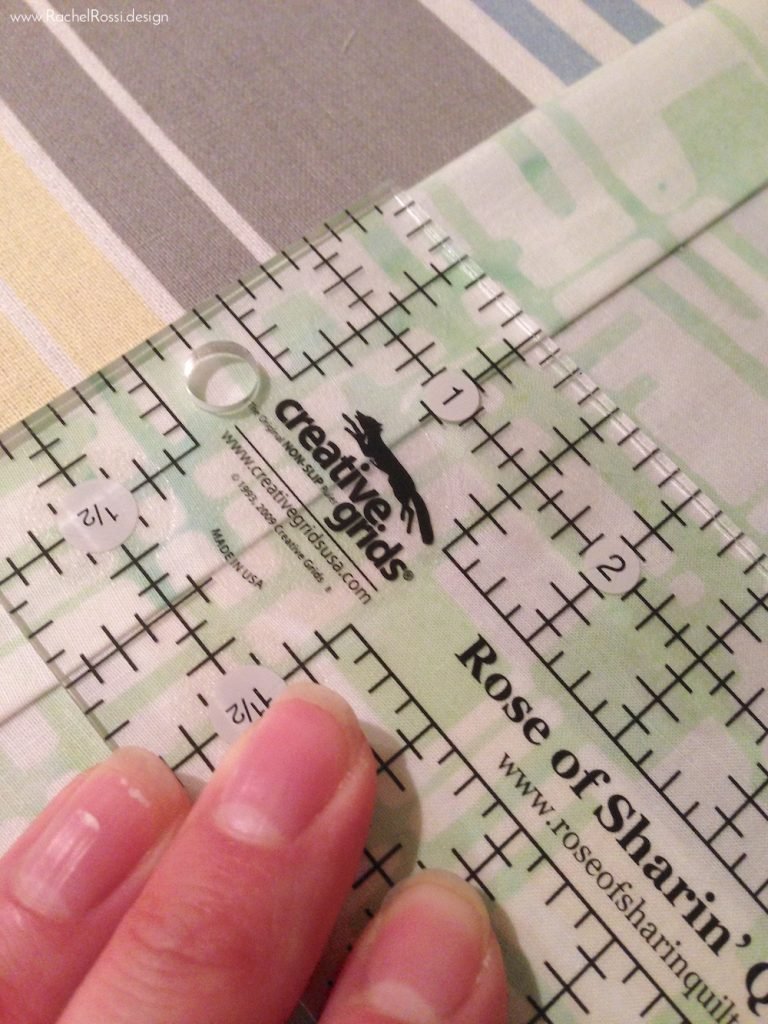
To start pressing, you’re going to fold over 1/2″ on both long sides of your curtain panel. Press both sides well.

Next, you’ll fold those same sides over again, only this time, you’ll measure out an inch. Press well.
Topstitching
Now it’s time to topstitch the sides of your curtain. This works best by making a mark on your sewing machine, or using a mark that already exists. You want the seam allowance to end up just shy of 1.” I like to lay out my fabric to exactly where I want the stitch and mark it with a piece of colored or masking tape. This will ensure that everything is nice and straight. Make sure to test your stitch before sewing the curtain–I like to use a large straight stitch for curtain topstitching.
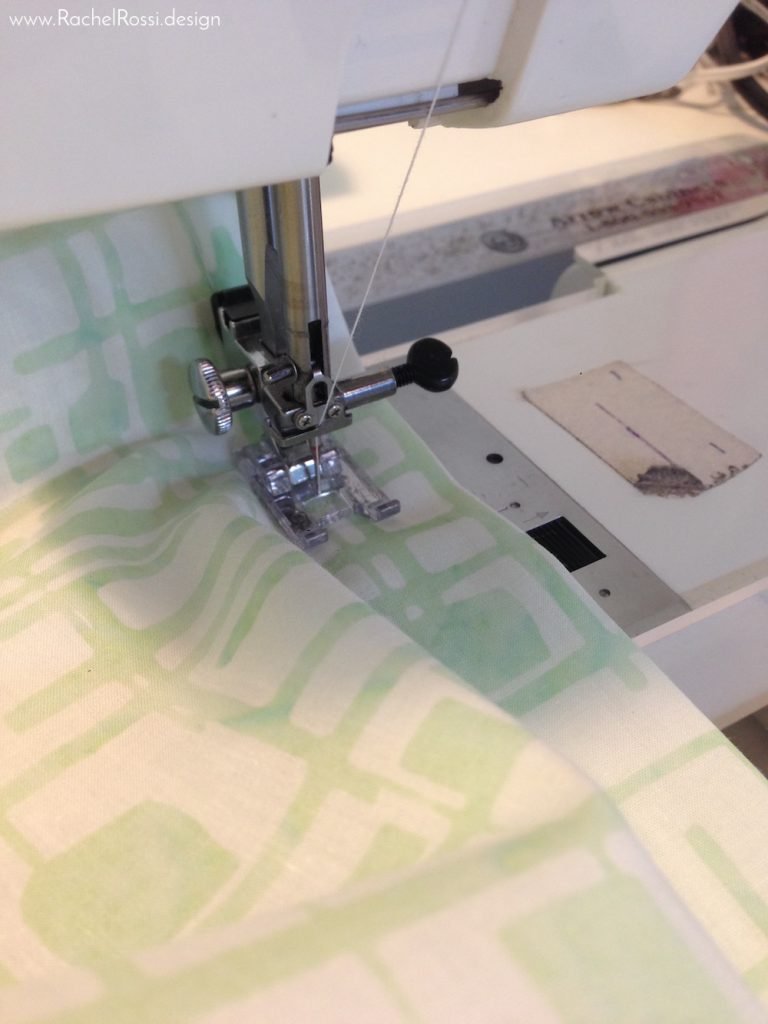
You can see my tried and true tape mark on the right side of this picture!
I like to press the sides one more time after stitching to make sure that they haven’t bubbled up or slipped out of place.
Back to the Ironing Board
After you’ve stitched both long sides of your curtain panel, it’s time to press the bottom.
Remember that time that you folded 1/2,” pressed, folded 1,” and pressed the sides? You’re going to repeat all of that on the bottom of your curtain panel. Do your best to keep things straight so that all the edges line up nicely!

Topstitch the bottom using the same mark that you did for the sides.
Making the Curtain Rod Pocket
The beautiful thing about curtains is that they are pretty simple and repetitive…So, one more time, fold over 1/2″ and press, just like you did on the sides and bottom. Instead of folding over 1,” like you did before, you want to fold over 3,” press.

Now it’s time to topstitch. You’ll need to make a new mark for keeping the top straight while stitching.

Now that you’re all done, it’s time to starch! If you’ve read my blog before, you would have known this step was coming! I am a starch addict. So, it’s time to press and starch the entire panel! This will give you a nice, crisp curtain to hang.
Hanging The Curtains
Once you’ve pressed and starched those panels, it’s time to hang them! This is the best part, because you can just step back and gaze at your work. Curtains are one of those projects that really bring a room together, and making them yourself (and saving a bundle of $$$) isn’t so bad either. Make sure to show off your home-made curtains in the comments below!
Related Posts
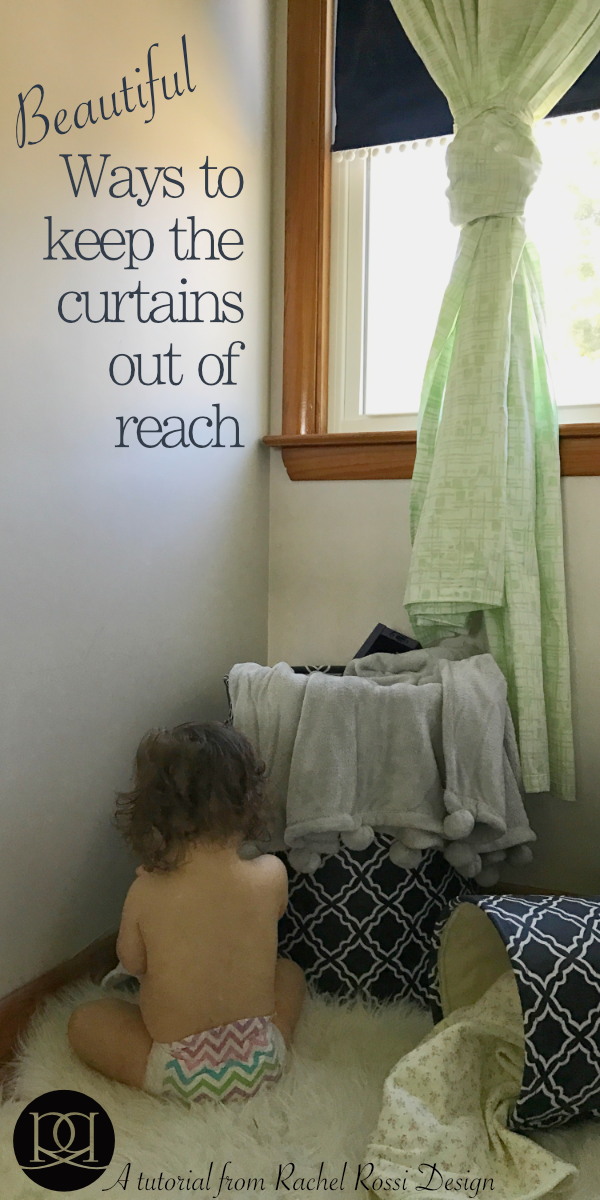
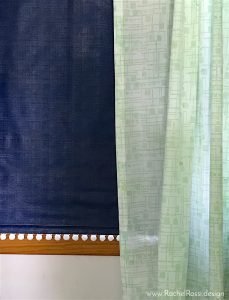
Do you have a little one on the move, or are you just looking for a different way to style your long curtains? Make sure to check out my post on styling long curtains! If you’d like to make your own adorable roller blinds, like you see below, make sure to check out that tutorial too!
Enjoy reading this post? To make sure you don’t miss a thing, follow me on Pinterest, Facebook, and Instagram and sign up for an email subscription to my blog.