


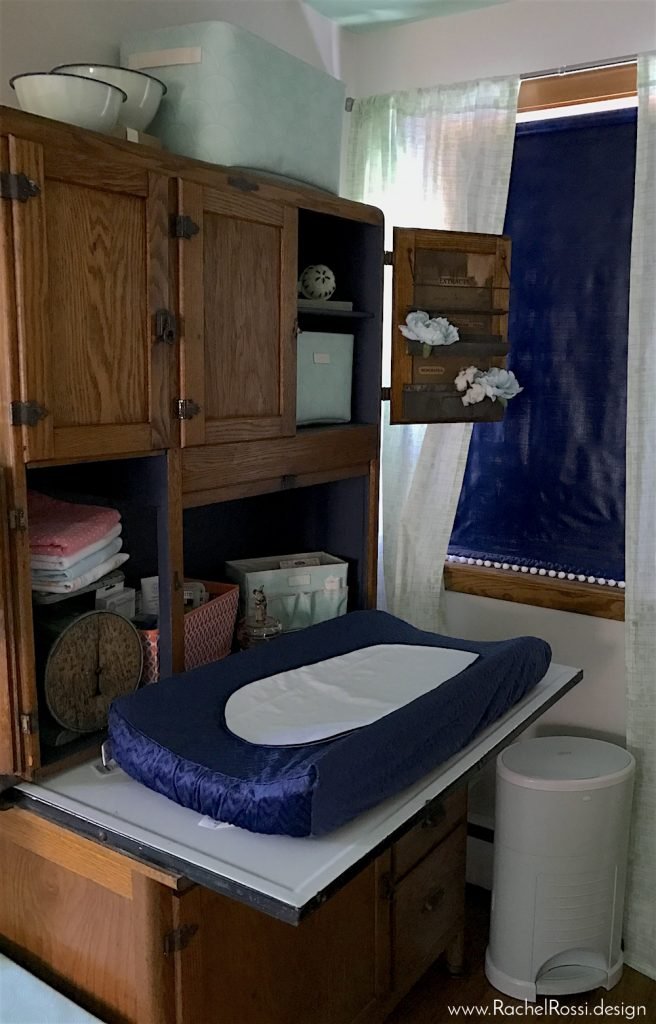
Today is a show-and-tell sort of day! I’ve finally finished up reworking my Hoosier find (more like a steal) that I told you all about way back in the summer. I’ve long dreamed about turning a Hoosier—I guess mine is technically a Dutch Kitchen (we’ve always called it a Hoosier)—into a changing table, and I can’t believe I made it happen! I’m going to show you how I updated this antique piece to be a fully functioning changing table and share all the sweet little details hidden inside:
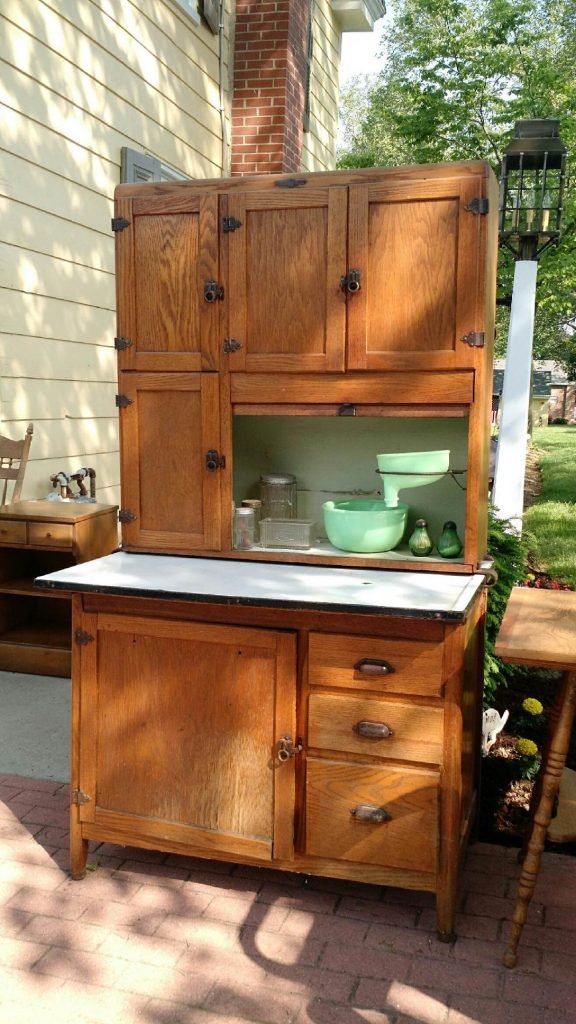
Here is the “before”, still at the yard sale that my sister rescued her from!
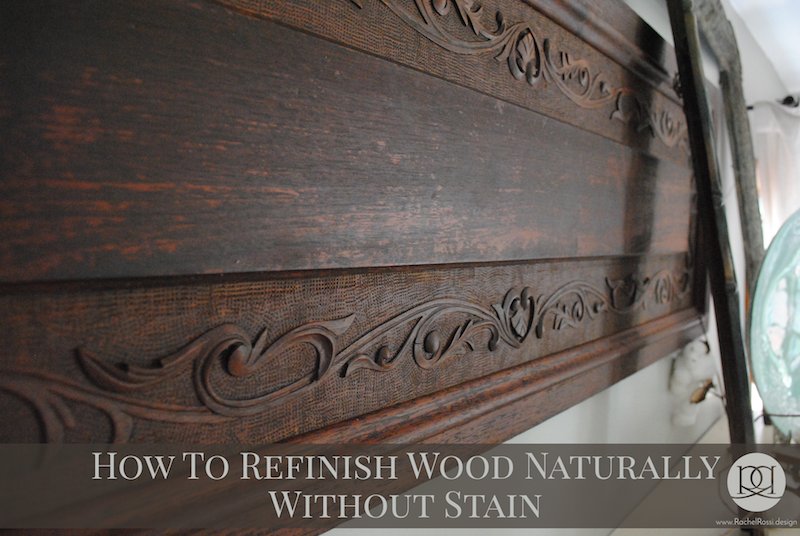
Repairing the Wood
Lots of the wood was dried out and pretty icky, so I used my trusty coconut oil to bring it back to life without sanding and staining. If you missed that tutorial, make sure to go back and pin it, you’ll be glad you did!
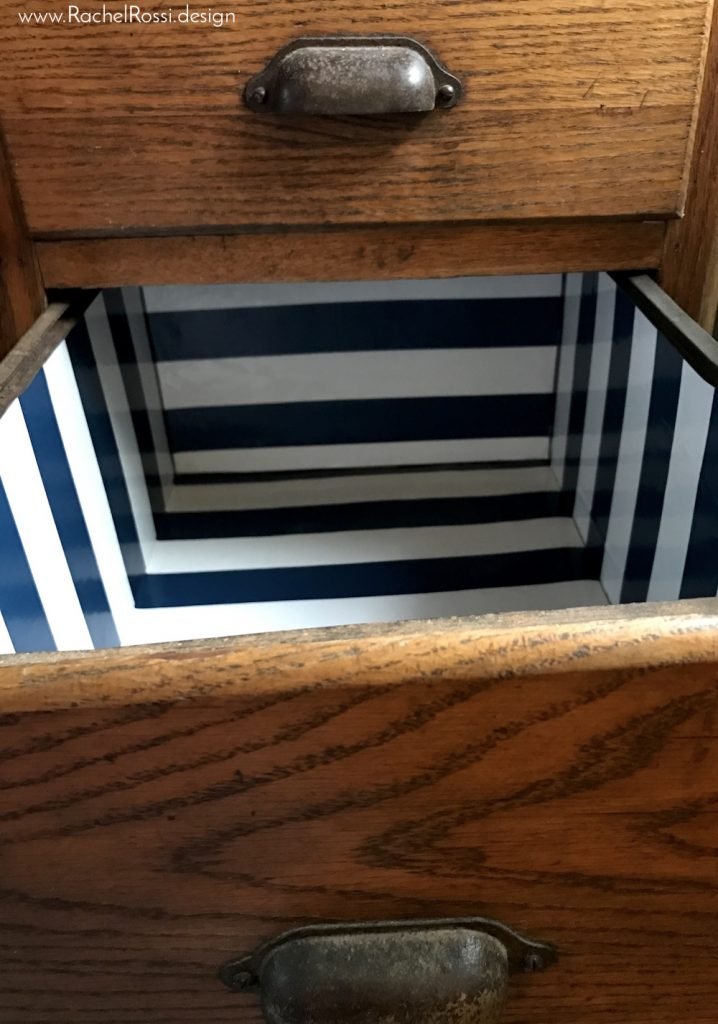
Repairing the Inside of the Dutch Kitchen
The insides of the Dutch Kitchen were not in the greatest shape. I covered the drawer bottoms and sides with contact paper from Target–let’s just say, I’m thrilled with the perfect match!
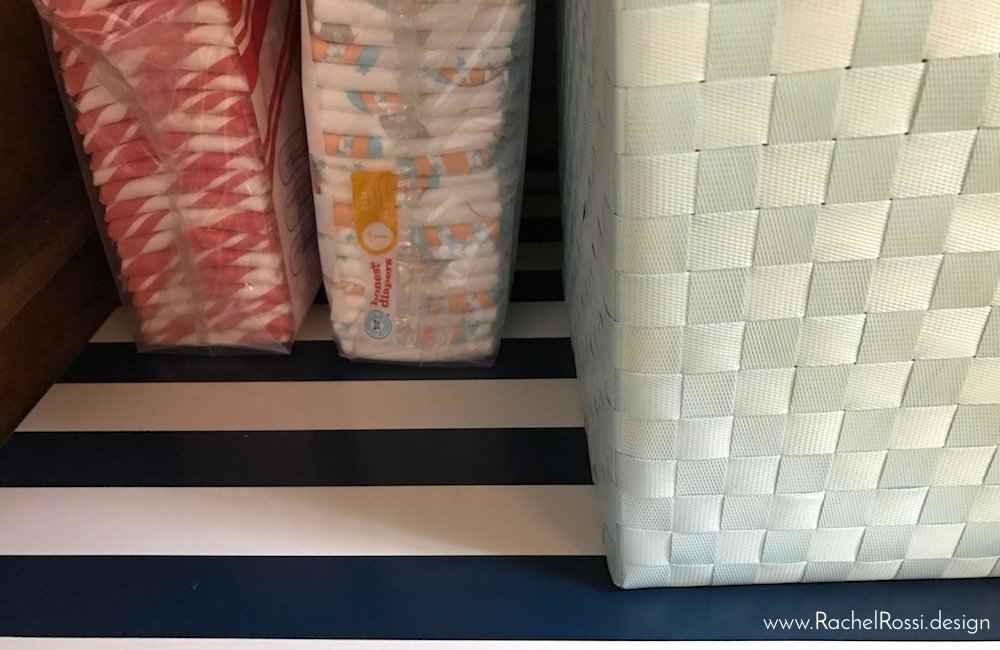
The cabinet underneath the enamel top was missing all it’s shelves, which makes it rather useless for storage. So, I headed on over to Lowes, found 1/4″ thick plywood, puffed out my pregnant belly, and said pretty please as the saw operator cut ridiculous sizes for me to get the shelves to fit correctly…people are SO NICE when you’re about to have a baby! I decided to add the contact paper to those as well for a nice match.
On the top part of the Hoosier, I started out with layers and layers of old paint. Had I not been pregnant, I probably would have attempted to strip the paint and let the old wood shine. But I was, so my dear husband painstakingly added another layer of navy paint to cover up the nasty old stuff. I love how it turned out!

Glorious Details
Although this Hoosier isn’t in perfect condition all around, I am completely in love with all that remains inside. It came with a flour sifter (temporarily removed to make room for diapers and other necessities), and all of these great add-ons inside the doors. Check it out!
Inside of door 1 is the perfect spot for my Extracts Essential Oils (and tiny memoranda!).

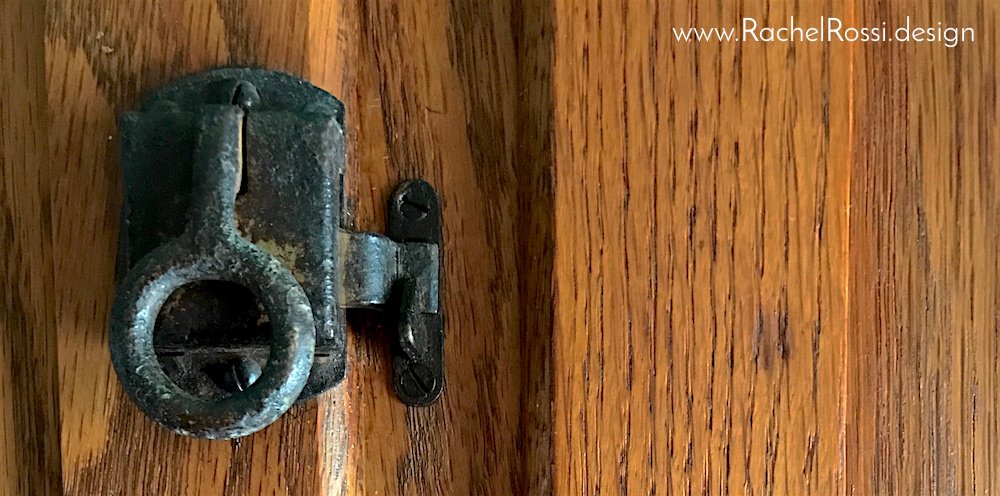
How about that original hardware!? I can’t believe that it’s all here and functioning!
I love these cardboard inserts—what a different time this piece came from—I love reading the things worth knowing:

How to Turn a Dutch Kitchen into a Changing Table
I have always loved the idea of having my very own Hoosier—my mom has had a gorgeous Hoosier in her dining room since before I can remember. When I thought about using it as a changing table, I realized all the benefits of this idea: storage galore, adjustable table top, and an interesting antique piece.
I love the storage that this piece offers to the nursery—all of baby’s clothes are stowed in the closet and these drawers are empty for the moment. I’m sure they will fill up in no time though! If you have the same idea as me and are looking around for ideas on how to make your dream changing table, I’ve got a few tips for you:
Safety First
Before baby comes anywhere near your Hoosier, PLEASE attach both top and bottom to the wall. I used adjustable straps for this for an easier installation and zero worries about anything toppling onto me or my baby girl.

I would also encourage you to stabilize the enamel top. Usually these slide in and out to the depth that you need, so there’s some wiggle room when something (or someone) heavy sits on it. After arranging the enamel top to the size I wanted, I wedged a 1/2″ board in the extra space between the hoosier top and enamel top. This measurement might vary depending on your exact piece. The idea is to push down on the top and not have anything move.

A few more Sweet Details…
I fully realize that most of these sweet little details are not realistic at all with a baby, but for now it’s so fun to arrange and re-arrange the shelves on the changing table that I don’t care!
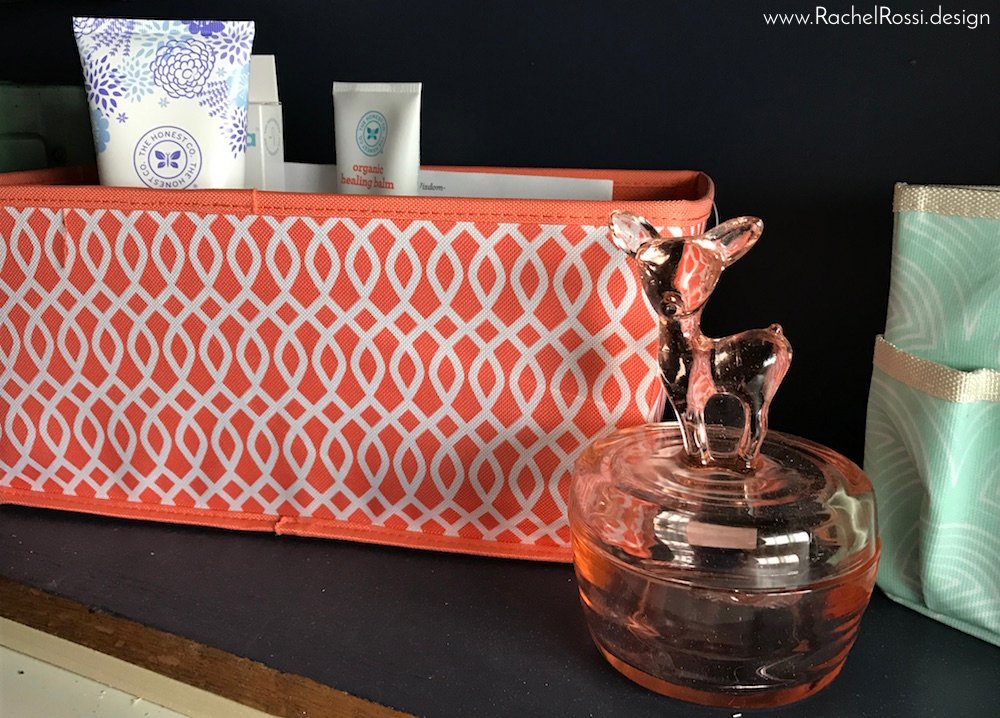
I love this little deer jar that I discovered at a local antique store—perfect for cotton balls or other tiny necessities.


This scale was another amazing find—the color was perfect for my mint nursery! It’s snuggled nicely in the tall cabinet opening of the Hoosier.
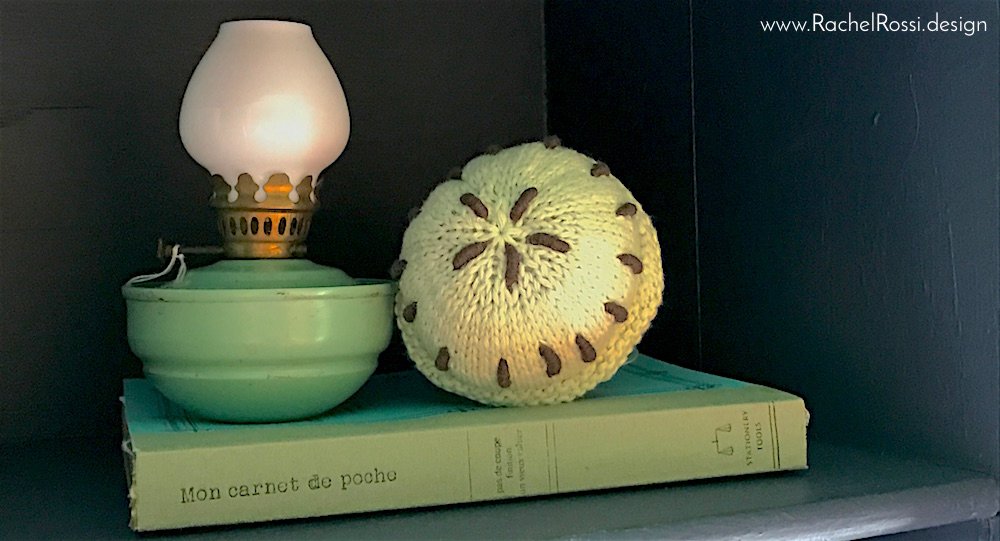
Well, apparently antique mint was my color, because this is the third antique found inside my Dutch Kitchen changing table! The ladies in my family have a weakness for oil lamps—and this little beauty is no exception! Next to it is a perfect little ice cream cone rattle (how could I resist?) and a perfectly paired french book in my colors!
Antiques come in all shapes, sizes, and states. Your treasure might need more or less help than mine did. If you made your Hoosier or Dutch Kitchen into a changing table, I’d love to hear all about it in the comments below–you can even leave a picture!
Thanks for reading!
Enjoy reading this post? To make sure you don’t miss a thing, follow me on Pinterest, Facebook, and Instagram and sign up for an email subscription to my blog.