


Today is the day that everything comes together!
Let’s jump right in—Starting with Step 10, we’ll get those card slots from Day 1 put onto the wallet base! Measure and center carefully!
I like to iron my flaps over at this point, just so I know that everything is perfectly snug!
Use a nice big topstitch to fasten the flaps and the card slots together.
In step 11 we’ll be adding on those pesky zipper pockets! You’ll be glad for all the work when you’ve got pockets for days in your wallet though!
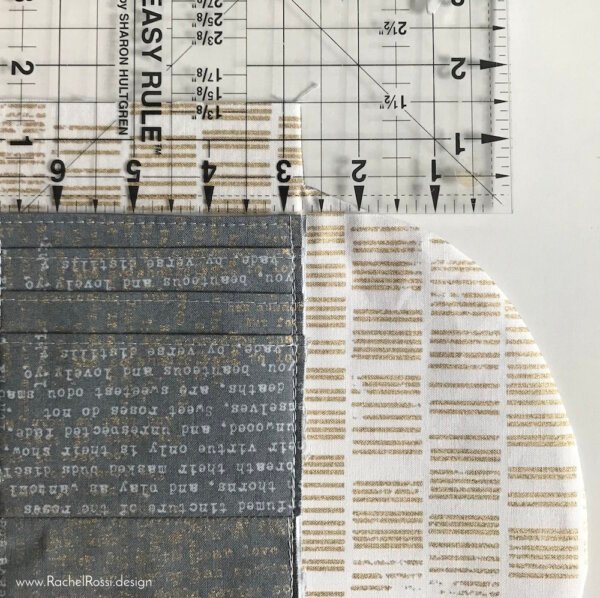
Find the center and draw a line 1/2″ on either side of the center line

Now match the center line with the seam on your card slot. Pin in place (yep—it ‘s ok to pin through all those layers). Use a larger stitch to sew along the outside lines to create a large rectangle through all the layers.
Step 12 can get a little confusing. If you read through this section and look at the pictures first, I promise things will go a lot more smoothly for you!
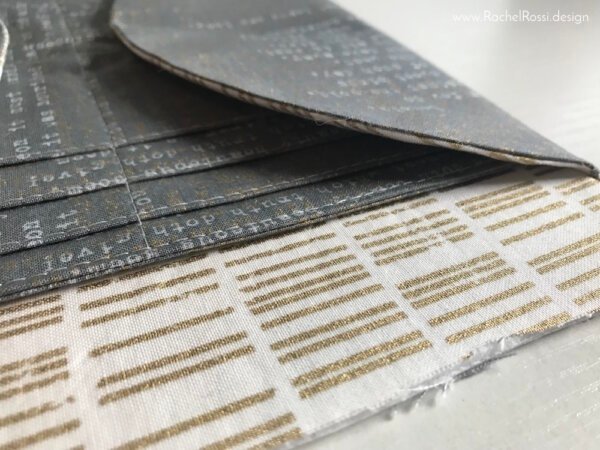
Flatten the flaps back to the outside. Measure and draw your lines with an erasable fabric marker, as directed on the pattern.

For step 13, just remember to be patient, once you sew one, you’ll get the hang of it!
Holding the zipper pocket piece, line up the end of your zipper pocket with the line you just drew.
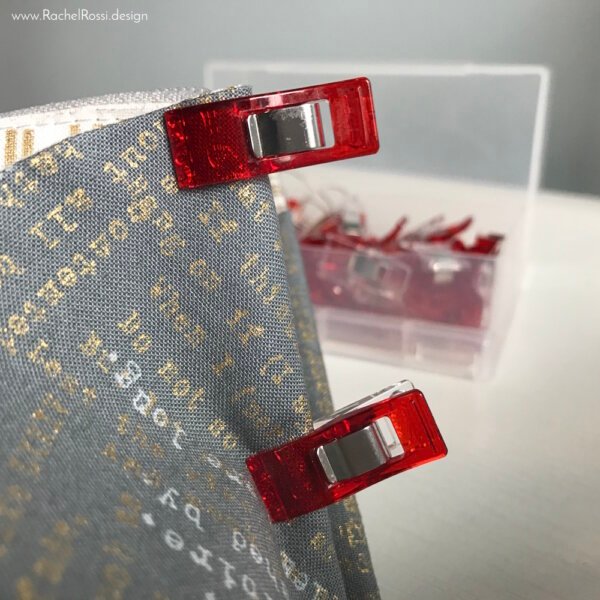
Using wonder clips (I’ve tried it with pins—the clips are much easier!), clip along the edge making sure the pocket is tight inside the fold.
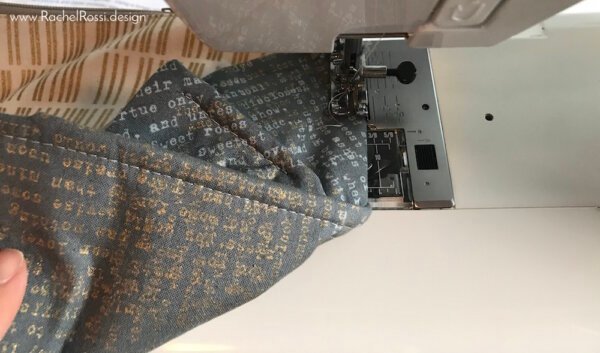
I will say that this step caused some issues with my Brother Machine. I had to dig out my trust old Janome to get through all these layers. I’d suggest using a walking foot for this step. Also, you might not be able to start at the very top of your pocket—it’s OK! Just start as close as you can to the top and go as low as you can. And yes, you’ll have to fold your wallet all sorts of crazy ways to get these pieces stitched—you won’t ruin it!
Once you’ve got this part down, you’ll need to do it 3 more times to get the other pockets sewn into place.
Finally! It’s time to add the frame! But first, you’ve got to trim a little off the top (always terrifying!)
Next you’ll want to get the frame out, tuck your wallet into it, and trace the part with the circle cut out.

Now, carefully cut out the little hole that you’ve traced.
Then, stitch as close as you can to the raw edges of the wallet.
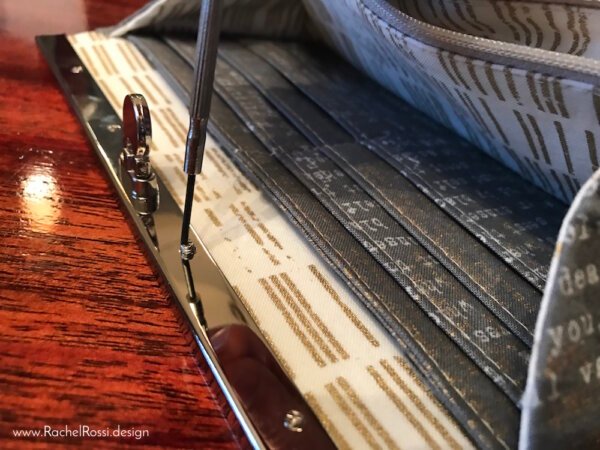
Attach the frame to the wallet with the screws provided. Glue is optional—if I’m giving the wallet away, I’ll usually glue it so that it doesn’t come off. If it’s for myself, I don’t like to glue it, just in case I want to switch frames! This is where that handy little eye glasses kit will come into play…you’re welcome!
That’s it! We are finally done! Post all your (humble) brag pictures on Facebook and let me see your amazing work—can you believe that you just made a wallet!?
