


“That is the FIRST thing that goes!”
That was me, pointing at a whole bank of ivy this time last year when we were buying our first home. We couldn’t help but plan at the walkthrough—we knew this was the house for us! We got the house in the end, but the bank of ivy was certainly not the first, second, or even third thing to go! I finally got around to ripping it out this spring and realized that there is a system to pulling out ivy, especially mass amounts of invasive ivy. I thought I’d share with you, so that you don’t need to waste your time trying to figure it out (like I did)! So, here we go: the easiest way how to pull out an ivy bed.
What You’ll Need:
- Pruning Shears
- Wheelbarrow
- Drain Spade Shovel
- Garden Gloves
(who knows what’s living in that mess!)
- Long pants & shirt (just in case there is some poison ivy mixed in there)
Snip, Snip, Snip
Grab some pruning shears and cut the ivy into 1 or 2 foot strips. This makes it easier to untangle the mess.

Rip, Rip, Rip
Starting on one section at a time, pull all the loose ivy out that you can. It might not be a lot, but this will help you see what you’re doing in the next step.
Leverage
My neighbors were watching me in amazement as I spent all my spare time pulling out this ivy. I’m just a wisp of a thing, and I’m sure it was quite a show to see me battle ivy that has been growing for years and years! I found that this drain spade shovel is PERFECT for getting under those huge roots; leverage is the best way get them out.
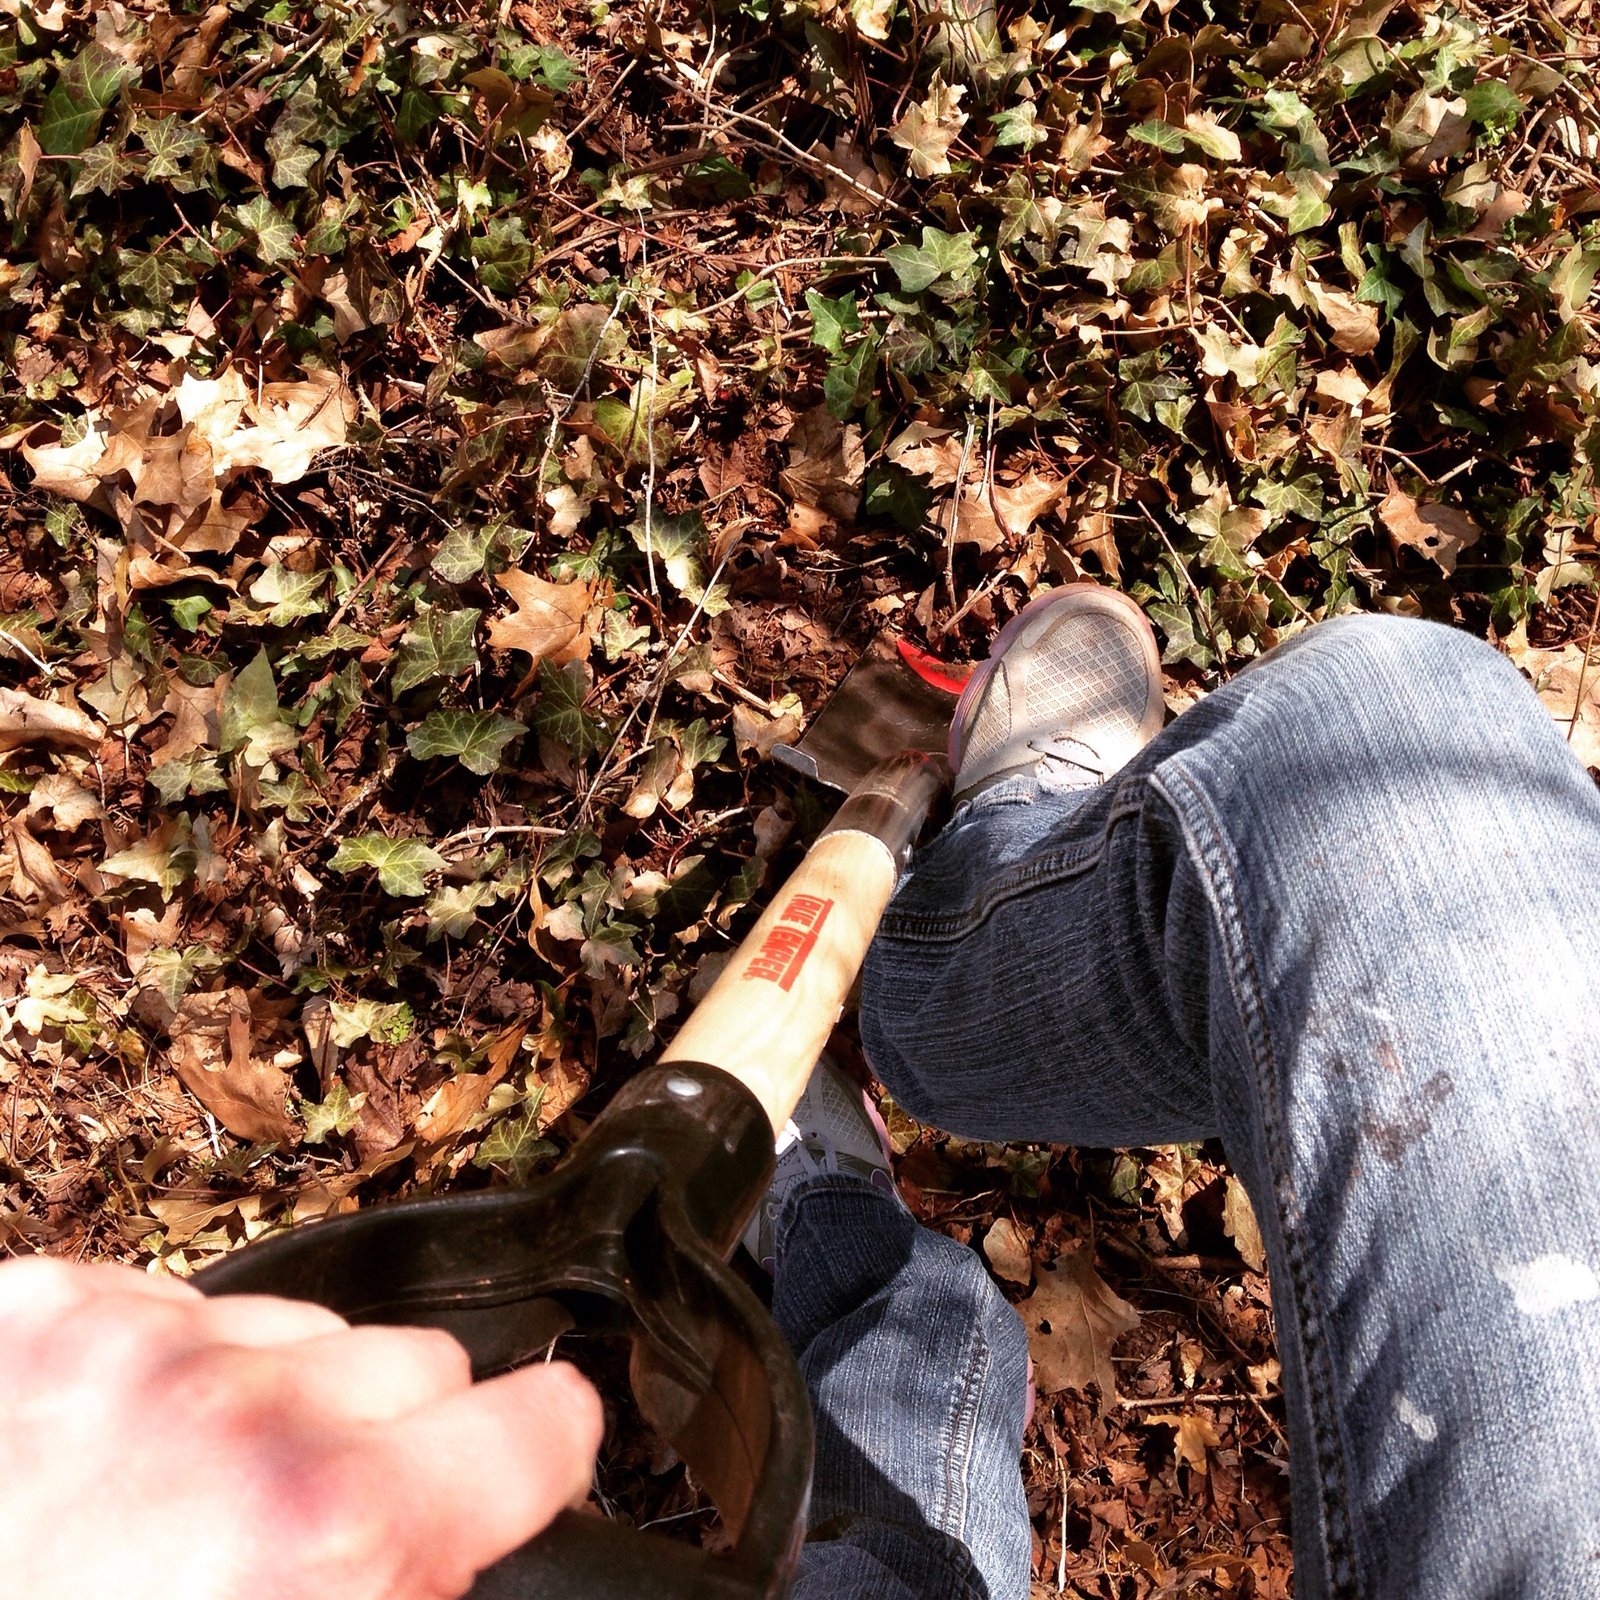
The goal here is to loosen everything up. Again, working on a section at a time, just dig the shovel under the roots, and push them upwards.
Start Pulling
Once everything is loosened up, start pulling up the section you’ve been working on. There are going to be some roots that are hard to pull; skip them for now and come back to it once you have the rest of the section worked out. Place all of those roots and vines into your wheelbarrow to keep things organized.
You’re going to need a designated spot for all of this mess—it adds up very quickly. These can be composted if you’re willing to wait for them to decompose. You can also throw them away or burn them—just make sure there’s no poison ivy or oak mixed in if you’re burning!
Once you’re done with each section, go back through and make sure you didn’t miss any roots. This is very important; ivy will try its hardest to come back! So make sure you get what you can NOW!
Start Over
Now, you’re going to repeat each step to each section of ivy that you’ve cut out. It’s going to take you quite a while, but I promise that it is 100% worth it!

You’ll probably end up staring at it for a few days…that’s fine! I was sending pictures to people like it was my firstborn child!
Make It Pretty
Now you can do what you’d like with the area. I put sod down for almost free! We were digging for a garden in the back yard not too long after I pulled the ivy out and realized that we can just place the sod on the fresh dirt. If you do this, make sure you water it constantly! I’ve still got to get around to mulching around our tree, but the grass is such an upgrade, I couldn’t wait to share!

I’d love to see your before and after pictures (post them to Facebook!). It’s amazing how different your yard can look without overgrown ivy all over! If you have helpful tips or hints, be sure to leave them in the comments below for me and my other followers!
Enjoy reading this post? To make sure you don’t miss a thing, follow me on Pinterest, Facebook, and Instagram and sign up for an email subscription to my blog.