


A few weeks ago I made a friend. She’s 9 years old and so much fun! We’ve been eating ice cream, going swimming, and wandering around my house trying to find something to cure the boredom that comes with summer. But then, she spotted it, “You have one of those?! You’re so lucky!”
Somewhat bewildered, I looked around for anything that I possess that could possibly interest a 9 year old and asked, “My sewing machine?”
And so it began.
To be honest, I’ve taught some sewing classes before, but never to anyone younger than 13 or 14. I figured that somehow this teaching skill must be built into me since my mom handed me a needle and thread at 3 and I’ve been sewing ever since. So, I did what most 20-somethings do and I went for it! After some trial and error, here is what I have learned about teaching kids to sew.
Pick a Simple Project
The process is much easier if you choose the project before the little one has any say in it. Yes, they may want to make a backpack with 25 zippers and pockets, but that can be project number 2. Simple sewing projects for kids include tote bags, pillow cases, pillows, skirts, and blankets. Make sure that the project isn’t only simple but also quick. You want them to enjoy learning to sew and feel affirmed by finishing a project.
Let Them Choose Their Fabric
You picked the project, now they pick the fabric! It might be a little wild and crazy, but just go with it. If they are doing all the work, it better be something that they love.
Sewing Machine Safety
Before starting up the machine, be sure to go over the ground rules. That needle is sharp and the last thing I want to do is drive someone else’s kid to the hospital with a needle through their finger. It’s important to explain that their hands need to stay away from the needle and why. I did this and told her to hold on to the edges of her fabric. That way, she’s not anywhere close to the needle but still kept her stitches pretty straight. If that doesn’t work, tape some red yarn to the top of the machine and let it hang down so that they can see how close they can get.
Cutting
This is where the inner perfectionist must be silent. No child should be allowed to use the rotary cutter—they are incredibly sharp and hard for little hands to handle. We’re going to take it back to the scissors and pins days, which means not-perfectly-straight-lines days. Get over it now.
For projects without cutting patterns (where you need to cut rectangles or squares) measure, mark, and iron creases in the fabric for them to follow with scissors. Alternatively, you could draw cutting lines with chalk or pencil.
Pinning
Pinning might sound just as scary as the rotary cutter, but you just need to warn the child to be careful. There’s not as great of a hazard here, just a poke which they will learn to avoid pretty quickly! I’ve found that kids get very frustrated with pinning, but let them give it a try and pay attention. If they are getting frazzled because they can’t get it, offer to pin the rest for them.
Sewing
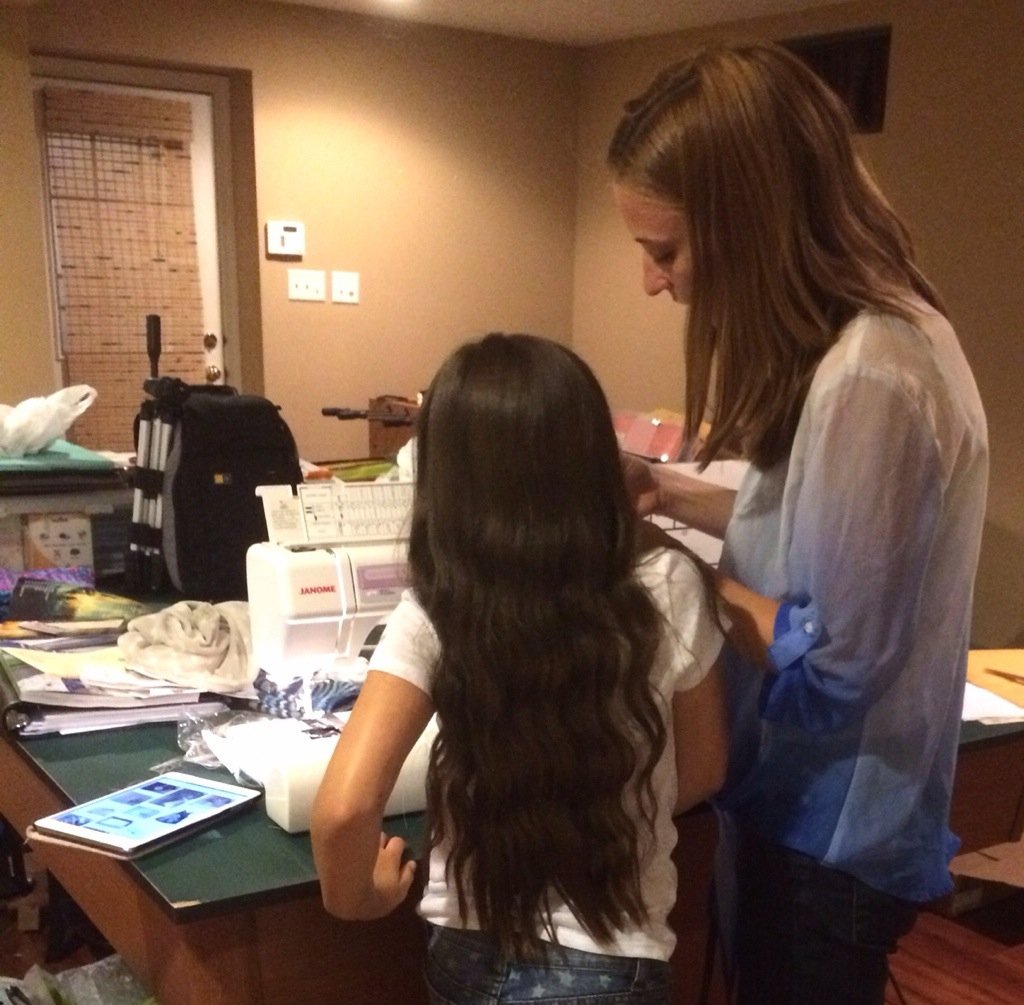
Now for the part that you’ve all been waiting for! Just remember to instill the safety rules by gently reminding her to move her hands back when they get too close to the machine or to not look away while the needle is moving…you know, general things that help you not sew over your fingers.
Don’t be afraid to stand over her and help guide the fabric at first. She’ll watch you for a while and get the hang of it from your example. Remember to follow your own rules and keep fingers away from the needle.
Linger for a while, help when you’re needed, and then let her give it a try on their own (don’t wander too far!). Kids pick things up incredibly quick, so be sure to pay attention but give them a little independence.
When all is said and done, don’t feel bad going back over their sewing (when she’s not looking)—it’s gotta stay together somehow! I would save seam-ripping and re-doing for project 2. You really don’t want to get your kiddo frustrated this early in the game. Project 1 is more for instilling the basic skills and confidence using the sewing machine.
Snack, Game, Dinner, Dance Party Break
It’s very hard for adults, especially crafty adults, to take breaks in the middle of a project. But kids need it! Take breaks often (sometimes between each step if they are longer), and come back to it in 5 minutes. Just remember that kids have an especially short attention span and don’t get frustrated. This is for them after all!
Show It Off!
Once you are all done, make sure that they know that they did a great job and show it off to everyone that’s around! They need to see that you’re proud of what they have accomplished! Kids get pretty psyched about the fact that they made something this cool, so have them show a parent or sibling how they did it to reinforce what they learned.
We had a fashion show, stuffed our bags with pillows and showed them off to the whole family! Don’t be afraid to have fun and even geek out a little bit. Kids get excited about sewing when you’re excited about it!
What have you found useful or harmful in teaching children to sew? I’d love to hear your thoughts and ideas!