Today is the day! 🌼
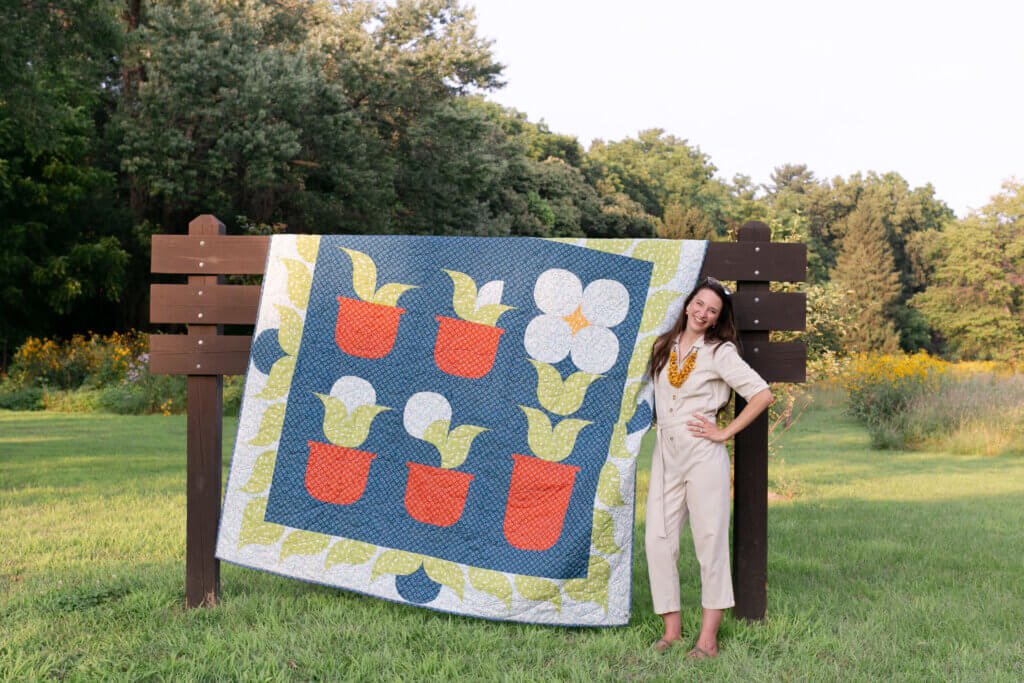
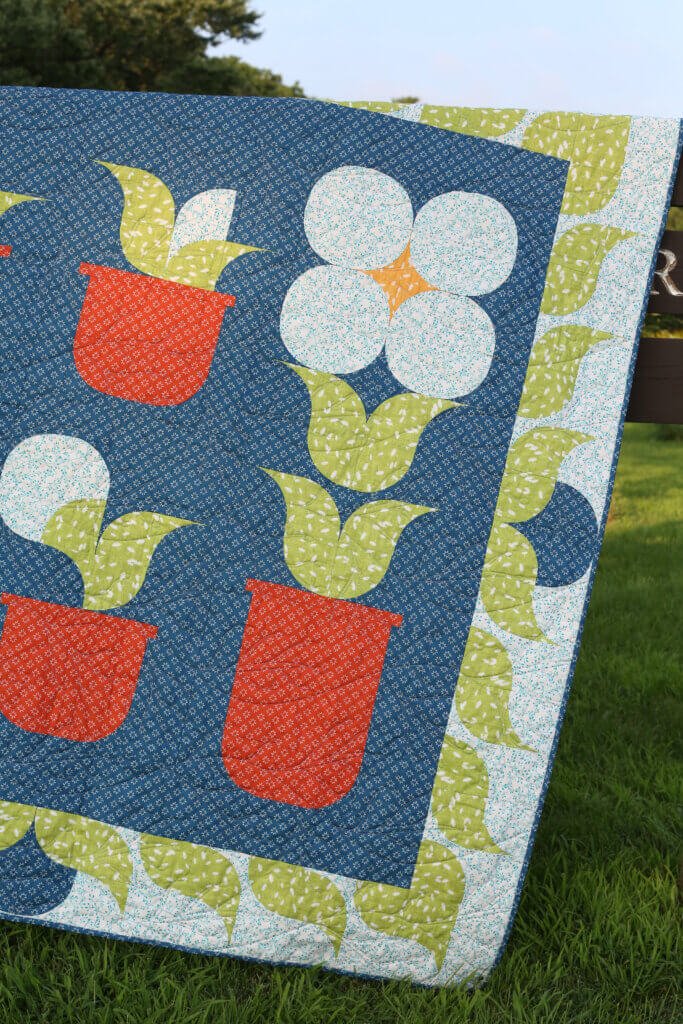
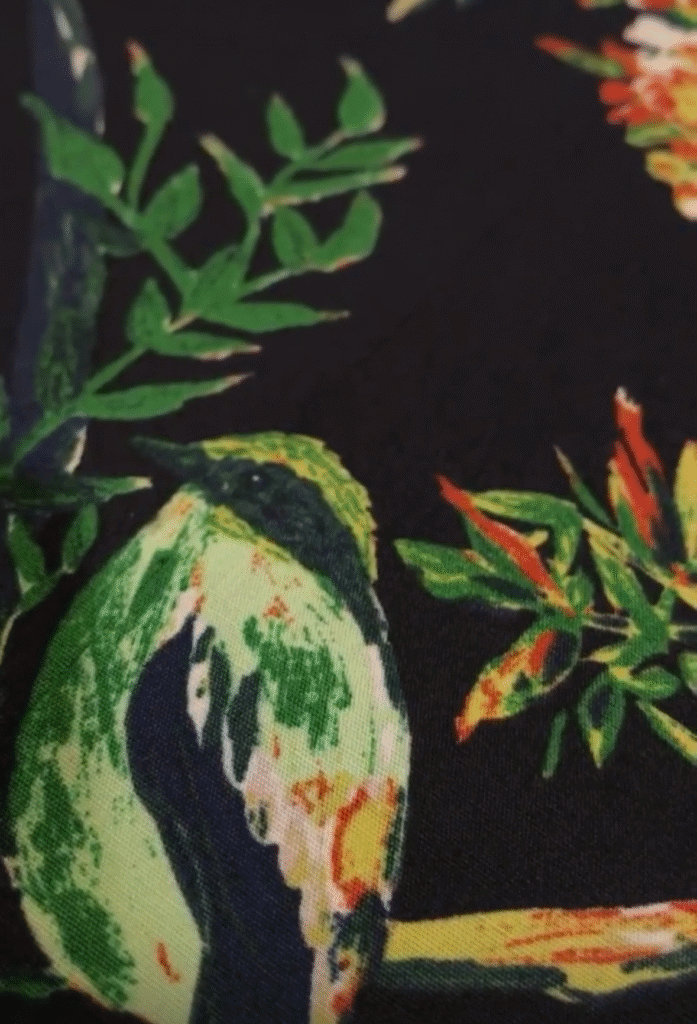
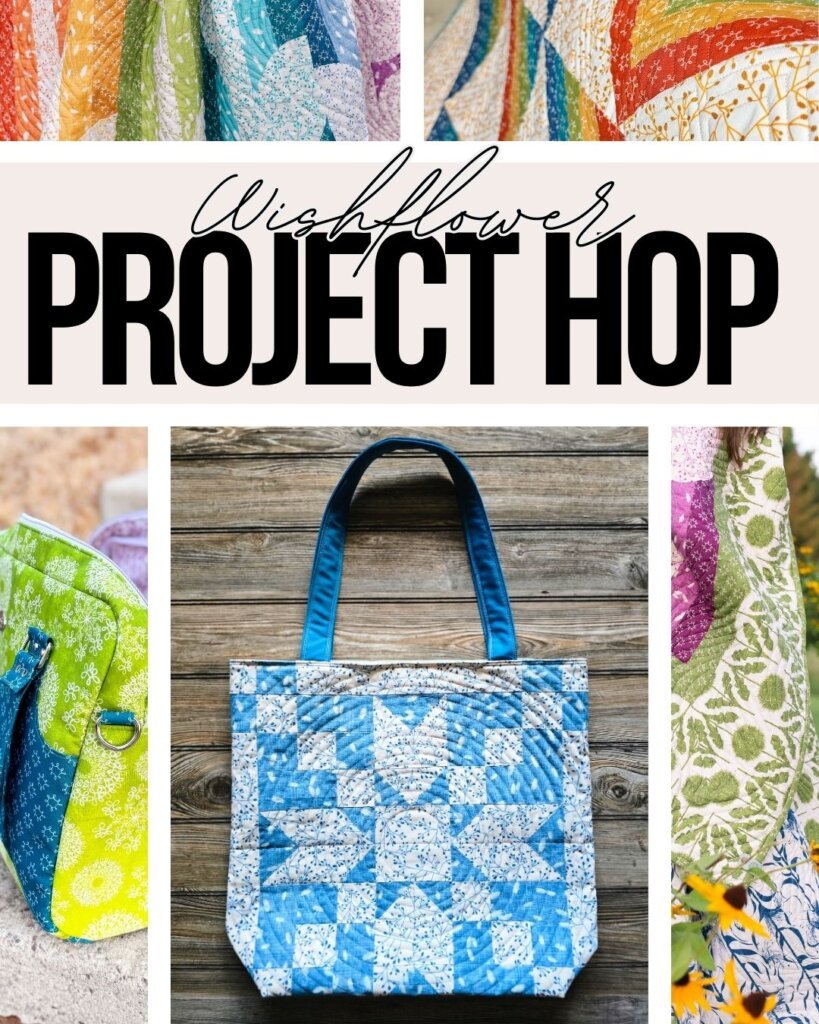
I’ve been so excited to share this with you. Over the past few weeks, some incredibly talented friends have been sewing with my Wishflower fabric collection, and today we’re kicking off a Project Hop to celebrate their creativity!
If you’re new here, a project hop is a week-long (or in this case, slightly longer!) celebration where different makers share projects made with the same fabric collection. It’s always one of my favorite things to see—because every maker brings a completely different perspective to the fabric.
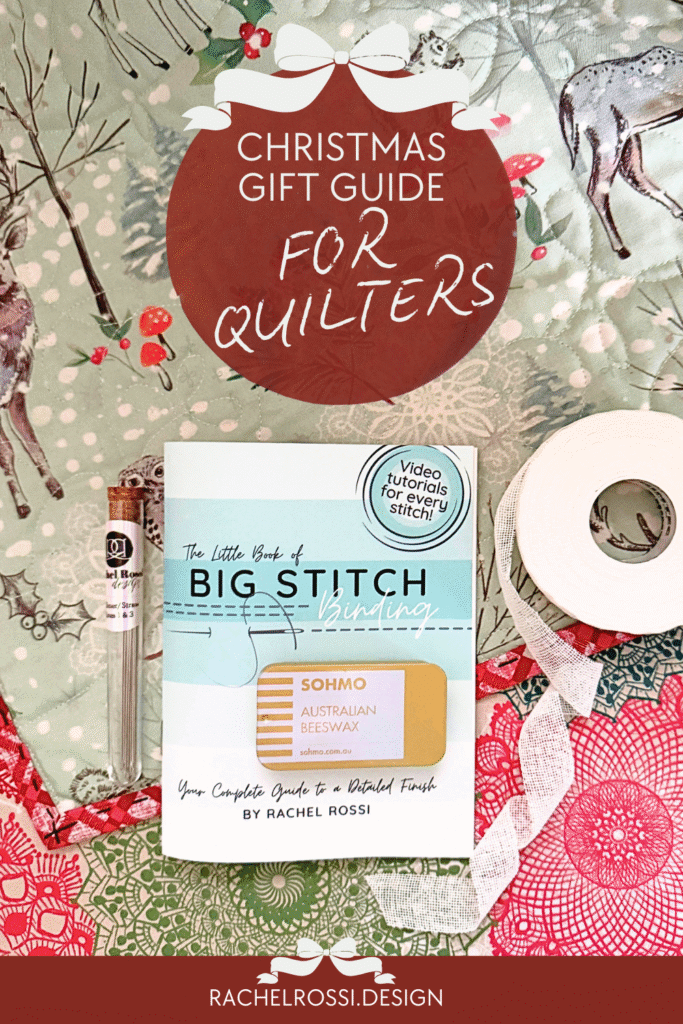
And as if that wasn’t exciting enough—we’re giving away 11 prizes, including patterns and a fabric bundle from Benartex! Keep reading for how to enter.
(Continue reading…)