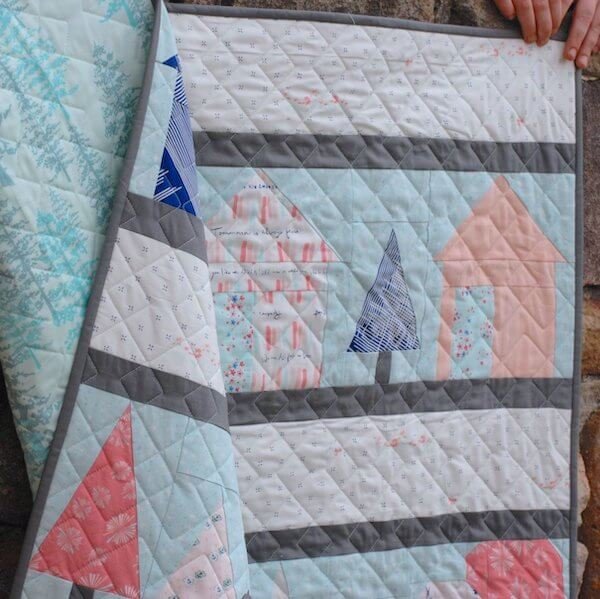
Paper Piecing is something that I put off learning for a long time. One night, I just had to jump in! I decided to give it a try with some scrap fabrics…let’s just say that was the night I fell in love!
Paper Piecing is a quilting technique that allows you to get crisp, perfect, angles and some really interesting shapes. I would definitely suggest that anyone who loves modern or angular designs give it a try! It can see frustrating at first, as it seems a little counter-intuitive, but with a few practice rounds on some scrap fabrics, you’ll be in love too! (And if paper piecing doesn’t work out for you, take a look at my post on the four basic types of quilting, and maybe you’ll find a style you like better!)
I’m going to give you a short tutorial on how to paper piece below, I would definitely suggest trying it out on scrap fabrics before moving onto the real deal!
If you’re curious about what supplies you need, make sure to check out my blog post about Foundation Paper Piecing Notions. You’ll be surprised to find that you have most of what you need to get started!

Paper piecing is a pretty straightforward description of the technique: You use a paper template to piece your blocks, rather than pre-cutting and piecing. The first step to paper piecing is to print out your template (or make copies of your template). Your average, every-day printer paper should work just fine for your template, but there are lots of options out there. Make sure to check out my Foundations For Paper Piecing post to see which one you’ll like best!
Some people prefer to use a light box and transfer the design onto the opposite side of the paper in pencil. From here on out I’ll be referring to this pencil side as the back side of the template and the printed side as the front side of the template. I would suggest this for any paper piecing beginners, as it makes things a little bit more intuitive.
You’ll notice that on your template is lines and each space is numbered, like a paint by number kit. You’re going to treat paper piecing just like that and sew each piece in the order that it’s numbered.
The first line is always the most confusing. To start off, get two pieces of fabric, one to cover section 1, and one to cover section 2. Lay them on the back side of your template and make sure that they are about 1/2″ larger than the coordinating section on all sides. Place them right sides together and pin to the back of the template. Unfold them both to double check that they cover pieces 1 and 2 with some allowance (at least 1/4″) and that they cover the correct section.

Now we are onto sewing! Set your sewing machine stitch to a small stitch—about 18 stitches per inch. Place the paper template with pinned fabric front side up on your sewing machine. Stitch along the line between section 1 and 2 going through all layers: Paper, section 1 fabric, and section fabric 2. I like to go about 1/4′ past each line end. Make sure to backstitch and trim your threads! Flip the template over and flatten fabric to make sure that it covers each section. If not, don’t worry! You can easily tear out the seam and try again! It might take a few swings, until you get the hang of things.

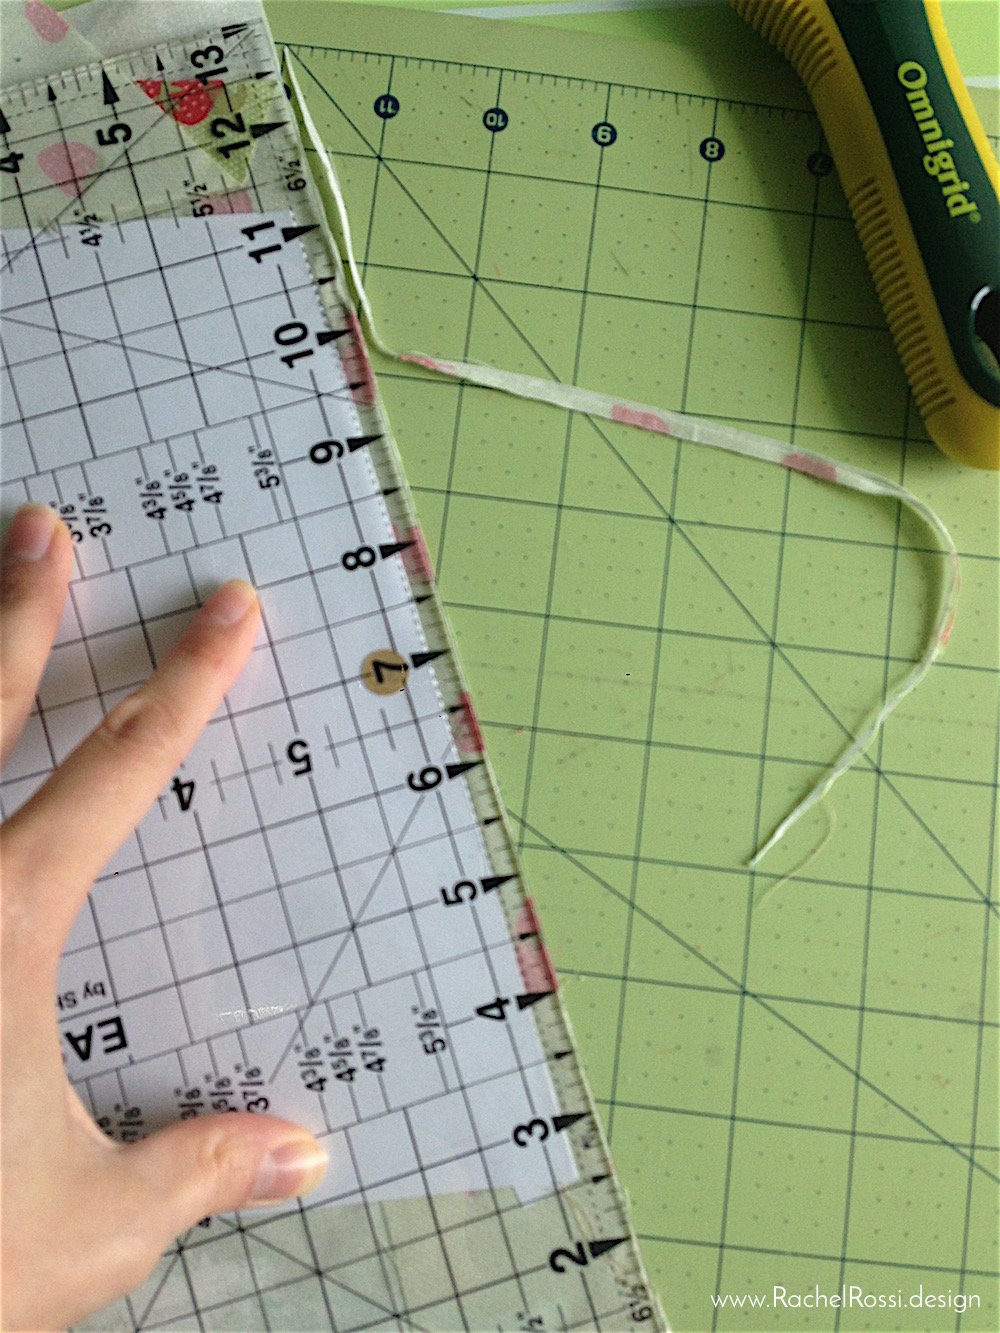
Since there’s no seam allowance on your sewing machine, and you’re somewhat guessing on the seam allowance for each section all seams are cut at 1⁄4″ unless otherwise noted. You’ll trim the seams by folding back the paper along the sewn edge and trimming to 1/4″ with a rotary cutter and ruler. Just be careful to cut your seams and not your pieces!

Always press your seams before moving onto the next step. Don’t worry about squaring up the edges yet. Just focus on trimming the seam between sections 1 and 2.
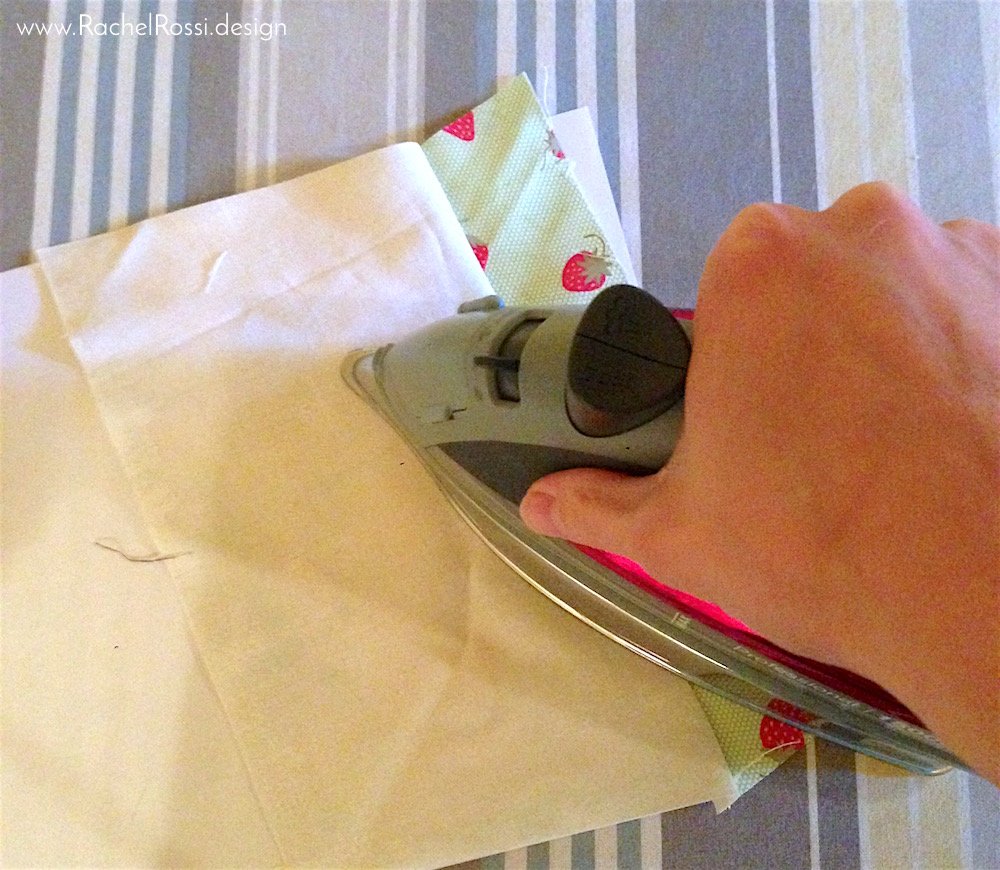
Your seams will always go towards the larger numbered space, so that makes things pretty easy when pressing!
Your paper piecing so far should look a bit like a sandwich. From the top, it will just look like a piece of paper with lines. On the back you’ll see the right side of your fabrics, stitched together and the seams are hiding on the back side of your paper.
Now, don’t worry- it gets easier from here on out, I promise! You’ve only got to deal with one new piece at a time, which makes a lot more sense.
Cut a piece of fabric that is about 1/2″ larger than section 3. Place it with the right side facing piece 2 on the edge of section 2 (the fabrics should have right sides together). Pin and stitch along the line drawn on the template. Trim seams to 1/4″, press, and repeat this process for each section. It’s just like the first step, only a little less confusing.
Once your entire block is assembled, go ahead and trim your edges. The template should have a cutting line for this!
Now for the fun part: Gently tear away the paper on the back of your placemat: tear away along the perforation while firmly holding your seams. If you have troubles getting some pieces off, try using tweezers!
If you’d like to give one of my paper piecing patterns a try, Graze is a perfect and small project for those of you just getting started! Make sure to get your copy of Graze today!

-
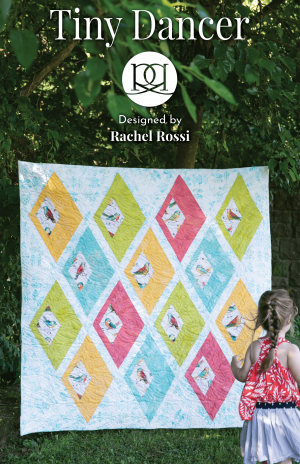
 Tiny Dancer Rerelease$15.99
 -
Product on sale
 Tiny DancerPrice range: $6.99 through $12.99
 -
 Snail’s Pace$12.99
 -
 Polaroid Post$1.00
 -
 Snail Mail$1.00
 -
 Oven Octo Pot Holder Free Sewing Pattern$0.00
Looking for more great FPP tutorials?