After a week of fabulous giveaways and turkey-eating, I thought it would be fun to kick back with a little tutorial! You can whip up this placemat in a jiffy for under $20! It’s sure to make your plates look fabulous without dishing out cash on an expensive charger set! The best part is that you can customize it to match your colors! Let’s get started, shall we?

Supplies
- Felt for the flower petals: 1 yard (76″ wide) for every 4 placemats
- Felt for the center (I chose a lovely mustard color! Just get the smallest cut you can, usually 1/4 yard)
- Felt for the leaves: 1/2 yard for every 4 placemats
- Buttons: 1-3 per placemat
- Matching thread (match the petal color)
Cutting the Felt
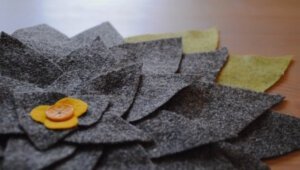
To start out, we are going to cut out all our shapes. Download the Template for Free! Roughly cut out the paper templates, pin onto your felt, and cut out each piece.

Attaching the Petals
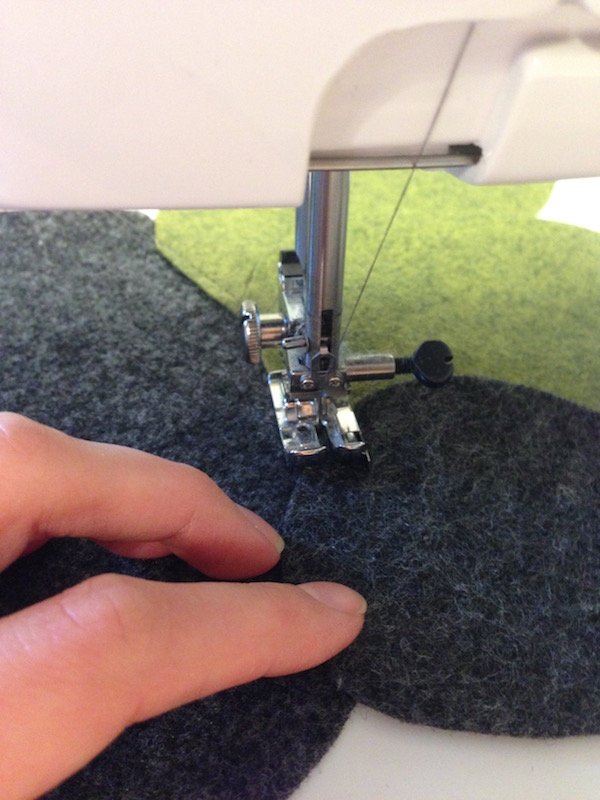
Using the large circle and the large petals, create a ring on the outer edge of the circle with the petals. Pin each in place and sew in a circle around the bottom of the petals. This will secure them without them being visible. This doesn’t have to be perfect, you will cover up the stitches with your next ring! If you’d like to add leaves, add them behind the large petals before sewing.

Do the same thing with your next set of large petals, working your way toward the middle of the circle.
Repeat with two rows of medium petals.
Repeat with one row of small petals. Make sure that you’re covering the stitches from the previous rows!
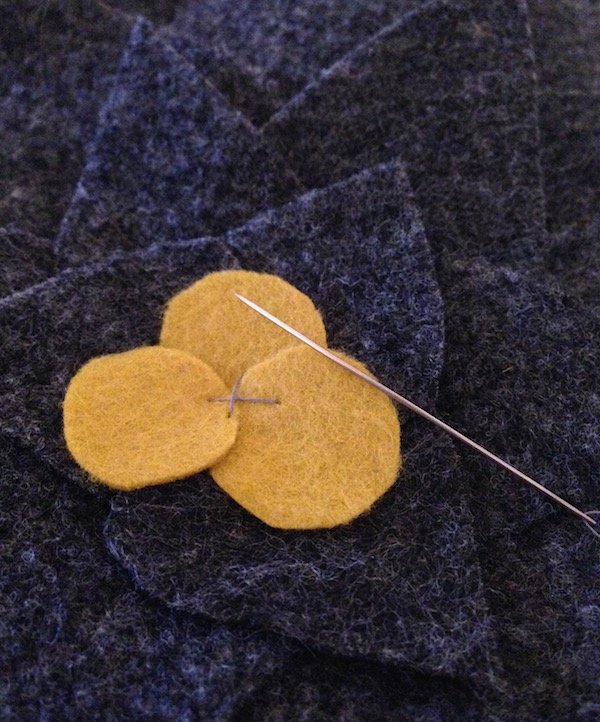
Use your 3 remaining small petals for the next step: Layer the petals and pin in place. Sew them into place by sewing a tiny ring (again, this should end up being covered by the next layer).
Creating the Center
Place your 3 center circles where you’d like them. Place the buttons on top and arrange until it’s just right! Tack on the felt circles to hold them in place. One at a time, attach your buttons by hand, making sure to secure the button and the center circles to the placemat. Repeat on the second and third buttons.
Throw a Party!
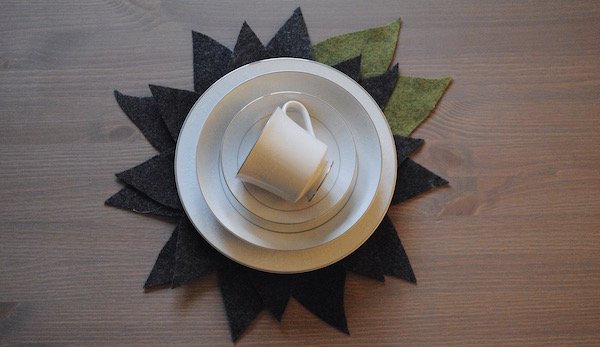
That’s all there is to it! Set the table and show off your work! I’d love to see your version in the comments below!
Enjoy reading this post? To make sure you don’t miss a thing, follow me on Pinterest, Facebook, and Instagram and sign up for an email subscription to my blog.
Looking for other great holiday tutorials? Spice up your Christmas feast with these half-circle napkins, shaped like Christmas trees or get help with decorating this Christmas!


That is adorable!!!!
Thanks Alena! I’m pretty tickled with this tutorial— It’s so cheap and easy!
Those pins are so cute and so easy not to loose them. This a great idea to add creativity to the table. I’m not that handy with sewing, but i think i can pull this off. Thanks for sharing 🙂
I love those pins, I’ll never use anything else!
I’m so glad you like the tutorial, it’s so simple and doesn’t require a lick of experience with the sewing machine. Thanks for commenting!
How beautiful! I don’t really craft too much because I feel like I can’t do it well. But this looks pretty simple and very, very pretty!
Glad you loved it! If you decide to take it on, make sure to share pictures in the comments!
Super cute!! I’ve always said I wish I could sew. Maybe this should be the new skill I learn. Love it!
Sewing is such a great hobby (and skill)! this would be a great project to start on— you don’t have to deal with fraying fabric and every stitch is hidden, so learning is painless! Let me know if you decide to start sewing, I’d be happy to help with any questions & help you get started!
I’m not an artsy person, but this tutorial is super simple and the results are amazing. Thanks for sharing these steps.
P.S. I really love those pins, never seen them before.
These are cute, great for a dinner party and look pretty easy to make too 🙂