“I need this.”
“What are you going to do with it?”
“I’m not sure yet, but I need it!”
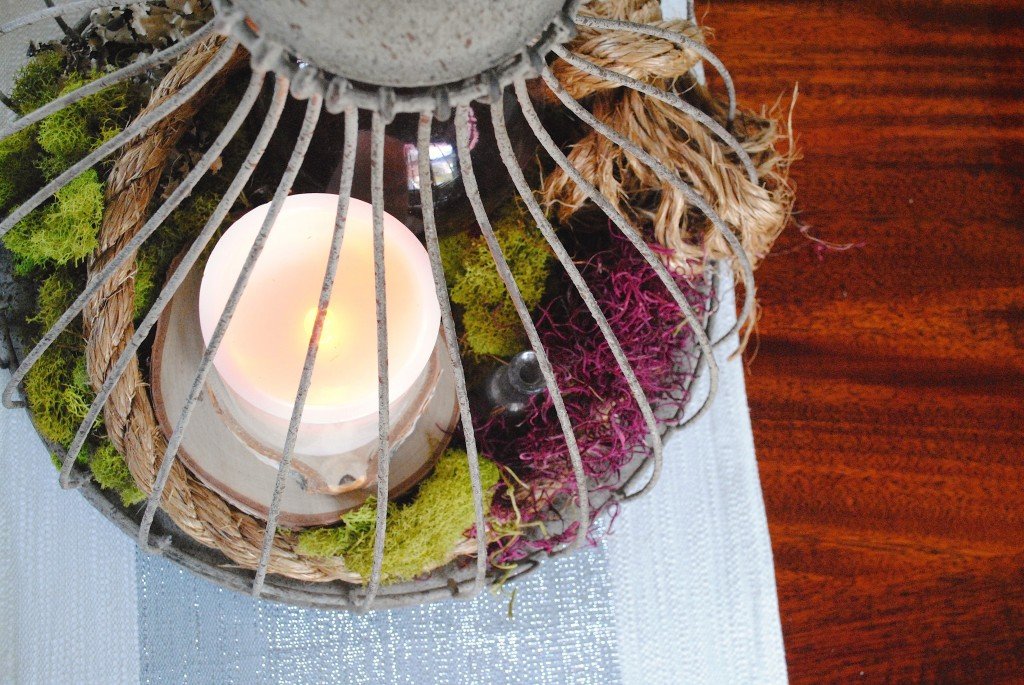
This is usually how my finest creations begin. This is also why my garage is full of everything you could ever want to find, just waiting for a job to do or the perfect spot in my home! But this time, I came up with the most gorgeous dining table centerpiece, and here’s how you can make your very own birdcage centerpiece for your home:
First, you have to find a fantabulous decorative bird cage! There are a slew of these on Amazon.com or you can hunt for the perfect one in local antique or thrift shops! Gather the rest of your supplies listed below.

Supplies
- Decorative bird cage
- 1 bag of moss
- Various sizes of wood discs
- About 24″ of thick rope (you’re better off getting this at your local hardware store)
- Flameless candle
(the size depends on the size of your cage)
- Felt pads
Optional Items:
- Twigs or sticks gathered from outside
- Pebbles
- Pinecones
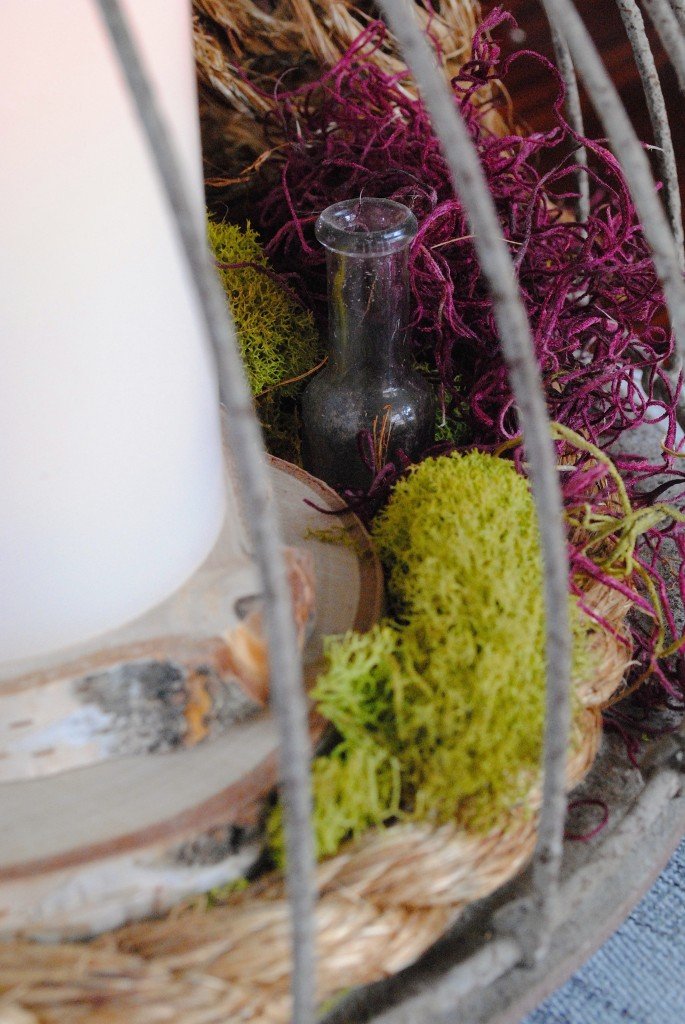
- Random baubles: I used an antique fisherman’s bobber and a teeny tiny bottle! Just find some interesting treasures to stick in there (glass things look especially nice)
Putting It All Together
Next, be sure to protect that dining room table! Place felt pads on the bottom of the birdcage. This will protect the wood from those metal feet.

Start by getting the rope knotted and cut to size. Go ahead and make a large knot in one end (this takes a lot more rope than you would think). Fray the ends by pulling apart the short end. Place the rope in the cage and estimate the length you’ll want by wrapping it around inside, cut the rope to your desired length. Set it off to the side for now.

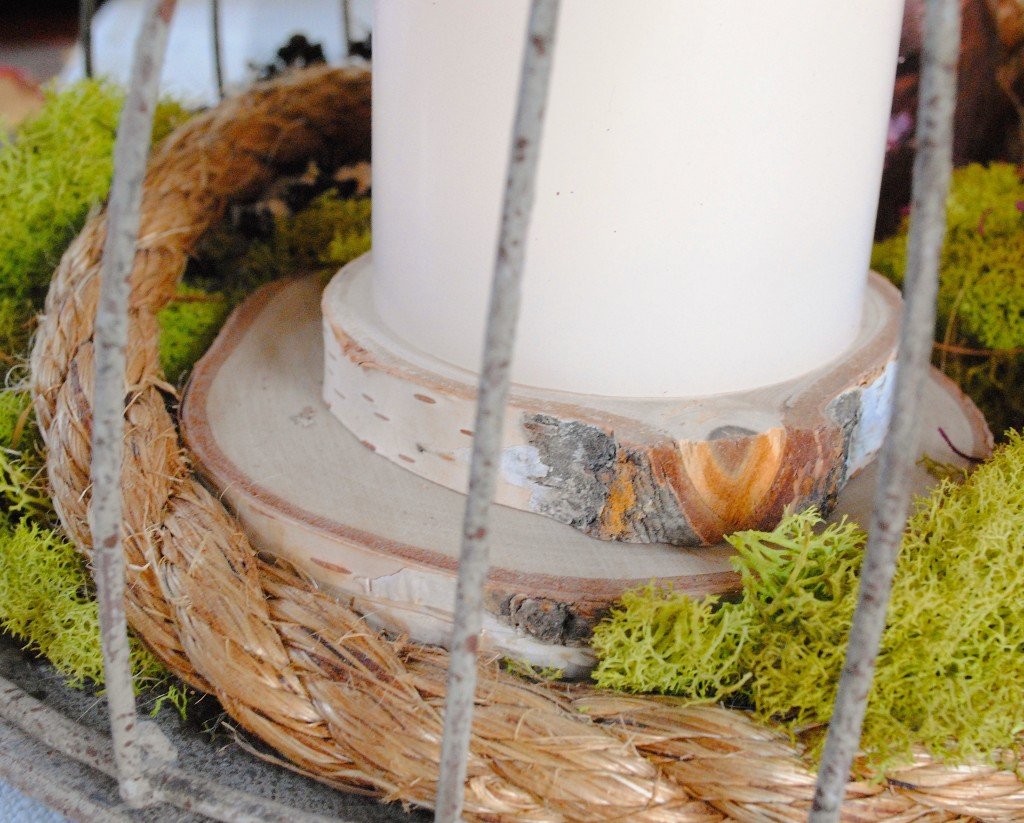
Now decide where you’ll want your candle. The candle will sit on top of stacked wood slices, so place those where you’d like. If you want more wood piles, go ahead and add them now! Stack the wooden discs, one on top of the other, until you get a topsy, turvy base for your candle (or some other special treasure).

Now for the fun part! Get the moss out (it might be a good idea to lay some newspaper down at this point, it can get pretty messy!) and cover the bottom of the birdcage with whatever you have the most of (usually the vibrant green constitutes most of the package), working around the wood slices you’ve placed. Save your favorite pieces for the very last step, but keep them in mind when placing the other items.
Place the rope around the inside of the cage. This can be a little tricky until you get it just how you’d like it, so take your time and work on it until it’s just right! There might be some more trimming and fraying in this step! Next, place your candle on top of the wood slices, or wherever you have it planned! If you have any additional treasures to add, now is the time to do it.

And…the moment we’ve all been waiting for: put those favorite pieces of moss in that bird cage! You work them in there until you have it just like you imagined!
Now, turn that candle on, close the cage door, and step back—it’s lovely isn’t it?! I just love the sweet little flicker that comes from inside my little birdcage dome. It’s just the sweetest! Be sure to snap a few pictures and show off your project in the comments below or on my Facebook Page—it’s so fun to see how different everyone’s projects end up being!

See this, and lots of other great DIY projects at the DIY Collective!


Beautiful!!!!!!!!!!!!!
Thanks Alena! 🙂