


Mmmmm, crisp fall air, sweaters, leaves as they flutter to the cool ground…these are just a few of my favorite things about fall & I can’t believe that it’s (finally) almost here (even if it doesn’t feel like it yet). One of my other favorite parts of fall is picking out the perfect mums and enjoying their colorful, hearty blooms for the season. That’s exactly what inspired my DIY tutorial today—I just couldn’t wait for the right season to get planting mums all over the entryway, so I thought I’d just make my own a little bit ahead of time! Read on to see how you can make your own fall door hanging, instead of the same old wreath!
Note: The links and images below may be affiliate links. This means that, should you choose to purchase an item through these links, I will receive a small commission. This is how I can provide you with great DIYs and blog posts twice every week, free of charge! Thank you so much for your support.
What You’ll Need

This simple door hanging can be made with any pallet wood that will fit on your front door and the wooden initial for your last name—I got this diagonal pallet at my local Joann’s store (with coupon of course!). You can also order them online at Amazon.
 While you’re out, you’ll need 1/2 yard of felt. I chose a deep red color to really pop and bring out the richness of our brick home. If you’d like a really full mum on your door, maybe go for 3/4 yard of felt—I just had enough to make mine!
The only other items needed for this project are pretty easy to find in your craft stash, but might need picked up depending on your supply:
- White acrylic paint
- Green felt for the leaves (scraps will do)
- Yellow felt for center of Mum (scraps or buttons will do!)
- foam brush
- hot glue
- fabric scissors
- Old sewing bobbins (optional)
Painting the Pallet & Letter
Start by painting your pallet the color of your choice. I chose white, but a red wood with white flower might look really beautiful. Use your imagination on this one!

I used an acrylic paint and watered it down, so that I didn’t loose the wood texture in the pallet. Going with the direction of the grain, I brushed on a generous amount of paint. I wanted it to look weathered, so I made sure to skip some parts, and lay it on thick in other parts—how you cover the wood is up to you!

Make sure to get all sides covered so that there’s no bare spots when it’s hanging! Don’t forget to paint the wooden letter while you’re at it.
Cutting the Mum Petals
To start cutting out flower petals, leaves, and center, you’ll want to first download and print this mum petal template so that you get a consistent size for each row of petals. The download is free & tells you how many of each size to cut. Once those are cut, you’ll need to check on your painting to see if it’s dry. If so, head on over to the next step.
Adding Petals to the Pallet
I would suggest starting the layout for the Mum by placing everything first. Make sure that you like the placement of the Mum and the initial and that the Mum is as full as you’d like it to be. If you need more petals, cut a few more and add them in.

All of the layers will look a little sparse until you add the next layer—don’t worry, you’re doing it right! What you don’t want is to get a big bunch-up in the middle of the flower once all your pieces are in place. The only layer that will meet in the center is your layer of smallest petals.
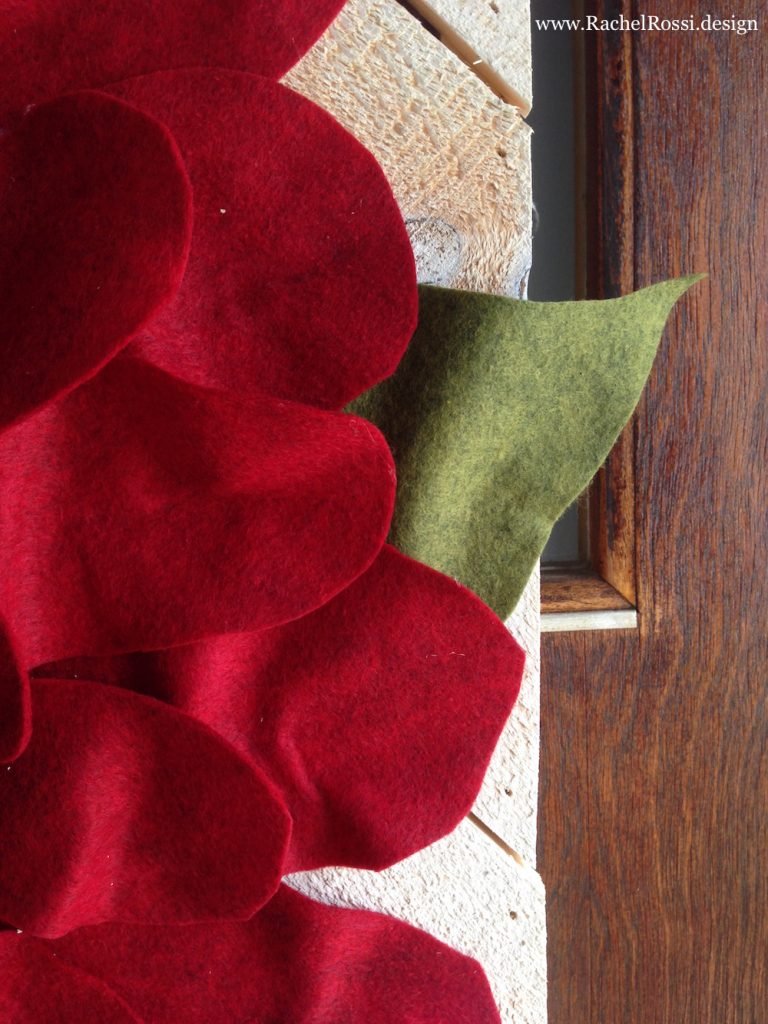
Once you’ve got everything laid out, go ahead and add the leaves. I liked how they looked tucked in behind where my R was going to end up. Now you can start gluing on the leaves and then petals from largest to smallest. This part is exciting but can take a little bit of time.

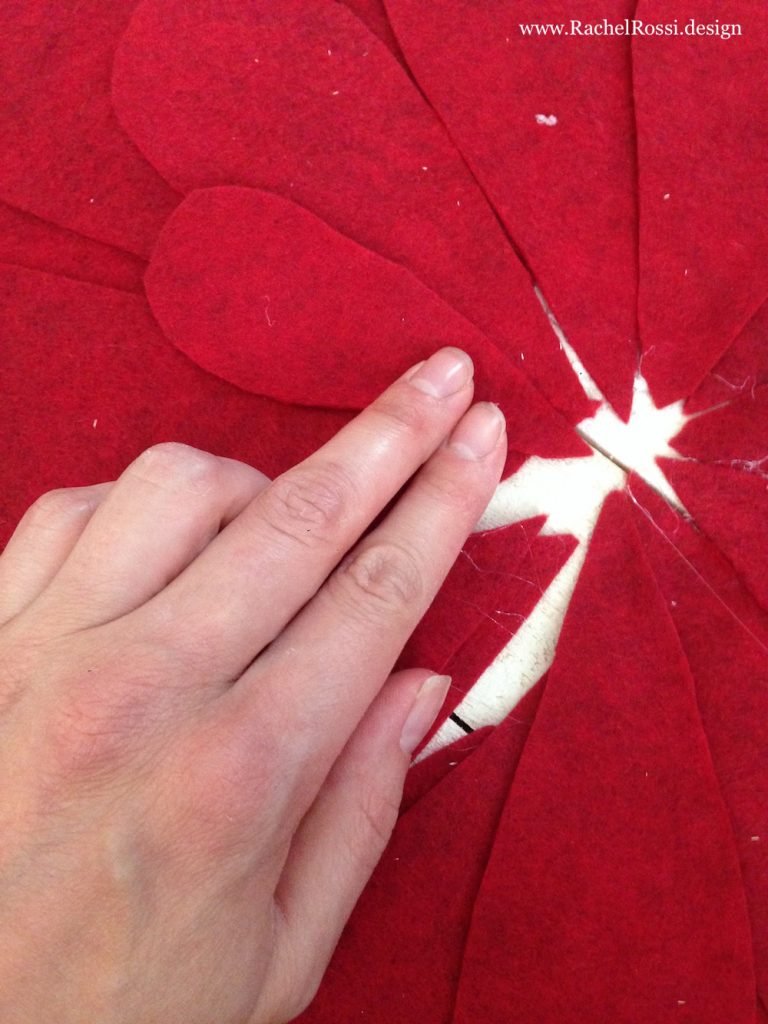
I glued the inside of each petal down for the whole flower. Once all the petals where attached at the center, I then came back and bunched up each petal to give it some dimension, gluing it in place.


Lay out the 3 yellow dots as your center. Glue on.
The Final Touch
I thought it would be neat to add some more dimension to the door hanging by lifting the R off of the pallet just a little bit. I did this by simply gluing on some old bobbins to the back of the wooden letter and then gluing those onto the pallet. You can use any small object with two flat sides to achieve the same look!

Show Off!

See—that wasn’t so hard! Now that it’s all finished, you can hang your wooden pallet with pride! I didn’t require any special hanging equipment because my door just has a nail in it for wreaths and other door hangers—all I had to do was slide it on. You may need additional hanging hardware depending on what your setup is.
Make sure to show off your door hanging and have some guests over this holiday season, if nothing else, post a picture of your version in the comments below or on Facebook, I can’t wait to see it!
Enjoy reading this post? To make sure you don’t miss a thing, follow me on Pinterest, Facebook, and Instagram and sign up for an email subscription to my blog.
I love this. What a fun & easy decoration.
oh I love working with felt!