If you know how to bind, you know how to face!

I’ve been wanting to face an entire quilt for a long time and now that I’ve found a way to do it almost entirely by machine, I’m all in! Here’s my tutorial on how to do basic facing. I hope you come to find that it’s JUST like binding and you’ve totally got this!
What is Quilt Facing?
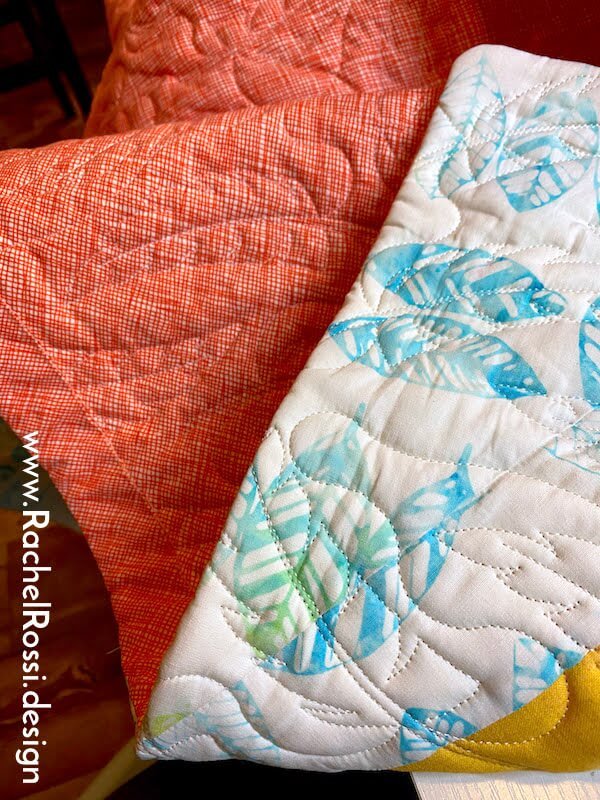
Facing is like the infinity pool of the quilting world. Rather than seeing a bound edge on the quilt, it just suddenly ends. The edges are folded to the back and finished on the underside. I think it makes for a very modern look and is one of my favorite ways to finish a quilt.

What You’ll Need
- 3″ strips that are equal to the length of all four sides of the quilt
- Four 5″ squares for each corner
- A quilted quilt, ready for the finishing touch!

I used this technique on my shiny new Tiny Dancer Quilt…I just love it so much!
Easy Facing Corners
I don’t love dealing with corners for facing, so I found that my favorite method is to take those 5″ squares (listed above) and fold them in half diagonally, wrong sides together.

Then, stitch them on to the RIGHT side of your quilt

Now, clip the corners & repeat for the remaining corners.

Easy Facing
Now that those pesky corners are taken care of, we can move on to the edges.
Create 3″ strips, one for each side of the quilt. You’ll want them to measure about 1″ shorter than each side. Iron them in half, wrong sides together.

Now, match raw edges of the quilt and folded strip. Each strip will start about 1/2″ from the edge, but make sure to stitch from corner to corner even though you’ve already sewn on the corner triangles, this will help keep everything even.


The Final Stitches
Now, for this portion, most quilters choose to hand sew. BUT there’s another option…we’ll get there in just a second;
First, press your facing away from the quilt.

Then, fold it over the back, making sure that the seam is laying fully on the back of the quilt and not showing through the front edge. I like to hold these edges in place with Elmer’s Glue Sticks, but Steam-A-Seam fans can use that as an alternative. Press to temporarily secure.

Then, you can choose to hand sew OR check out my tutorial on how to machine finish quilt facing…the choice is up to you!


Very clever! Thank you!
What a Neat idea. I will have to try this method of binding a quilt.
Love these tutorials !!!! Thanks again. Kathy
How can I get a copy or pattern or directions or written directions
on the tutorial On how to machine finish quilt binding. Would Love
to get a written copy. Thank You. Kathy Chitty
Hi Kathy,
Thanks for reading! If you’d like to print this out, you can highlight the text, right click, and push print. That should work for you 🙂
Happy sewing!