(No, I’m not joking)

Let’s face it. Facing is great, but hand sewing it is just not.
…I know, I know. Some of you love it, it’s your favorite part, but as for me and my house, we’ll opt for the machine whenever possible.
Guess what I just figured out? You don’t have to hand sew your facing on.
You don’t need a crazy machine or any special skills.
All you need is a foot that probably came with your sewing machine and that you probably have never used!
What You’ll Need
It doesn’t take much to face your quilt without hand sewing. In fact, it’s much like your standard facing technique with one small change at the end. You’ll need:

- Blind Hem Foot (typically this comes with your machine, it looks like a regular foot with a blade down the middle)
- Elmer’s Glue Stick (or Steam-A-Seam)
- Iron
- Sewing Machine
- Thread that matches your backing/facing
Sewing Facing On
I have a full tutorial (with pictures) on how facing works and how to sew it on. If you want help with that, check out this post. The current post you’re reading is dedicated to those of us drooling over the idea that this whole facing thing might not need to involve hand sewing.
How to Not Hand Sew Facing
Now, if you’ve ever hemmed a pair of pants, you’ll suddenly find yourself being thankful for all those hems because it’s set you up for Quilt Facing success!
First, stitch on your facing in your favorite technique (Check out how I sew on facing, here!)

Next, press your facing away from the quilt.

Now, flip your quilt over and fold the facing around the edge to the back. Glue the edge in place. This will save you a lot of hassle with pins and make for a nice crisp edge. I prefer Elmer’s Disappearing Purple Glue. I set the glue with an iron (just make sure it doesn’t have any steam in it!)

Now for the fun part!
Attach a hemstitch foot to your sewing machine. Thread with thread that matches your quilt backing or facing (mine usually are made of the same fabric). For BERNINA users, it’s foot #5, the Blindstitch Foot.

Your machine stitch should be set to a hem stitch. The spacing and stitch width can vary on each machine, so definitely give this a practice run before getting crazy with a finished quilt.

With the back of your quilt facing up, turn the edge of your quilt (and facing) under so that the folded edge of the facing is sticking out, away from the quilt, about 1/8″ (see image below)

Stitch using the hem stitch. You’ll want to see the zigzag just barely going into your quilt and then a straight stitch going down the side of your facing. This doesn’t need to go through the facing!
As I said before, I suggest giving this a test-run before doing it on your quilt. You want to finesse your stitch to just barely catch the back/batting of your quilt and not go through onto the front.

Complete each edge and finish as you would with hand stitching. The only place I need to hand stitch now (using my facing technique) is the corner pieces…I’ll take 10″ over 400″ any day!
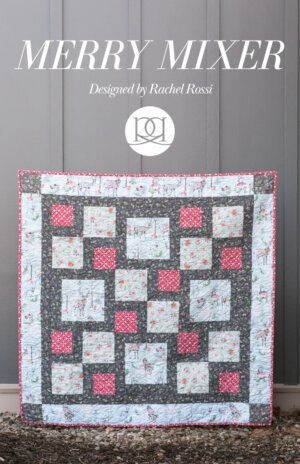
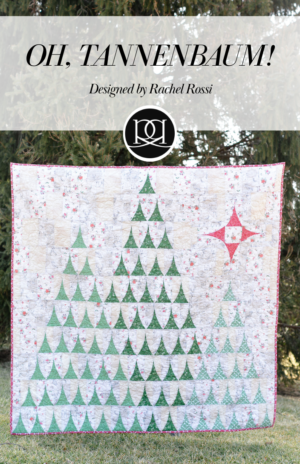
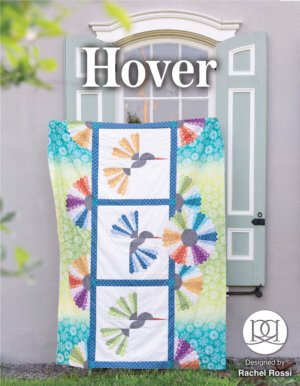
Try Facing One of these Lovelies…
I faced my Tiny Dancer quilt for a fresh, crisp finish…what will you face next!? Take a look around my shop for more beautiful quilt patterns!


Nice tutorial even though I’m one of those people who likes to hand stitch.
I have high hopes for this technique! Thanks for the tutorial!!
This is fantastic = I was reading an article recently,but this is so much better.
I do hand stitch, but you can bet I will try this soon.
Thanks