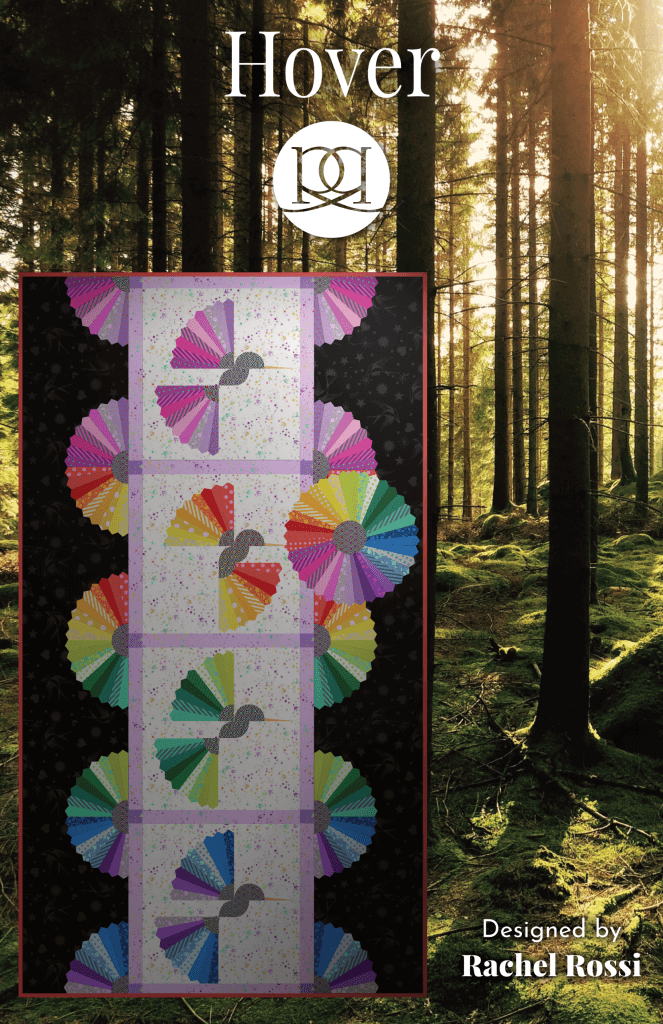
I know you aren’t supposed to have favorites, but I might need to make an exception for this fantabulous quilt…Hover is just a whole other level – I’m not sure I or my followers have ever been quite this excited for a quilt release before!
This pattern includes a wild number of sizes…I just couldn’t stop: Pillow, baby, throw, lap, twin, queen, and king (pardon me while I catch my breath!)…and today I want to show you just one more size that I couldn’t resist: the wall hanging.
Now I can’t take full credit on this, one of my incredible pattern testers and friends came up with this layout and size and even wrote out how she did it. So, a big round of applause for my pal, Jeanne.
Here is her gorgeous wall hanging:

So pretty…right?!
Now, if you’ve got your pattern and are ready to get stitching, here’s how it’s done:
Get the pattern here (if you haven’t already)
New to Dresden Plates? Once you make one block, you won’t be able to stop – believe you me! It is the most satisfying form of appliqué that I’ve come across yet! And if you’re into making things look extra fancy you can use the included instructions on invisible machine appliqué!
Need a kit? A Fat Eighth bundle? A Fat Quarter bundle? No worries – I’ve got you covered!

Follow the Pillow Instructions
The main chunk of this wall hanging is created from the pillow pattern included. So, go ahead and follow those instructions EXCEPT for the sashing and intersection pieces. If you’d like, you can add sashing and intersections, but they will need to be cut longer since the wall hanging is longer.
Additionally, you can choose to use a hovering bird or a bird in flight for your wall hanging!

Cut a few more pieces…
To get the wall hanging size (which is 26″ x 27″ in case I didn’t already mention it), you’ll need a little extra background fabric. If you’re buying extra from the store, you’ll need an extra half yard:
- 1 Background Rectangle: 7.5″ x 22″
- 2 Background Rectangles: 2.5″ x 27″
Now, take your pillow and add the 7.5″ x 22″ rectangle to the right side of it. This is where your flower will end up blooming. Press seams away from the hummingbird.
Taking the 2 remaining background rectangles, stitch one to the top and one to the bottom of your wall hanging. Press seams away from the hummingbird.
Create a flower
If you are creating the flower from the same fabrics as your bird, you’ll have plenty to use here! Cut 18 more Dresden plate slices for the flower.

Follow step 37 (Half circle) to create the flower (this is the same way that you created the feathers, you’ll just be stitching together 18 slices rather than 9.
Cut 1 flower center template from page 8.
Follow step 39 to create a half circle.
Follow steps 5-6 to stitch the flower and center in place. Make sure that you remember to use stabilizer behind your appliqué so that it’s nice and crisp!
Quilt and Bind!
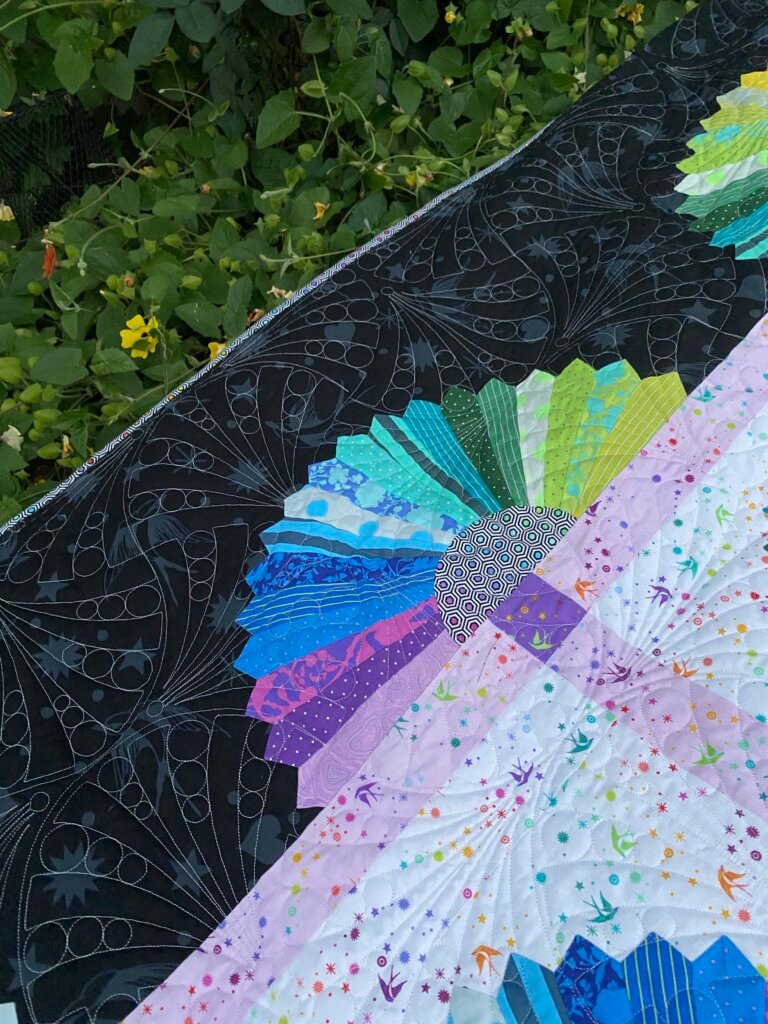
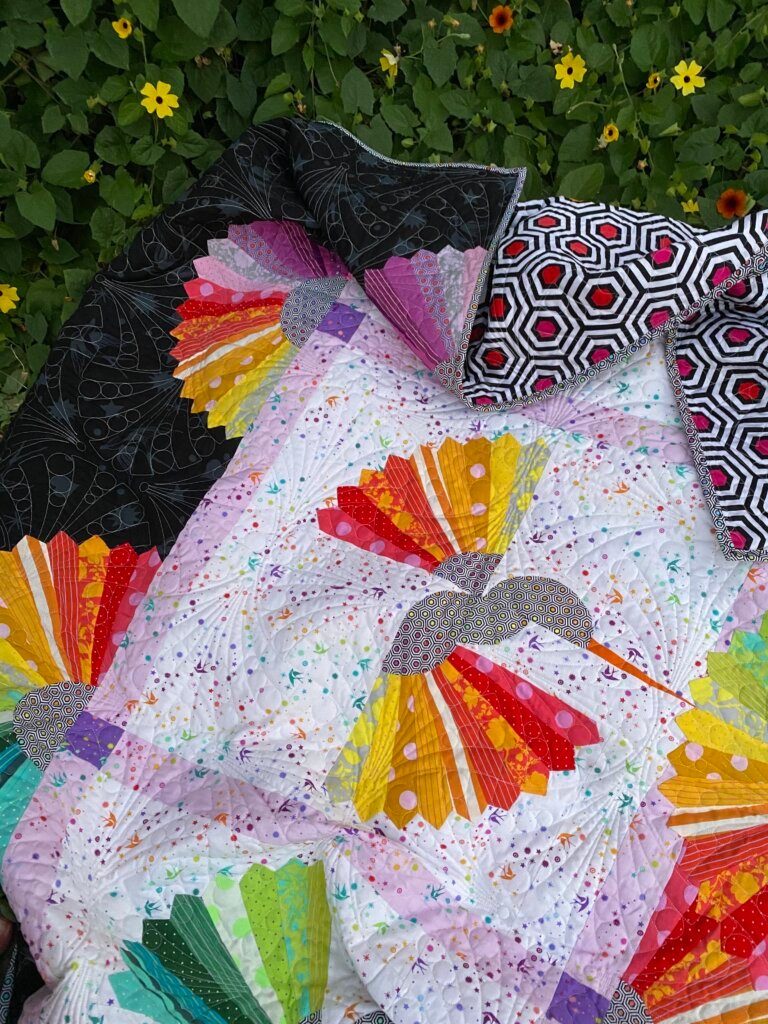
Quilting and binding can always feel like such a big decision! You can’t go wrong with outline or echo quilting this design, that’s what I used on my pillow (see that tutorial here). The twin version (shown left) was quilted by Cindy over at North Star Longarm Quilting. She used an edge to edge design called Twister Pearl Palm Clamshell by Marci Gore of Lily Street Quilts.
…whatever you choose, it’s going to be amazing!
The Hover Quilt Pattern, Kits, and Bundles are now available!
Get them while they last!


Other things you’re sure to love:
Video Tutorials
Check out these tutorials that will help you along the way!


Original Patterns
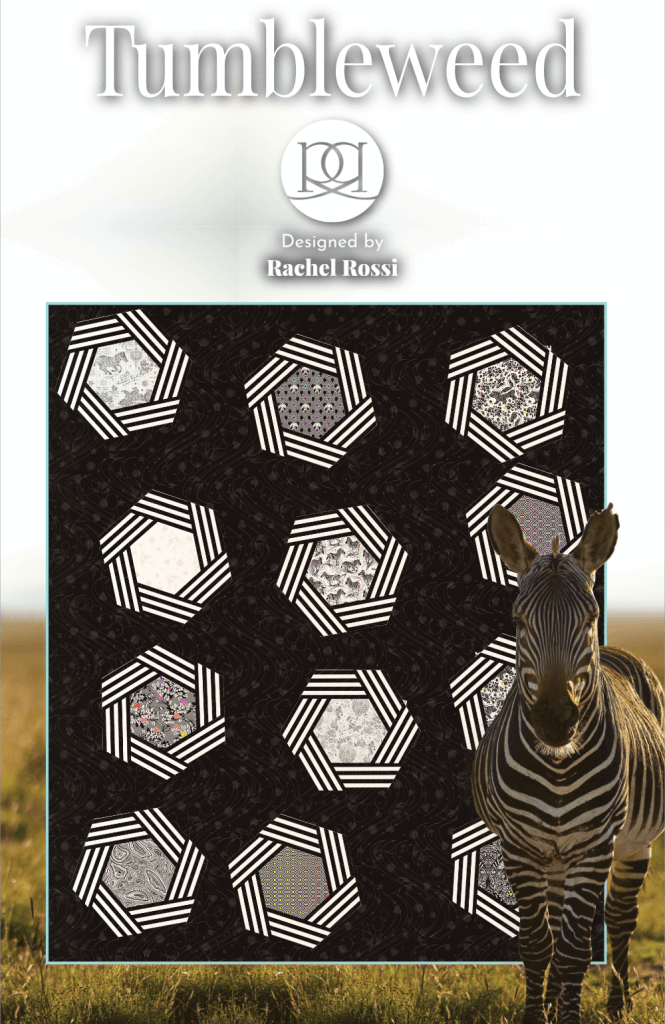
Loving the Hover pattern? Check out these other great original patterns designed by yours truly!