


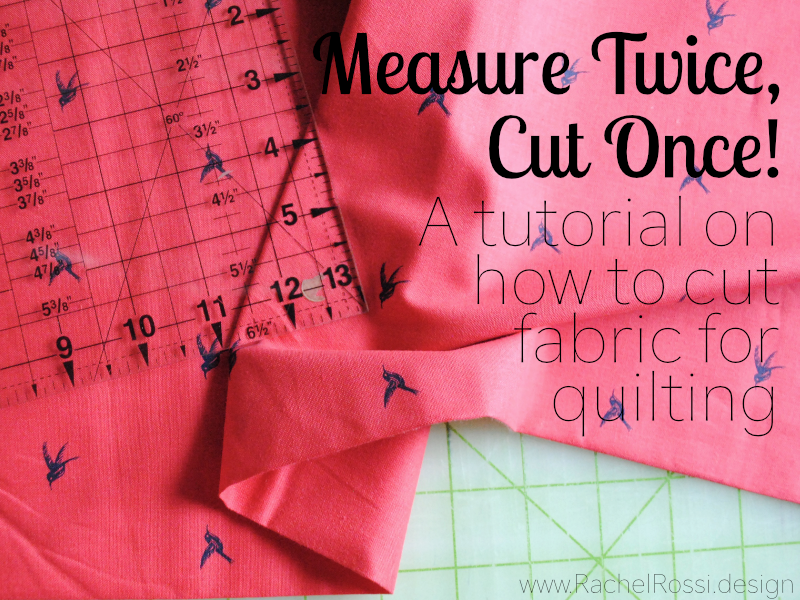
Quilting seems daunting even to the bravest of beginners—hand them a self healing mat and a mini pizza cutter and they are sure to sweat a little. It’s intimidating! Today I’m going to show you best practice cutting for quilting. Once you read through this tutorial, you’ll be ready to go! This is also a great brush-up for experienced quilters and their cutting techniques.
What You’ll Need to Start Cutting Fabric
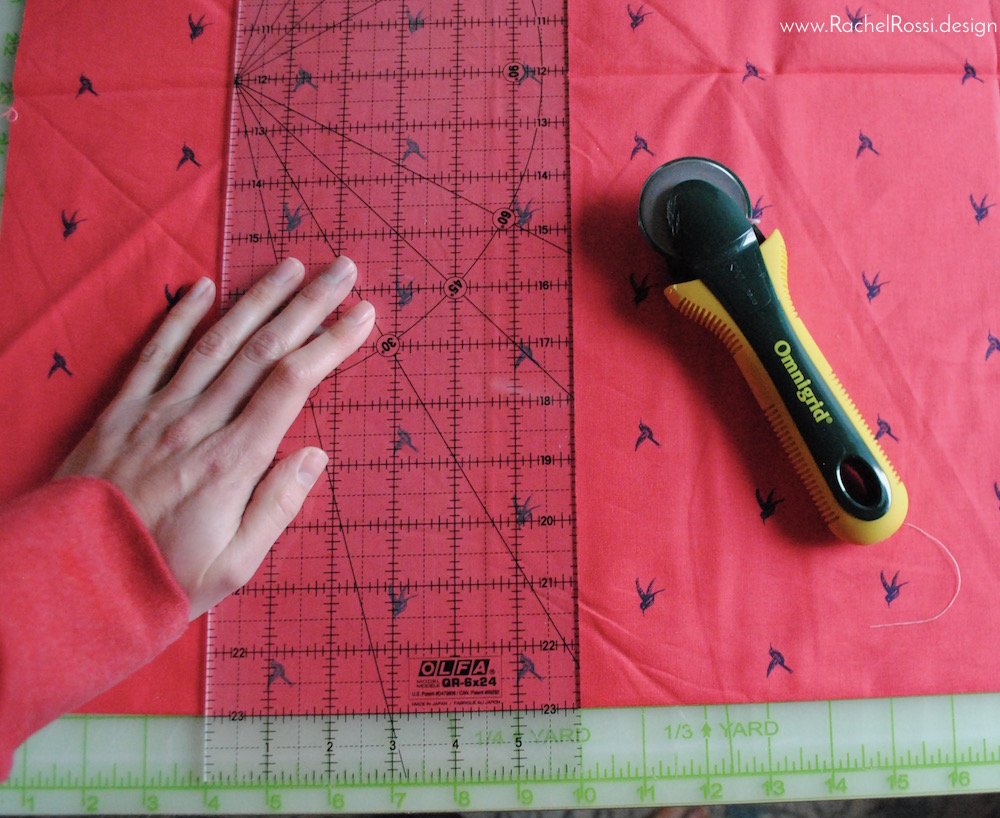
Cutting fabric for quilts takes 3 tools:
- Self-healing mat
- Acrylic quilting ruler
- Rotary cutter
For more helpful quilting tools, make sure to see my 10 Quilting Tools I Couldn’t Live Without post!
Straighten the Edge
The most important step before you start cutting your pieces out is to straighten the edge of your fabric. You’ll do this by lining up the folded edge of your fabric (just like it was folded on the bolt) along the bottom line of your cutting mat. Scoot it over until the perpendicular raw edge is covering an entire line. Next, you’ll take your quilting ruler, line it up along a straight line on the mat (near the raw edge) and trim off any pieces that aren’t straight.

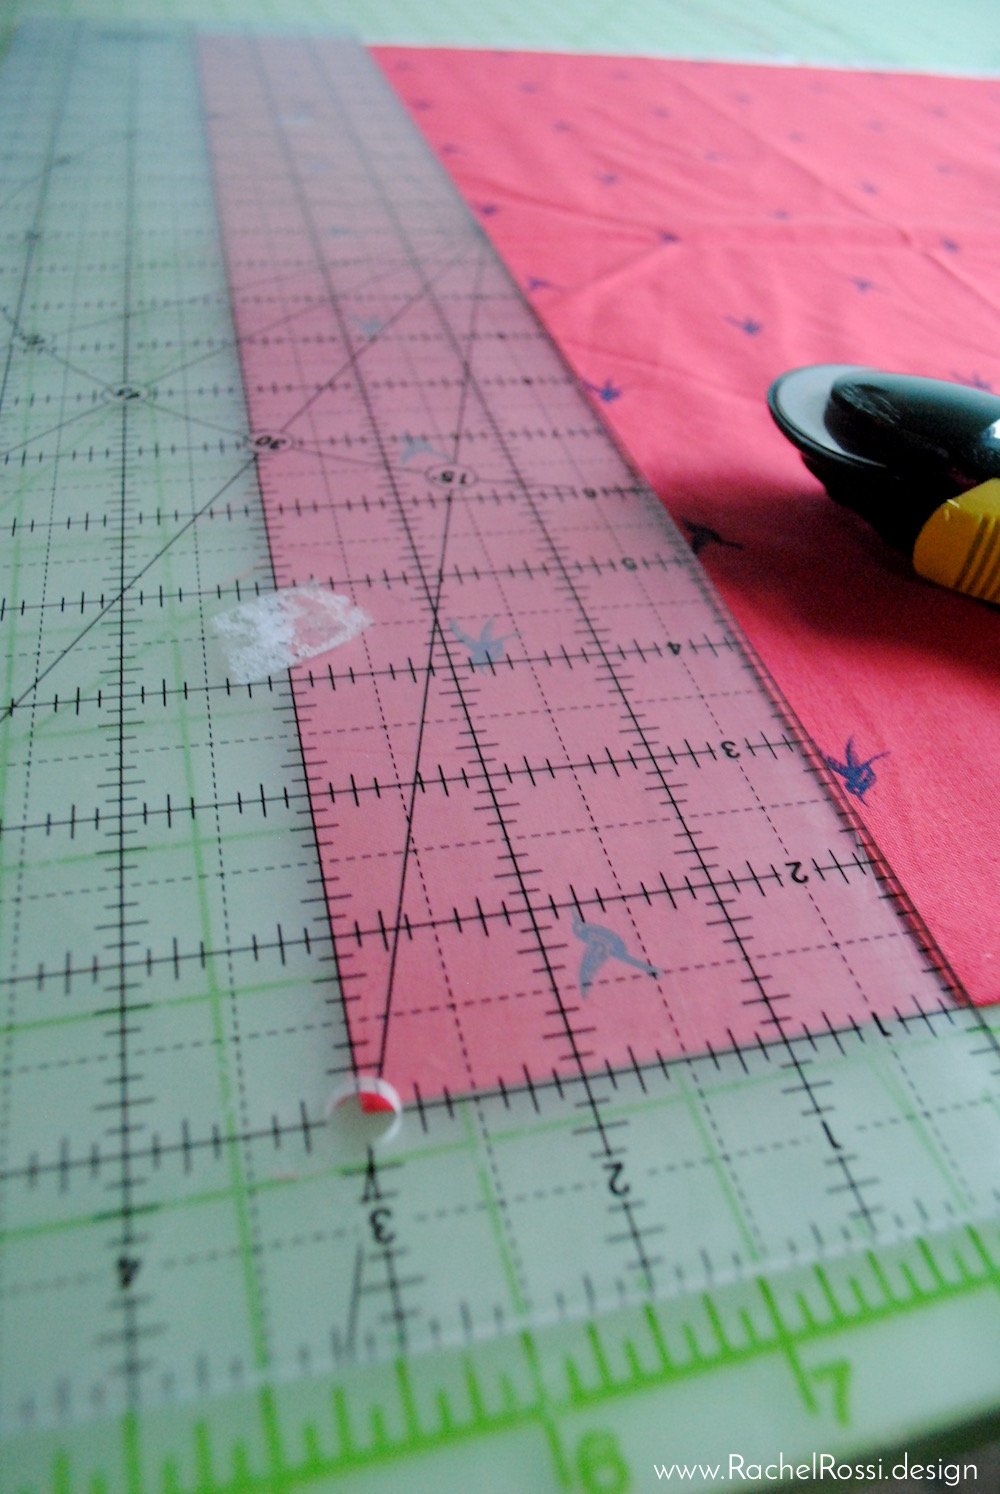
Cut away from the Project
I typically like to put the ruler over the part of the project that I am cutting out. That way, if I mess up, I’ll be cutting into excess fabric, not the pieces that I need! For example, when straightening edges, as shown above, I like to cut off the excess from the right side, and then turn it over and cut the pieces from there.

Two Ways to Skin a Cat
I hate that phrase, but sometimes it really works…and it’s a little funny, who actually says that anyway?! In this case, there are two ways to cut your blocks depending on the size that you’re cutting. Take a look:
Cutting Large Pieces
If you’re cutting large pieces of fabric out, start by lining up your bottom fold on the bottom line of your self-healing mat. Then line up the straightened edge on the perpendicular line to the left. Place your quilting ruler on the mark that you’re measuring to. Firmly hold down the ruler with your right hand and cut along the side of it with your rotary cutter. Don’t be afraid to push against the ruler with the cutter, but make sure to keep your fingers out of the way! Rotary cutters are incredibly sharp!
Make sure that all pieces were cut by gently tugging on the right side of the fabric and holding the ruler in place. If not, cut against the ruler again. If your rotary cutter does this more than a few times, it’s probably time to replace the blade!
Set that piece aside, and continue to follow the instructions!
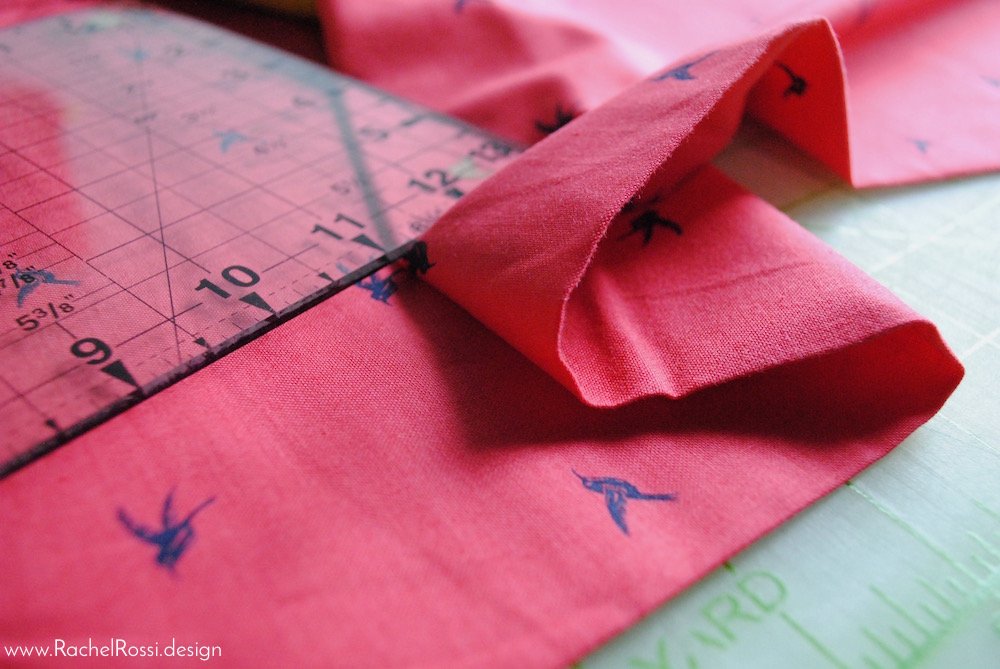
Cutting Small Pieces
If you’re cutting pieces that are smaller or the same size as your ruler, you don’t necessarily need to line things up on the self-healing mat. I prefer doing this method when I can because it seems a little more precise. Simply line up a horizontal line near the bottom of the ruler with the folded edge. Then, line up the appropriate measurement with the raw straightened edge. Double check this measurement before cutting! Go ahead and press down on the ruler, and cut using the rotary cutter. Firmly hold the ruler down and tug on the remaining fabric, and re-cut if necessary.
Measure Twice, Cut Once
This ancient advice was never more true than it is with quilting! It’s the worst feeling in the world to cut something an inch (or even worse, a quarter of an inch) too short! It could be the difference between finishing your project today or scurrying back over the the quilt store before you can finish! So, always double check the pattern measurements and double check before you cut.
That’s all there is to it! Cutting with the rotary cutter is an incredibly precise way to get your pieces cut and ready to go. I would definitely suggest labeling your pieces as soon as they are cut so that you can zoom through the rest of your pattern and are sure to not get anything mixed up as you go.
Do you have any favorite tricks or tips for cutting quilting fabric? I’d love to hear them in the comments below!
Enjoy reading this post? To make sure you don’t miss a thing, follow me on Pinterest, Facebook, and Instagram and sign up for an email subscription to my blog.