


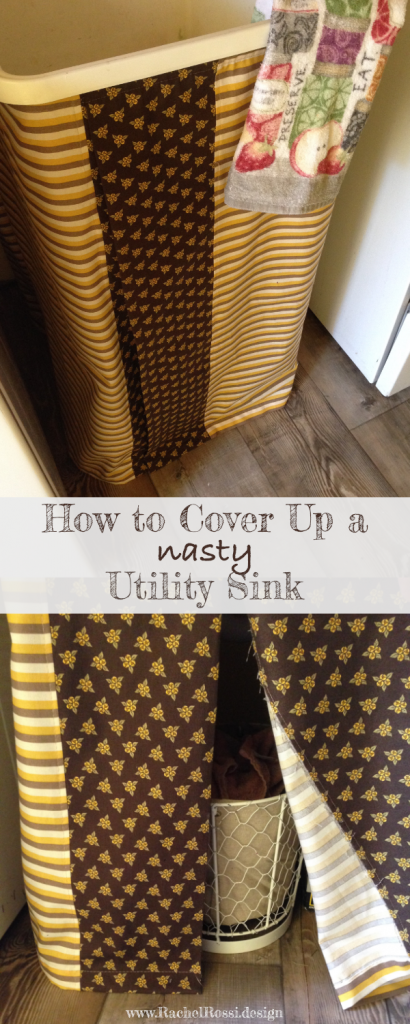
As things round up in my laundry room, there was one eyesore that I just couldn’t let go. The utility sink. I’d love to have made an amazing sink base for this little guy, but it just wasn’t going to happen. So, a sink skirt it was—when in doubt, fabric is usually the answer.
My laundry room is the only room in my house that I could call a country style. It also doubles as my canning room during the summer and fall months, so it only seemed proper to make it feel a little homey. Besides, everyone should have at least one room in their house that channels every sweet memory of their mother. The canning/laundry room is mine, which is perfect because there’s nothing that my mom loves more than rows of colorful mason jars and the smell of laundry fresh off the line. It’s a love that she’s instilled in both me and my sister.
So, I’m sure you’re wondering how we went from this sad utility sink to a sink skirt that hides the icky legs and creates a little hidden storage…well, here’s the before picture to get some perspective:
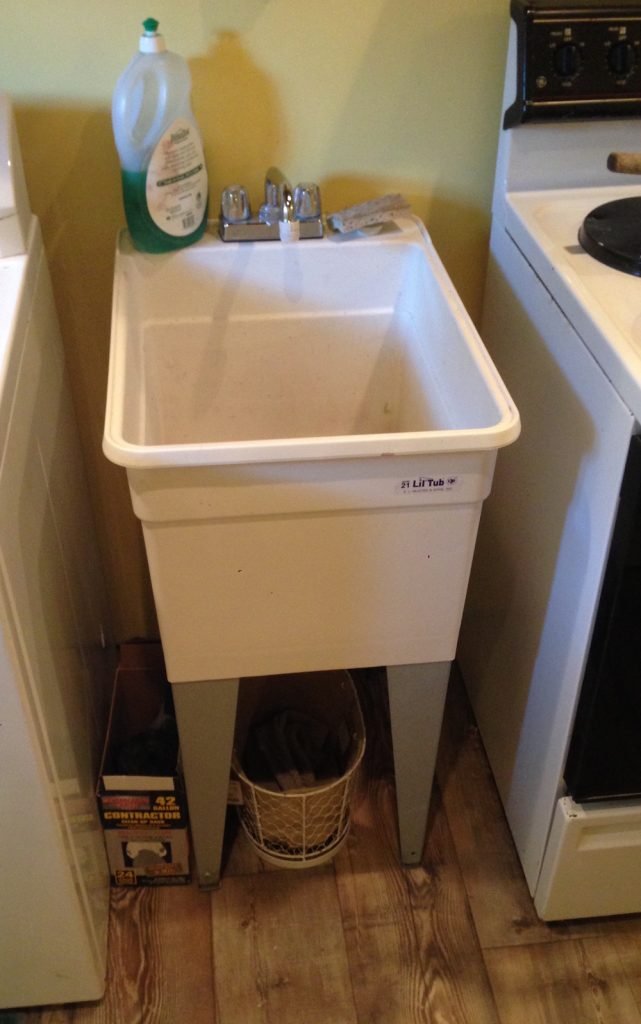
This is a standard 18″ w utility sink (you can get these at Lowes or Home Depot easily). If you want to spruce yours utility sink up, or see how I did it, make sure to read on! But first, the supply list:
What You’ll Need
Assuming an 18″ standard utility sink and 45″ wide fabrics cotton fabrics
- Velcro: There are two types you’ll need…
- 1 side with a sticky backing (either hook or loop)
- 1 side without a sticky backing (opposite from what you have chosen above)
- Fabric
- 1-7/8 yards of main fabric
- 2/3 yards for the stripe
- Matching thread
- Rotary Mat (optional)
- Rotary Cutter (optional)
- Iron/Ironing Board
- Measuring Tape
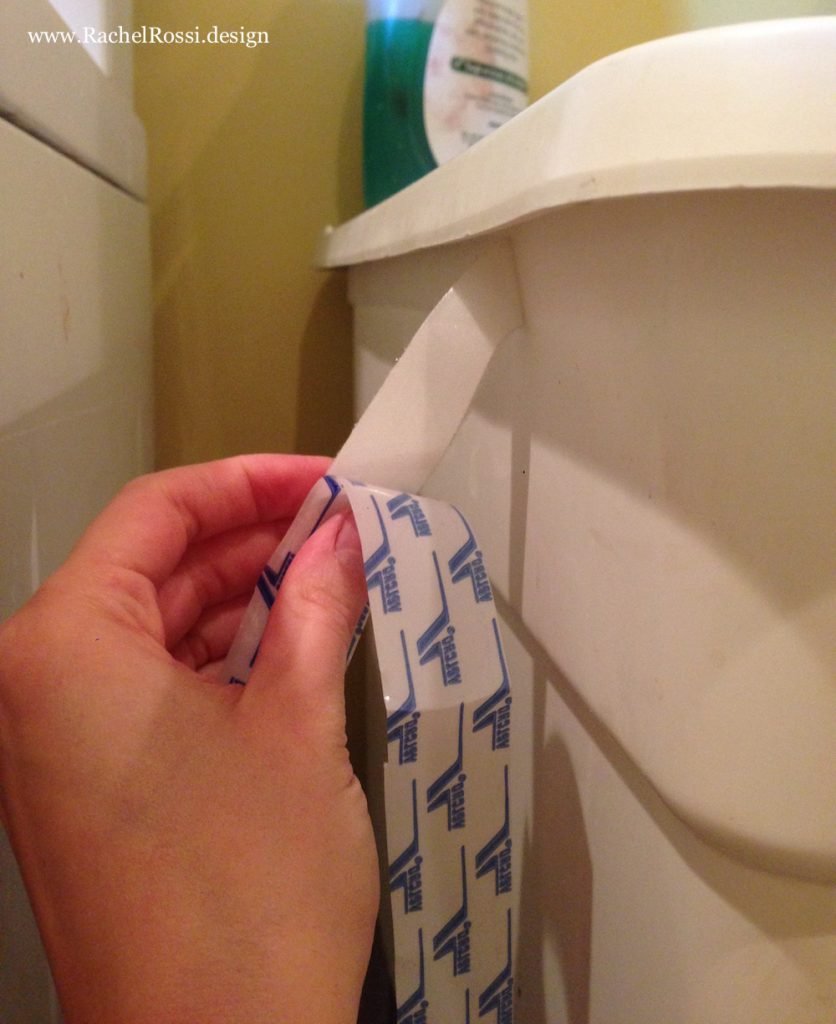
How to Attach Velcro to the Sink
This part is fairly simple. The trick to adding velcro to the side of the sink is to only peel the backing off a little at a time. The Velcro is VERY sticky and will stick to itself and you if you peel too much! Slowly add the velcro under the top lip, making sure to keep it as straight as you can.
Making a Sink Skirt
Making the skirt is also fairly simple, it just takes a little time. You’re essentially making two simple curtains. Assuming that your sink is 18″ like mine, you can use the following instructions and dimensions. If your sink is a different size, this is a great place to start, but you’ll need to update the numbers.

Cutting Measurements
You’ll need to cut a total of 4 rectangles, the measurements are below:
- Main Fabric: (2) 31-3/4″ x 36-3/4″
- Accent Fabric: (2) 32-3/4″ x 11-1/2″
Ironing
Ironing is just as important to sewing a simple curtain as it is to quilting! Make sure that you do this step carefully & take your time!
Start by ironing out the creases in all your pieces, set aside the two main print rectangles and iron the accent stripe in half lengthwise, you should have two pieces that measure 5-3/4″ x 36-3/4.”

Sewing
All seams are 1/4″ unless noted otherwise
Using 1 main print rectangle and 1 folded accent rectangle, stitch raw edges together. Press seam toward main print and topstitch about 1/4″ from the edge.

Repeat for the other rectangles.
To hem the other raw side of the skirt, fold over 1/2″ and press.

Fold over another 1″ and press again. Topstitch along the inside fold to hold in place. Repeat for the other rectangle.

Hem the top and bottom of the curtain in the same way that you hemmed the last side.
Adding Velcro
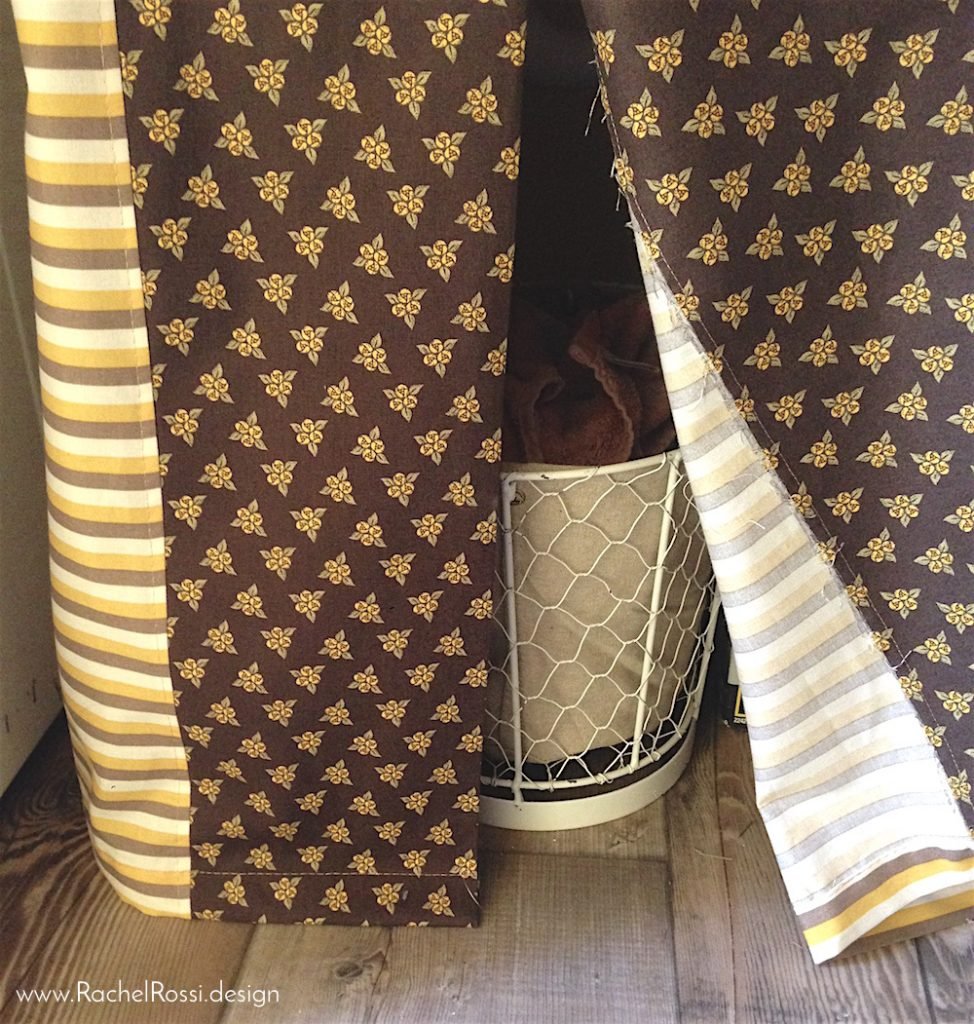
The final step for making the sink skirt is simple! Using some pins, line up your accent stripes so that one covers the other, making sure that both right sides are facing out. Pin into place. This overlap will allow you to have access to storage underneath the sink!
Now, layer the Velcro to the wrong side of the top hem, pin into place, making sure that it stays straight. Topstitch the Velcro onto the hem, top and bottom.
Iron one last time for good measure and stick your skirt onto the sink base! I left a little wiggle room in mine so that I could offset the accent strip or add a pleat! Feel free to arrange how you like and bunch up the excess behind the sink.

I’d love to see your versions of the sink skirt in the comments below! If you found any useful tips or tricks, be sure to let me and other readers know about it as well.
Enjoy reading this post? To make sure you don’t miss a thing, follow me on Pinterest, Facebook, and Instagram and sign up for an email subscription to my blog.