


There are 3 main steps to quilting: piecing the top, quilting, and binding. Piecing will always depend on the quilt you choose to make and your pattern will show you how to piece the top. Today I’m going to show you step 2: Quilting.
After you put together the top (check out my patterns for some great quilt top patterns!), you’ll need to add the top-stitching that makes a quilt, well…a quilt. There are a few different ways to go about doing this, but they all achieve the same end, lets start with the basics:
Note: Some of the links below may be affiliate links, meaning that if you choose to purchase through them, I will be compensated. This allows me to provide weekly content for you, free of charge! Thank you for your support!
First, you’ll need to decide if you want to quilt by hand or machine. Hand quilting, though a lengthy process, is a labor of love and truly makes your quilt an heirloom piece. You can also take your quilt to a longarmer and have them stitch it with a machine. This can take a few months depending on the waiting list, so make sure that you plan ahead and have your quilt top finished early enough!
How to Quilt by Hand
To be 100% honest, I have only hand quilted once. My grandmother taught me when I was young, and though I treasure that memory, this is just a little too time-intensive for me. I do believe that hand quilting is an art in its own right and if you want to do it, don’t let me stop you! Go for it!
What You’ll Need:
- Quilt Frame
or Quilting Hoop
- Cotton Batting
- Backing Fabric
- Erasable Fabric Marker
- Quilting Template
- Cotton Quilting Thread
- Hand Quilting Needles
You’ll need a few supplies to start hand quilting. The first, and most important item, is a quilting frame. You will layer the backing (wrong side up), batting, and pieced top (right side up). and place them on the frame. This is often referred to as “the quilt sandwich.”
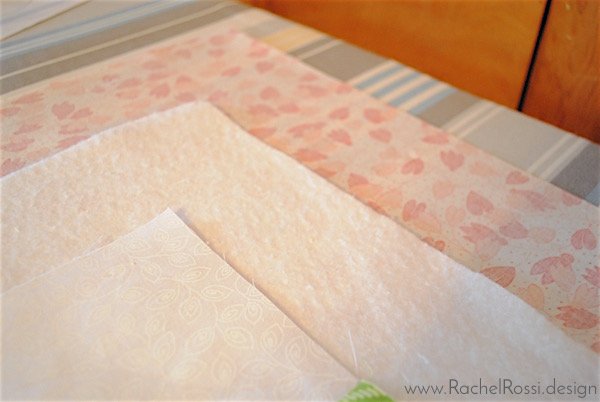
The “Quilt Sandwich” is just your backing (wrong side up), batting, and Quilt Top (Right side up)!
Straighten everything out to make sure it’s flat. Next, you’ll draw the design for stitching on the top with an erasable fabric marker and the quilting template. The template looks like a stencil and works in the same way, you’ll just draw within the lines straight onto your quilt top.
Using your hand needle and thread make a small knot. Go up through the backing and pull it through 1 layer. This will hide the knot in between the backing and batting. Using the lines as a guide, stitch going up through the back and down through the front. Continue until the entire quilt top is quilted.
How to Quilt on Your Sewing Machine
What You’ll Need:
- Safety Pins
- Walking Foot (the exact foot will depend on the type of sewing machine you are using)
- Cotton Quilting Thread
- Cotton Batting
- Backing Fabric
- Erasable Fabric Marker
Quilting on your sewing machine will work best on a small quilt and a less detailed design (maybe straight lines or waves), but can be done on larger quilts, if you take your time and practice! I’ve done smaller projects, like runners and placemats on my machine using a freehand technique or stitch in the ditch (my favorite!). To get started, you’ll simply make your “quilt sandwich,” and pin it together with safety pins (about every 8″ or so).

The Quilt Sandwich.
Draw on your design and then, using your walking foot, carefully stitch over the design you’ve drawn. It is incredibly helpful to have a larger table to rest your sewing machine on, allowing something to support the weight and size of the quilt.


Have Your Quilt Longarmed
The easiest way to quilt your quilt top is to take it to a professional longarm service. This is typically how I have my quilting done. It allows you to get an intricate, computerized design, perfect stitching, and a quick turnaround (this varies depending on the wait time for your specific longarmer). Typically, the longarm service will provide batting and thread and charge you per square inch, make sure you check on pricing and requirements before bringing in your quilt.
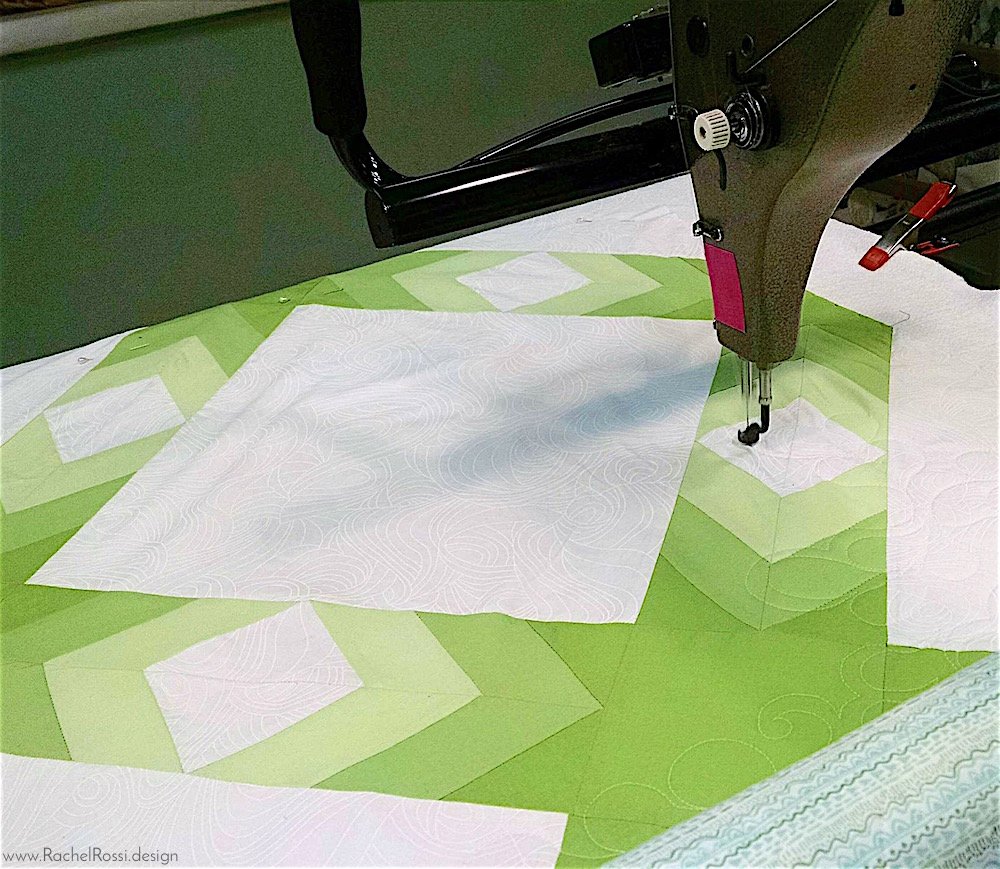
Here’s my Burst Throw Quilt on the Longarm!
What’s your favorite way to quilt your projects? Be sure to share your pictures, tips and tricks in the comments below!
Enjoy reading this post? To make sure you don’t miss a thing, follow me on Pinterest, Facebook, and Instagram and sign up for an email subscription to my blog.
Really thorough and explicit directions. I also like your photos. Good job.
I go for the longarm approach every time! The computerized patterns offer many options and the wait time is only about 2 months. As you stated in your blog, if I plan ahead, it’s never a problem.