


Today, I’m excited to present you with a tutorial that’s been in the works for a while: my very own Raw Edge Appliqué Tutorial! That’s right—a full, step by step tutorial on how to achieve a lovely little raw edge appliqué. This is the only type of appliqué that I use in my patterns, so you’ll always be able to check back here when you have a question on one of my patterns. If you’re an appliqué lover and want to see those patterns, be sure to check them out in my shop, or take a look at the photos below:

If you’re curious about what quilt all the following photos are from, you’ll just have to wait and see in February! (I promise—you’ll fall in love with this one!) Alright, let’s get started…
What You’ll Need
Appliqué involves not many, but a few important items. These are:
- A template or pattern to trace (included with your pattern)
- Fusible Web (this can be bought at most fabric stores & is usually found with interfacing)
- Pencil
- Scissors
- Iron
- Thread to match your fabrics
Tracing the Design
Now that we’ve got our supplies together, we are ready to transfer the appliqué design onto our fusible web. My patterns always note that the designs are already reversed for tracing. If you’re using a different pattern that doesn’t specify that the images are reversed, you’ll need to check on whether or not you need to reverse the design yourself. When in doubt, always refer to your pattern and remember that anything you trace will end up being a mirror image of the final appliqué.
First, place your pattern or template on a flat surface. If you’ve got a light table or box, it’s especially helpful, but not necessary. Place your fusible web on top, with the loose paper side facing up.

Carefully trace around the design. Continue to do this until all of the pattern pieces are traced onto the web.

Iron on the Appliqué
Next, you’ll loosely cut out your fusible web shapes. Don’t worry about getting a precise cut just yet, you’ll want to leave some room around your shape for cutting.
Grab your shapes and fabric & head over to the iron. Place your fabric wrong side up, and peel off the loose side of your fusible web paper (make sure to leave the other paper side attached). Place the fusible web shape, shiny side down, paper side up, on top of your fabric. Cover with another piece of fabric and iron into place.
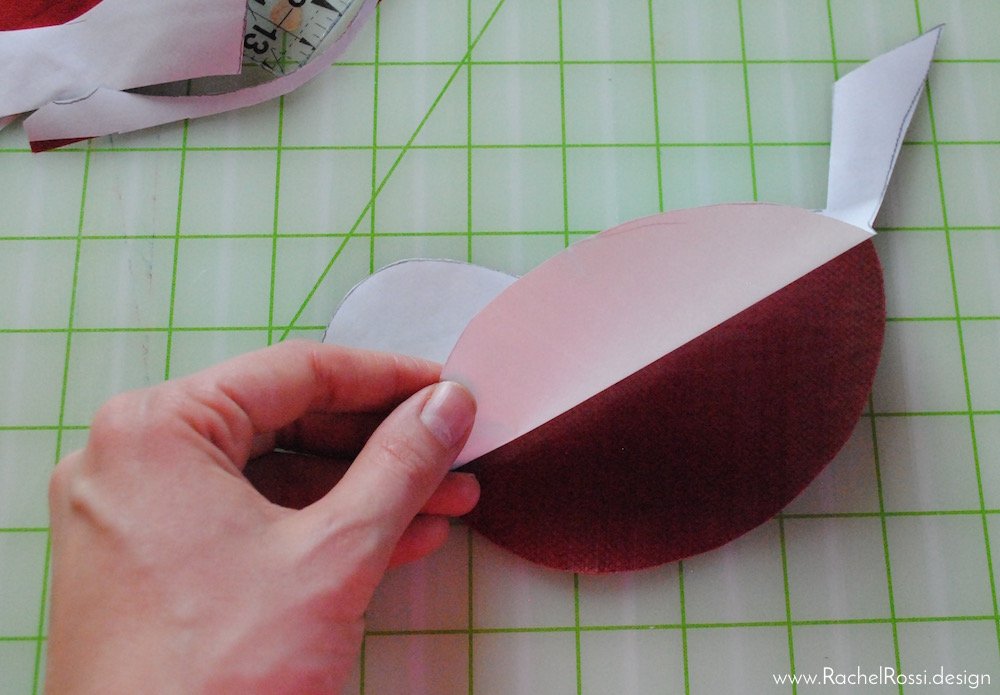
Cut out your Pieces
Next, grab your scissors (the sharper the better!) and cut around the shape, carefully following your pencil tracings.

Continue this until all your pieces are cut out.
Attaching the Appliqué to the Quilt Top
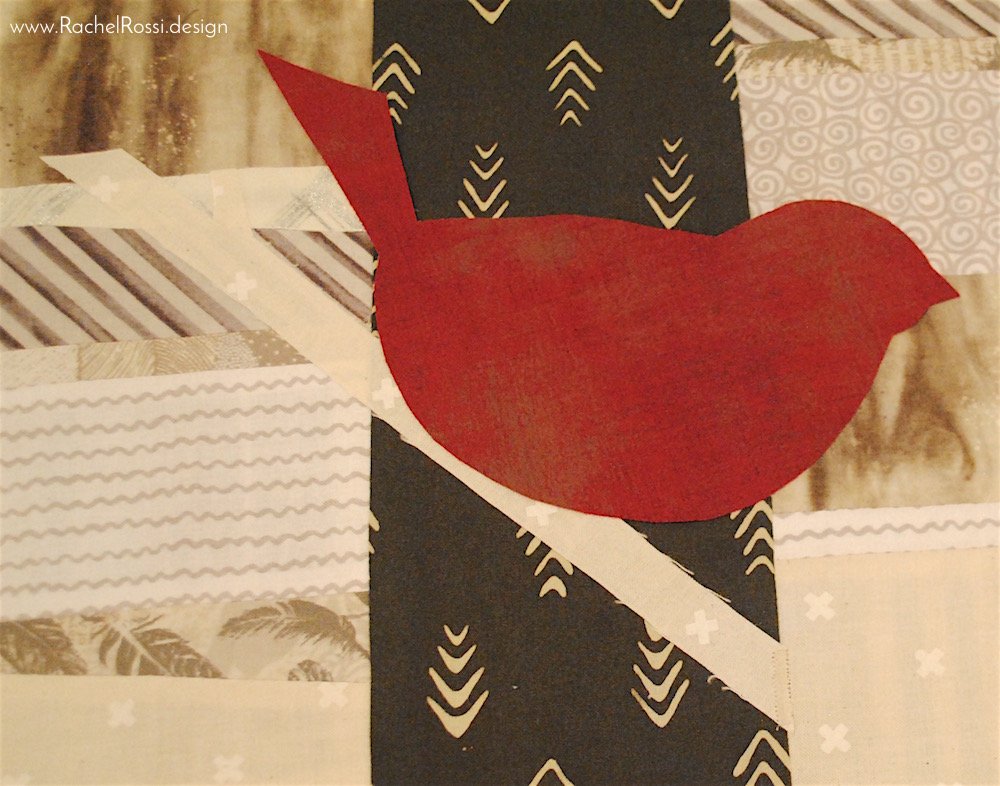
Carefully peel off the paper backing on your appliqué shape.
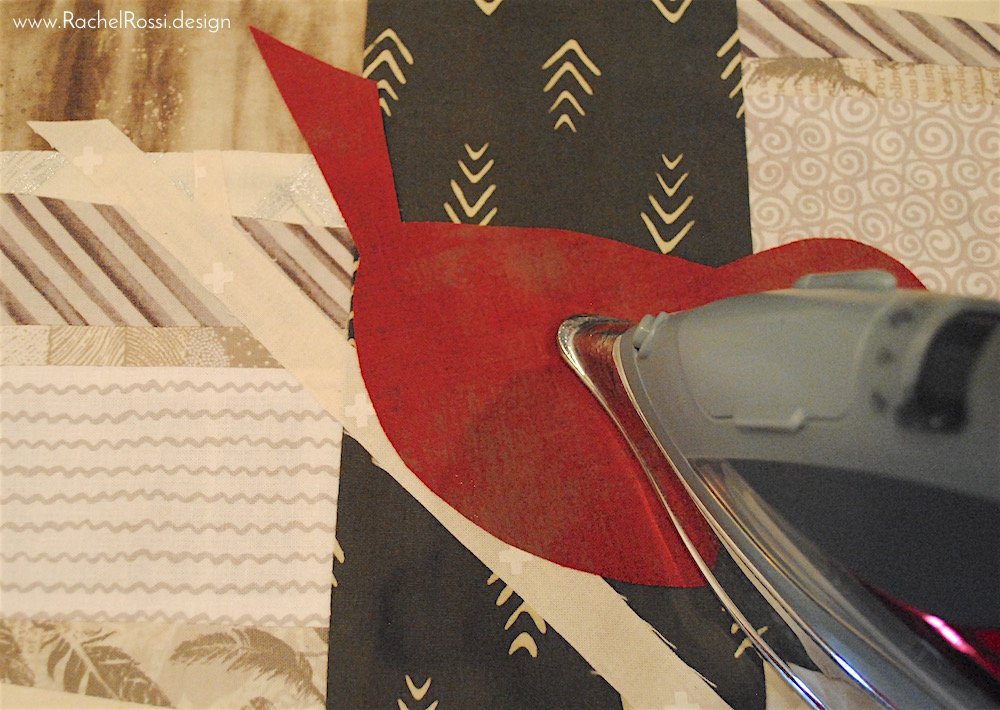
You should be left with a sheen on the wrong side of your fabric. Flip your appliqué over and place in the desired position on your quilt top. I like to place all of my appliqué pieces (especially if they overlap) and then press. This way, I ensure that I’m not appliquéing over a thick stitch, or creating an awkward bump.
Iron into place (Make sure the appliqué is where you want it permanently—if you peel off the appliqué, it may leave a shiny mark).
Sewing the Appliqué into Place
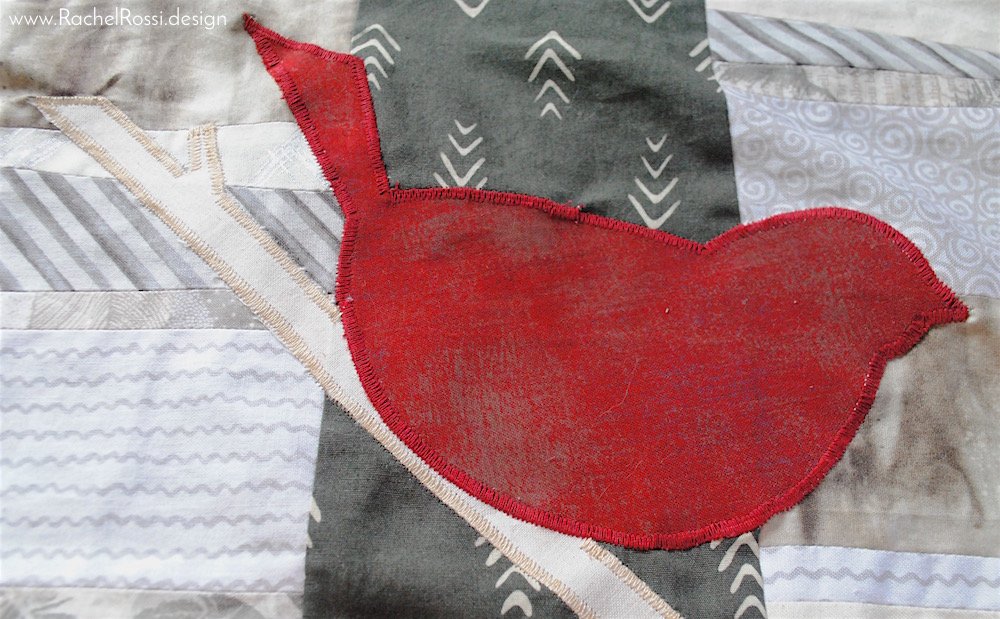
Now for the final piece: sewing your appliqué shapes into place! You can use many different stitches for this, but I prefer a simple zig-zag or blanket stitch. For this particular quilt, I wanted the shapes to really pop, so I used a really large, tight zig-zag.

Start with the bottom layers of appliqué. For example, this appliqué bird is over top of this appliqué branch, so I’ll start first with the branch and then move onto the bird. Working by layer will ensure that you don’t miss any pieces.
To secure your appliqué pieces on and make sure that they don’t fray, make sure that when sewing, the needle goes just past the appliqué into the quilt top, and the other half goes into the appliqué shape itself.

That’s all there is to it! Raw edge appliqué is one of my favorite techniques—I love the variety of looks that you can get using it and the simplicity of the process. What are your favorite ways to appliqué ? I’d love to hear about it, or see your appliqué successes, tips, and questions in the comments below:
Enjoy reading this post? To make sure you don’t miss a thing, follow me on Pinterest, Facebook, and Instagram and sign up for an email subscription to my blog.