
Today I’ve got a super-fun super-easy headboard tutorial for you! This all started with an old box of odds and ends that my grandpa (we call him Pappap) gave me. There’s some question as to what all of these pieces once built, but by the sounds of it, it was some sort of hutch that my Great Pappap built himself. Not having any idea what this piece looked like, how big it was, or really what it was for, the box sat and sat in my garage. I nearly threw it away on multiple occasions, but didn’t want to throw away this little piece of family history!
After much sitting, I realized that the majority of the pieces in the box were what looked like scraps of wood flooring! That might make some interesting modern art somewhere I thought… Not too long after that thought, I was trying to scrape together ideas for a bed frame and headboard in my teeny tiny guest room and these flooring scraps came to mind! An idea was born and some serious money was saved that day. I’m going to show you how to make your own headboard from leftover hardwood flooring in the tutorial below!
Finding the Materials
So, you love this project but don’t have any hardwood flooring lying around? Never fear! If you haven’t already explored the depths (and heights) of your home, make sure that you do! Often times you will find extra flooring in attics, basements, and rafters!
If you can’t seem to come across extra flooring in your own home, try looking at flea markets, antique stores, and yard sales. You just never know what you might find there! Just make sure to scrub your treasures very well before getting started.
And, if all else fails, buying a few pieces of hardwood flooring and cutting them down isn’t the end of the world. Just make sure to cut them in random lengths and make sure that you get enough pieces to get the width that you want!
What You’ll Need
This project is pretty straightforward, but every good tutorial starts with a list!

- Hammer
- Wood Glue
- Hardwood Flooring Pieces
- Scrap piece of 1/2″ thick wood (plywood will do just fine) equal to the finished length of your headboard.
- Hanging D rings and hanging wire
- Small nails or screws (3/4″-1″)
- Rag
Laying it Out
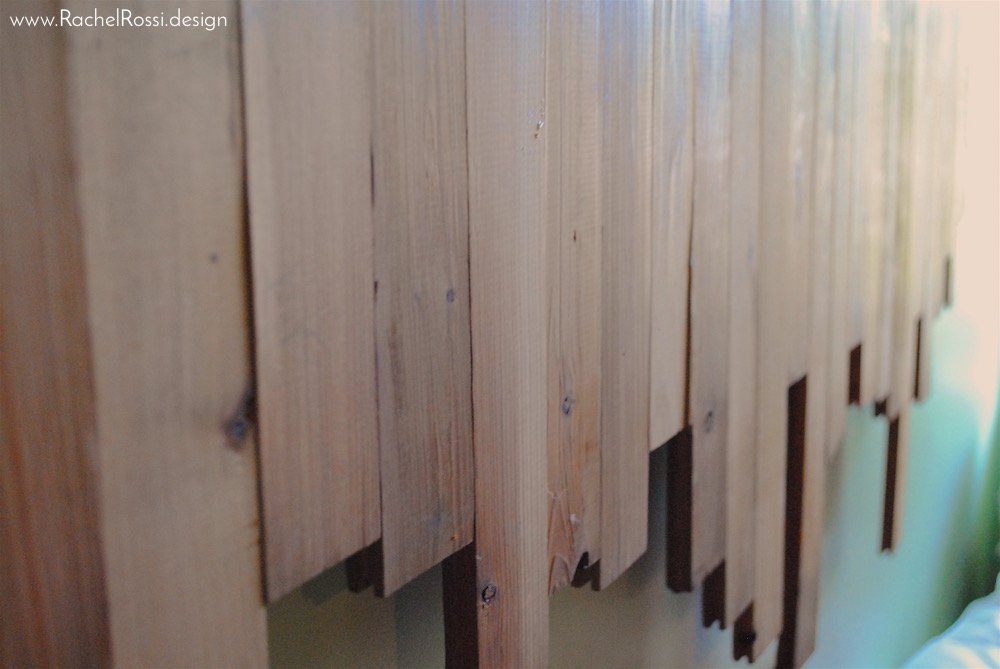
To start, you’re going to lay out all of your hardwood pieces, right side up. Try and arrange everything to be somewhat random, but leave enough meat in the middle to join everything together with your large piece of 1/2″ lumber.

Joining the Pieces
I would suggest doing this part on top of something like a dropcloth or a floor that you don’t care about.

Dab some wood glue onto the edge of “tongue” part of the flooring plank. Fit the piece into the “groove” piece next to it and lightly tap the two together from the edge. Make sure that you’re applying the same amount of force throughout the plank so that there aren’t any gaps or uneven spacing.
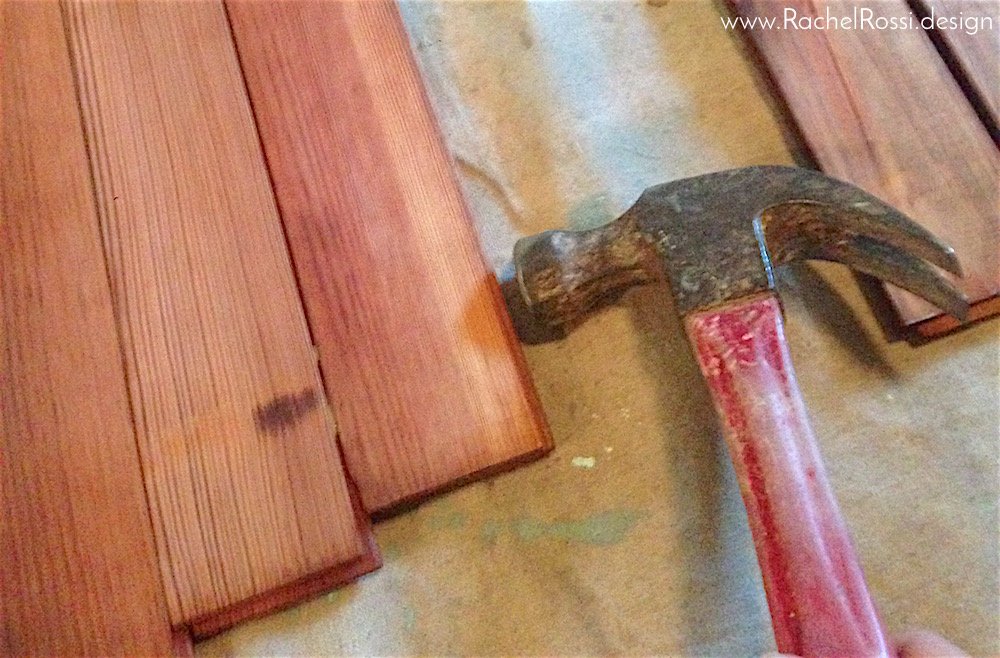
Wipe down any globs of glue that you spot quickly!

Let dry. I would suggest placing a piece of wood or something heavy on top of the boards to make sure that everything is sitting flat.
Securing the Pieces
I discovered that wood glue is great, but there’s still going to be some give to the headboard—I certainly wasn’t ready to hang it just yet!
Gently flip the headboard over so that the right side is facing down. Make sure that all the joints in the hardwood stayed together while flipping and repair those spots if needed.
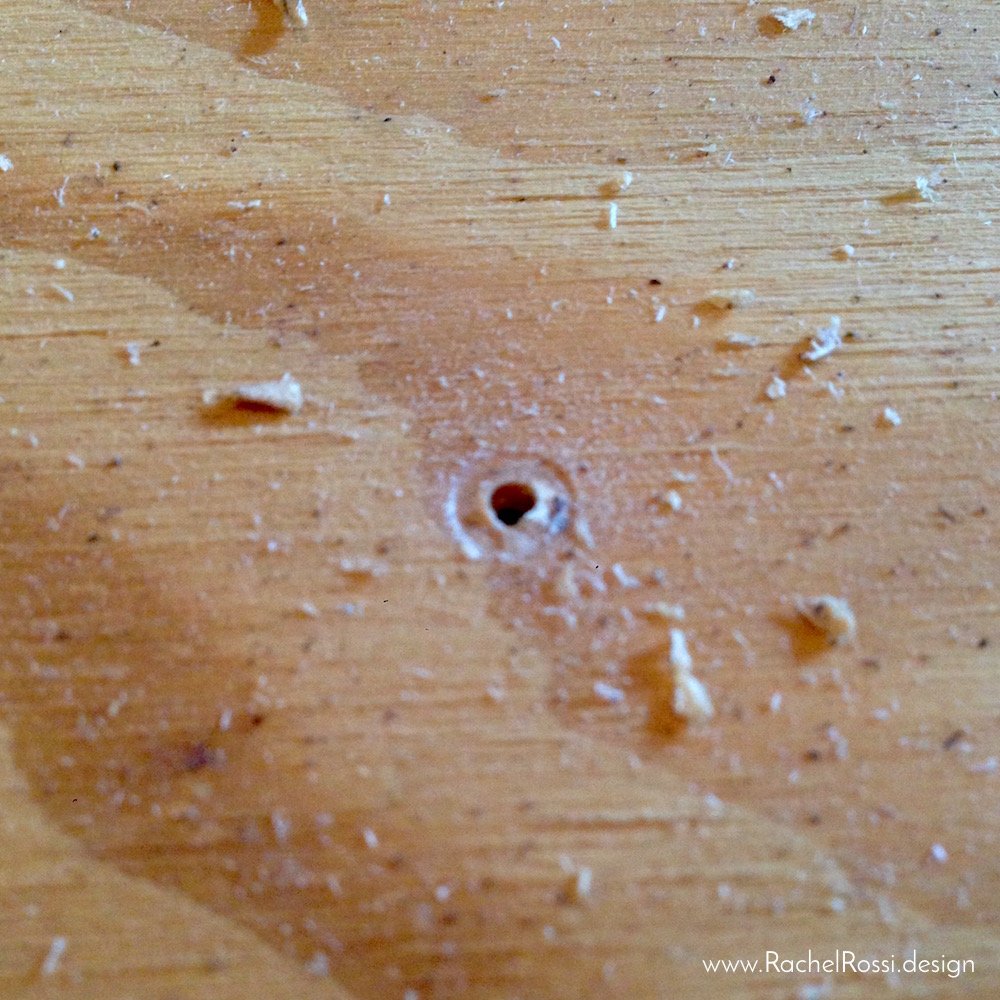
Place your 1/2″ thick lumber on the back of the headboard, making sure that it doesn’t show on any sides, top or bottom, of the headboard. After pre-drilling, secure each plank through the 1/2″ lumber with a small nail or screw. Make sure that the hardware is smaller than the 1/2″ + hardwood flooring height before adding!

Hanging the Headboard
Now that everything is secure, it’s time to hang this beast! First, add two D rings to each end of the headboard.
Next, you’ll string wire through the D rings to create an 0 shape.
Place two anchored screws into the wall. If you use the technique that I’m going to show you, you don’t need to worry about them being level! Read on to see how it’s done:
This part can be tricky, but it’s the best trick for getting large pieces like this to be straight and sturdy! Take the wire loop that you created on the back of the headboard and grab the top part on one side and the bottom part of the opposing side—one for each screw on the wall. This should create a sort-of 8 shape. Once you get the wire on the screws, you’ll be able to adjust the headboard easily to get it straight!
You might notice that the headboard leans forward a bit, no worries! Just grab a few scrap pieces of wood and some glue and tuck it on the backside of the plywood piece. This will make it more even. Just make sure that no glue drips on the bed!

I discovered a few pieces with handwriting on it! I’m pretty tickled that I might have something that my Great Pappap wrote…even if I can’t read it!
Add the Bed and Show It Off!
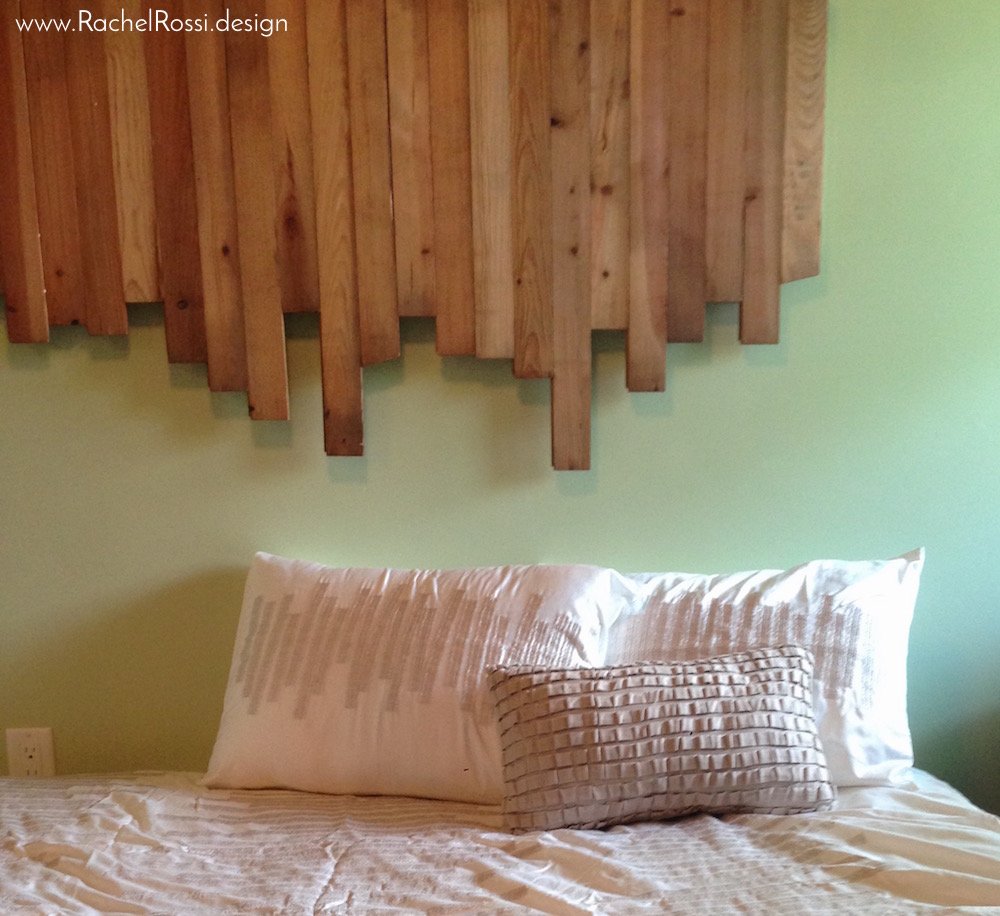
Here is the finished headboard (or wall art–whatever you’d like to call it)! I didn’t realize it until after everything was installed, but do you notice the similarity between the headboard and the design on my pillows?! Can we say subconscious!?
That’s all there is to it! Add your bed to the wall and make sure to show off your finished project in the comments below! I’d love to see what your take is on this!
Enjoy reading this post? To make sure you don’t miss a thing, follow me on Pinterest, Facebook, and Instagram and sign up for an email subscription to my blog.
Check out this, and lots of other great tutorials on Made By You Monday!

You Might Also Like
