


Alright, now that everything is picked out, it’s time to cut this puppy out! I bet you’re just imaging all the things you’ll stuff your wallet with and how you’ll have it organized. And the reaction you’ll get from the cashier when you say, “Oh thanks for noticing—I made this myself!”
But that’s enough daydreaming for now… let’s start by cutting out all your template and interfacing pieces…
Start by cutting out your interior and exterior fabrics.

Now it’s time for you interfacing: I’ve got a trick for those that like precision when cutting out your templates! After you cut your interior and exterior fabric templates out, make tiny 1/4″ slits up to the dotted line on your template…


Then pin to and cut out your interfacing pieces! This way you won’t have to cut out the interfacing pieces and then trim.

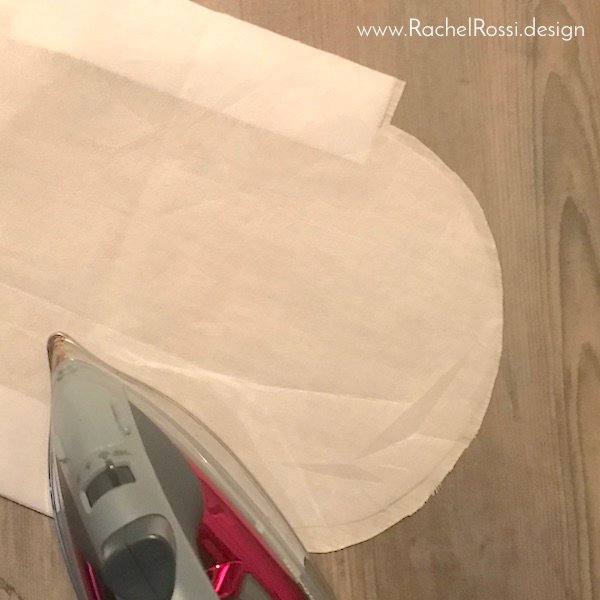
Now, let’s get some ironing done (it’s only fun when it’s for a sewing project—isn’t it?!)
Carefully iron on the stiff interfacing and the wallet interfacings.
It’s a good idea to label each of your pieces and set them in tidy little piles while they wait for Day 3 of the sew along!
Enjoy reading this post? To make sure you don’t miss a thing, follow me on Pinterest, Facebook, and Instagram and sign up for an email subscription to my blog.
So, when you cut the large template – are you cutting off the fold so it’s two separate pieces or one continuous piece. Yes, I am the problem child with reading and understanding directions. Thanks!
No worries! That’s what a sew along is for! 😊 You’ll cut it ON the fold so that it’s one piece!