Let’s start sewing and get making this wallet, shall we? Today we’ll start sewing the wallet together and creating the card pockets. It’s right about here that I start getting really excited about making these precise little creations.
Starting at Step 2, sew around your exterior and lining pieces. You’ll sew the short/rounded edges, leaving the long edges open.

Don’t forget to clip your curves. You can do this every few inches or use pinking shears.
Then it’s time to turn the wallet inside out. Press the edges flat. Now you can start seeing how this will become a wallet…or not. But trust me, it will become an amazing wallet! Here’s a little picture to inspire you as we go.

I mean- look at all that storage!
Now, let’s move onto step 3. It’s time for my favorite part; the card slots!
Fuse pieces B and H together, you’ll have two fabric rectangles with interfacing fused to the back.
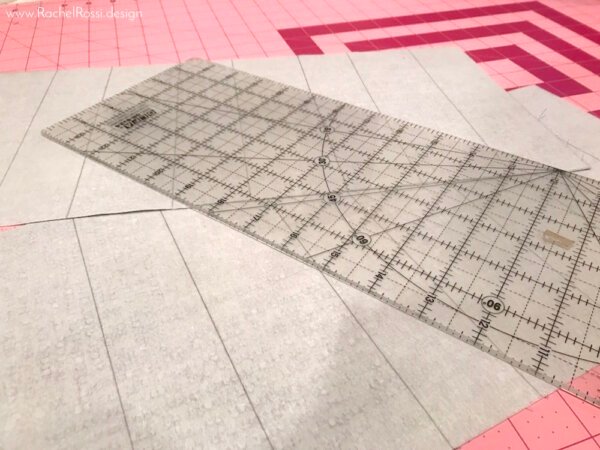
Now it’s time for marking. I prefer to use Frixion Pens, but you can get away with lead pencils for this one! (if you don’t have an erasable fabric marker, make sure you get one for Day 5)!

Now for folding!

Then it’s time for a teeny tiny topstitch. If an 1/8″ topstitch is wrong, then I don’t want to be right—there is something so incredibly satisfying about these little stitches!

Now it’s time to fold again (I like to press again at this point too!)
Next, we’ll do 1/8″ topstitch again to secure everything and keep it straight (don’t worry, no one will see this part—it’s more of a baste than a topstitch)
Then, we trim the extra fabric off to create the final size of the pockets (eep!).
Now it’s time to connect the two card slots. Just make sure that you have the pockets opening to the top before you start stitching!
Step 4 is easy peasy- find the center of your pocket and stitch down the middle to create 2 sets of pockets on each side.

You’ll love the plethora of pockets when you’ve finished the wallet!
Now to make it pretty-in Step 5, we’ll take rectangle C and put it right sides together with the amazing card slot we’ve just created! Sew on the sides only and turn right sides out. Once again, do that amazing little 1/8″ topstitch on all sides.
I want to see your progress! Let’s see those card pockets on Facebook and Instagram!
Enjoy reading this post? To make sure you don’t miss a thing, follow me on Pinterest, Facebook, and Instagram and sign up for an email subscription to my blog.


