


Coffee, Cake, and Quilting—the perfect night at the quilt guild to take a project that needs ripped out. Yep—I was in a rush to finish a project, got sloppy, and decided to rip half of it out. If I had to rip seams, I might as well do it among people who know my pain and can chat with me while I endlessly rip. I found a seat, hunkered down over my quilt, and dug into my project. I looked up and saw Diane making her way over to me and she quietly asked, “Do you want me to show you a better way to rip seams?”
“Heavens yes!” I replied—I felt a little sheepish, knowing that I probably just should have googled this long ago, but I gladly took her up on her offer.
It turns out that not many people have truly learned how to rip seams! By the end of the night, there were four or five experienced quilters that made their way over to my table to see what all the ruckus was about.
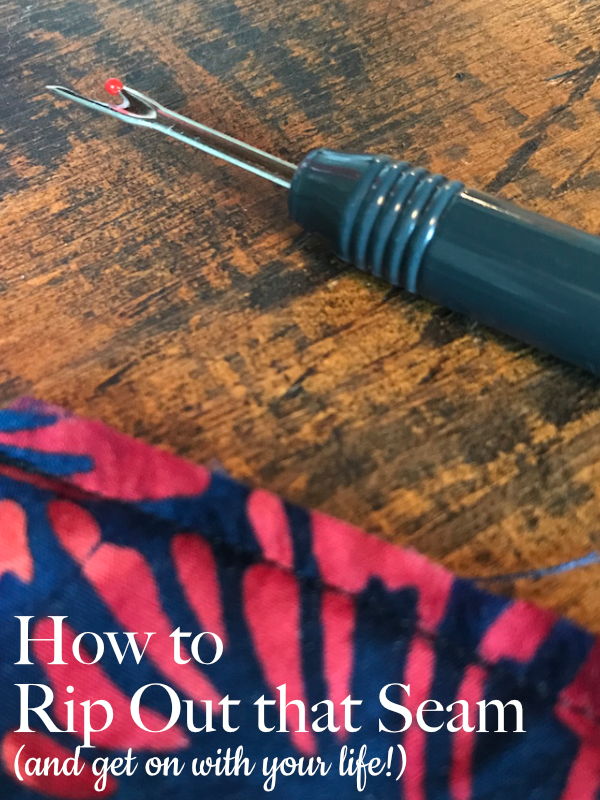
The Fastest Way to Rip Out Seams
So, whether you’ve been quilting for decades or just are getting started, this is a post you won’t want to miss! I’m going to show you the fastest way to rip out seams and what that little red ball on your seam ripper is for!
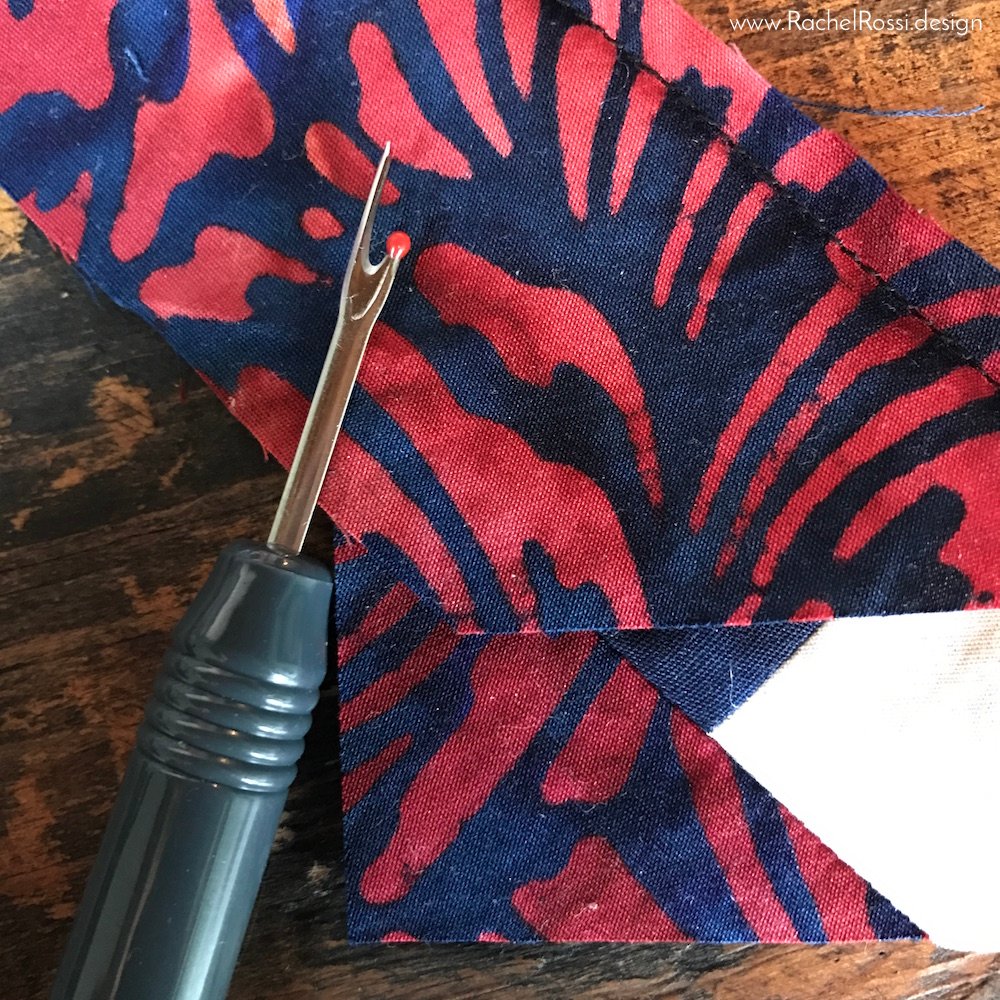
First, go ahead and rip out the first few stitches that you’re hoping to get rid of. Usually this will be your backstitching.

Now, turn your seam ripper upside down so that the red ball is below your stitch and the point is above your stitch.
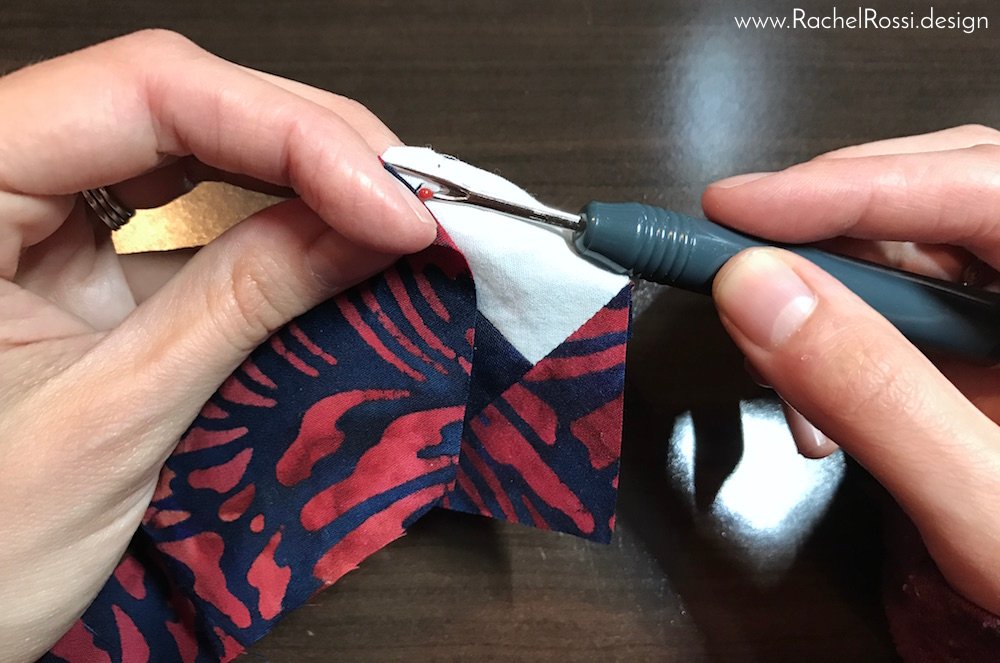
Keeping your fabric folded flat, and holding your seam ripper in place, put your opposite hand around the fabric so that you can feel the seam ripper.

Now, this part is slightly terrifying at first, but once you get the hang of it, you’ll be searching for things to rip out! With both hands in place, gently push the seam ripper through the two pieces of fabric, catching the threads as you go. You’ll hear little pops as you go, and before you know it you’ll be through your seam ripping! Always be sure to take it slow so that you don’t rip your fabric by accident!
If you’re more of a need-to-see-it sort of person, head on over to my Instagram account and watch a video! It goes pretty quickly and you can even hear the little pops as I rip the seam!

Click here to watch my video on Instagram!
That’s all there is to it! I’m so excited to finally know what the red ball is for on my seam ripper and to not dread ripping seams so much! This really is a quick and efficient way to rip your seams. Thanks to Diane for teaching me how to do this!
Enjoy reading this post? To make sure you don’t miss a thing, follow me on Pinterest, Facebook, and Instagram and sign up for an email subscription to my blog.