I know, I know, it’s been done a million times! But despite the amount of pins on my Pinterest boards, I rarely end up successfully completing a project. Today I’m going to share my experience and success with whitewashing my fireplace! I’m beyond thrilled with the results and am considering ‘blackwashing’ my basement fireplace this year. I’m not convinced that blackwashing is a thing yet, but after I give it a try, maybe it will be! [Update: I found out it’s a thing, and you should check out my tutorial on how to blackwash your brick fireplace!]
Below is the fireplace before anything was done with it. It’s a great fireplace, but between its size and fire engine red hue, it was overwhelming the whole space!

Here it is perfectly cool, and the muted colors trick you into thinking that it’s a bit smaller! I’m thrilled!

How It’s Done
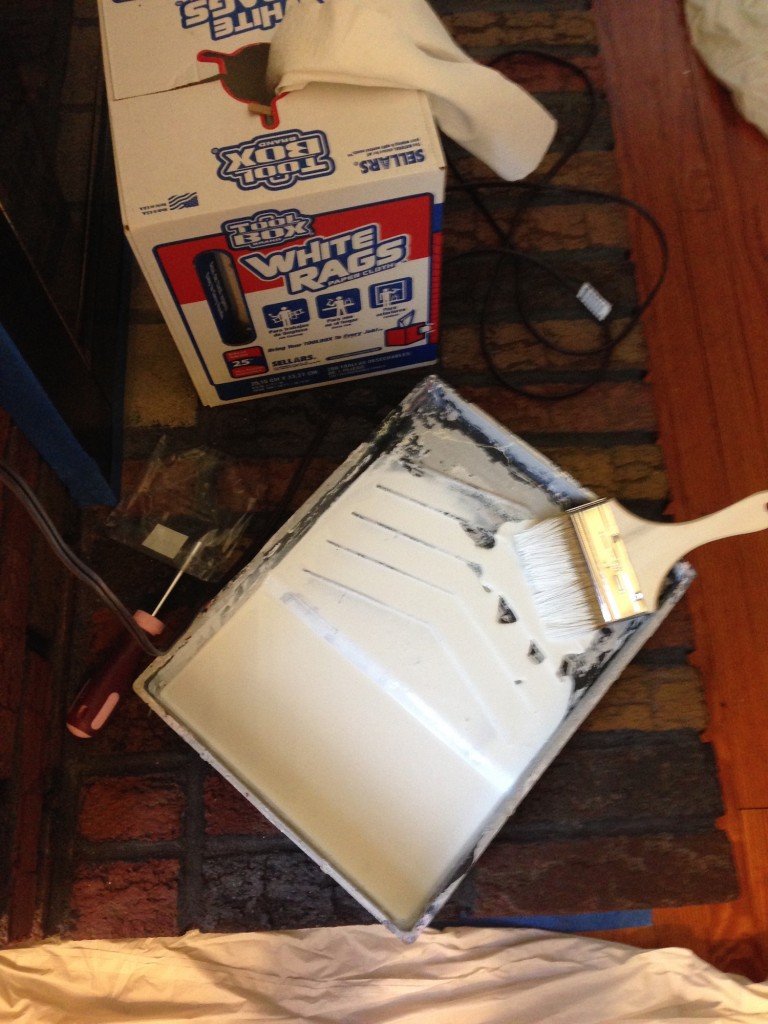
What You’ll Need
- Interior Paint (I used a white, tinted with a little bit of grey, to cover that dark red)
- Water
- Painter’s Tape
- Latex Gloves
- Drop Cloth
- Scrubbing Brush
- White Rags
(lint free)
- Staining Brush (the cheap ones in the paint section)
Scrub Scrub Scrub!
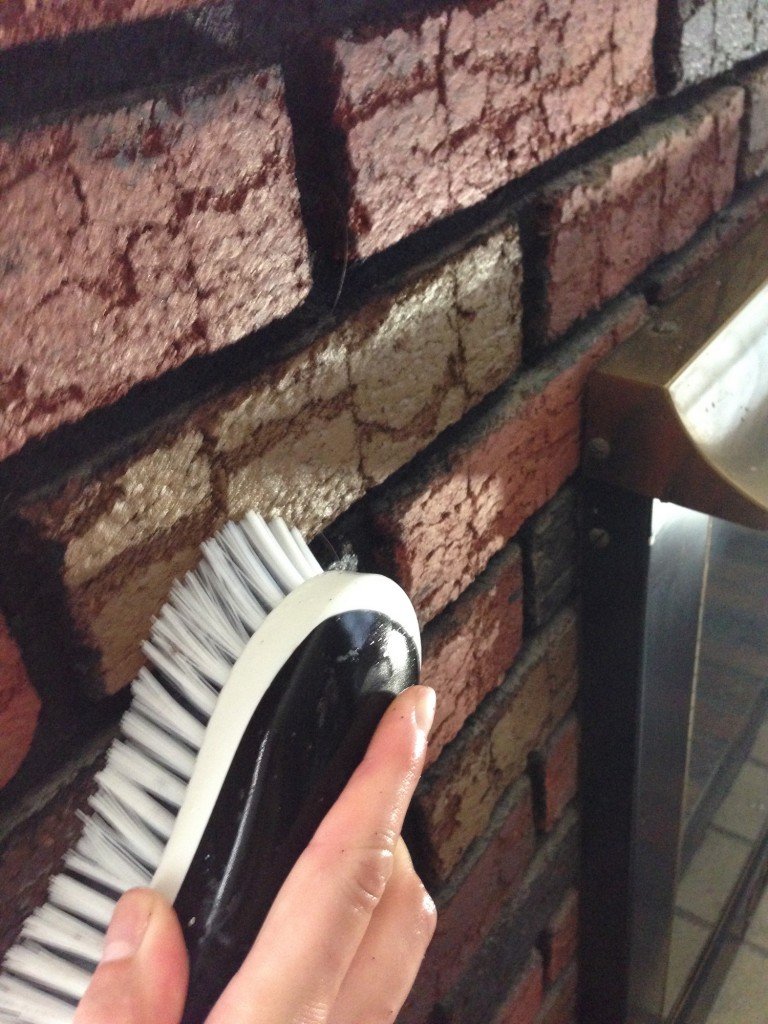
First you’re going to need to scrub the fireplace down. This will get rid of the massive amounts of dust and debris that are inevitably caught in the mortar and bricks. This is probably the ickiest part of the job. There’s going to be small pebbles of mortar and brick all over the place. So make sure everything is cleared out of the surrounding area and drop cloths are put down. Vacuum as soon as you are done or these little pieces will be sticking to your feet for weeks!

The Mix
Mix your paint with an equal amount of water. You may need to play with the proportions a bit, depending on how you want the paint to cover. I used 1:1 and did two coats.

Cover it Up
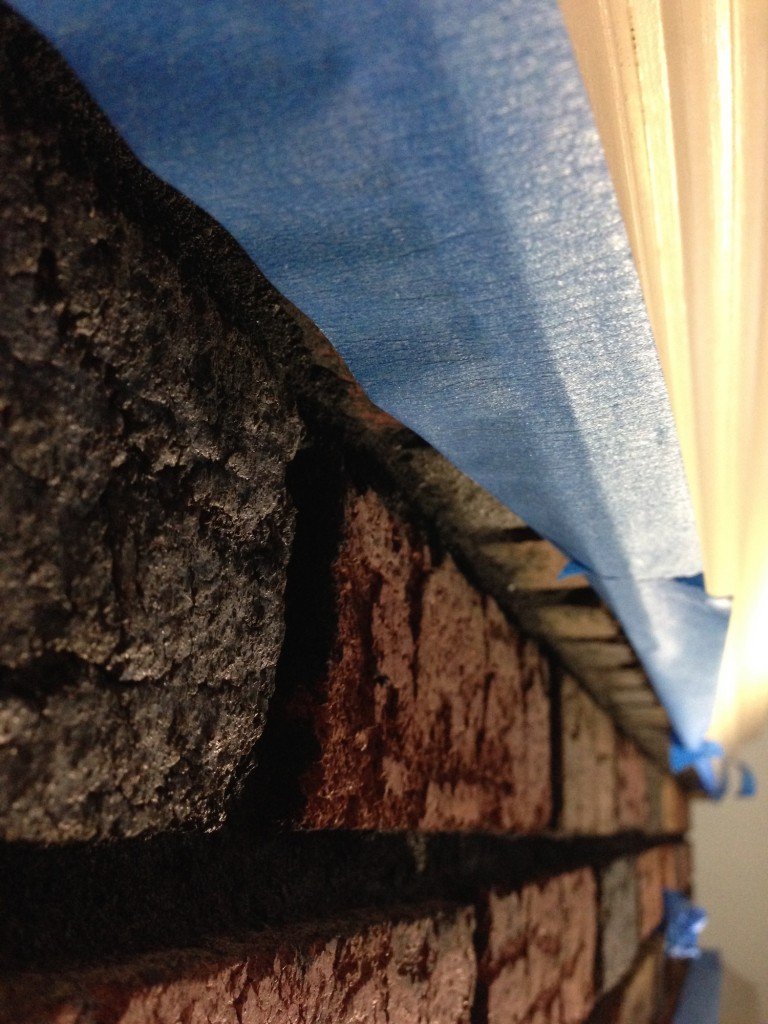
Cover anything that matters to you with a drop cloth or painters tape. The technique to get the brick covered creates a huge mess—lots of paint splatters! Also, it’s a good idea to change into something that you don’t plan on wearing ever again.

Let’s Get Started!
Alright, you’re finally to the point where you’re about to whitewash that sucker! If you’re freaking out about the permanence of this design decision, it’s OK! I did the same thing, but who are we kidding!? It’s going to look fabulous! Just get those gloves on and jump!
Start by working in small sections. The whitewash drys very quickly, so a 2′ x 2′ area should be a good start.
Dip your paintbrush into the paint/water mix, then dab onto your fireplace. Really shove those bristles in—you want to get each little nook and cranny covered. Don’t be afraid to lay it on thick.
Grab your white rags and rub/dab off the whitewash. Your hands will be raw after you’re done with this whole fireplace. So, take it easy. You just want to wipe out the excess paint. Make sure to get into those mortar lines and wipe up any drips that might try to run!

Keep doing this all over the fireplace. Let dry. I like to let things sit for a few days before deciding if it needs a second coat or not. Just let it sink in and see how you like the color. I was playing with the ratio of paint to water and ended up doing a second coat of whitewash over my fireplace and it went much quicker than the first coat!
That’s all there is to it! Now to paint that gold on the doors…

I’d love to see your finished or potential whitewashing projects! Leave a photo or comment below or on my Facebook page!


I am in the process of doing a white wash on my dark red brick and I thought about adding some grey to the mix as well since it’s looking a little pinkish. How much grey did you add?
Hi Christin!
Thanks for your question—I used a white paint with a grey tint for this. But, I can tell you that if you’re using white paint and adding grey that you’ll want to make one big batch of it so that you have an even coloring over all the brick. I would suggest adding a little grey at a time and testing it out on cardboard or even paper first! I hope that helps!