Lots of people feel overwhelmed by the idea of taking on their very first quilt. Straight lines and perfect seams can seem so intimidating. But if you ask me, having the right tools and a good pattern is all there is to it. I think that just about anyone can take on a quilt without fear and trembling! There’s certainly some tools that I adore that aren’t completely necessary, so I’ve compiled a no-nonsense list below for the absolute beginner! Here’s what you’ll need to get started:
Note: Some of the links and images below are part of an affiliate program. This means that if you click on the link or image and choose to purchase that item, I will receive a small commission. This is how I can supply you with great content every week, free of charge! Thank you for your support.
The most important pieces of quilting have to do with cutting. Trying to cut with scissors is tedious and not as accurate as using a self-healing mat, acrylic ruler, and rotary cutter. I’ll show you below:
Self-Healing Mat

Self-healing mats are the best! They protect your table or other cutting surface from the incredibly sharp blade of the rotary cutter. You can get these in multiple sizes, depending on the amount of space that you have. As a general rule, the bigger the better! A larger mat makes measuring and cutting easier. So, if you have the space, I would suggest a larger mat, but if not, there are certainly ways to make do with a smaller one. I would suggest a minimum of 36″ square if you can swing it.
Acrylic Ruler

The Acrylic Ruler holds up nicely to the rotary cutter and helps to protect your fingers! There are a variety of sizes, but to start, I would suggest an 24″ quilting ruler and a 13″quilting ruler. The larger one will allow you to cut strips easily from the width of fabric, and the smaller one is more manageable for smaller blocks.
Rotary Cutter

The Rotary Cutter is the third amigo in the quilting must-haves. I haven’t run across any cutters that do particularly better than others, but I will say that OnmiGrip makes a rotary cutter that I just love! It even has a pressure-sensitive safety cover so that I never have to worry about remembering to cover it in-between cuts! I will say that you need to be incredibly careful with these blades—they are very, very sharp! I barely bumped mine with my hand and suffered a huge and very deep cut. Yes, this is a great tool and most people don’t get hurt, but I just want to say safety first!
Sewing Machine

What’s a quilter without her sewing machine? I’ve had my machine for maybe something like 9 or 10 years, and it’s still a rockstar! My Janome 4623LE Plus is small but mighty! I’m not a huge fan of computerized sewing machines, so this little gal is just right for me. I’d absolutely recommend this to anyone who is a sewist or quilter. If I had to pick a brand again, I’d probably stick with Janome. That said, you don’t need a crazy fancy sewing machine to start quilting. Just something with a straight stitch will do. You might eventually want to upgrade to something crazy, but I’m perfectly content with my simple Janome.
Quarter-Inch Presser Foot
More important than your sewing machine is the presser foot that you have for it. There’s a quarter-inch presser foot that has a little tab on the right hand side. This allows you to have a perfect quarter inch seam every time! Since consistency is key with quilting, the presser foot is a vital tool! Make sure to get the foot that goes with your sewing machine.
Iron and Ironing Board

Don’t let this scare you off of quilting forever! I hate ironing, but I love ironing sewing and quilting projects—I could do it all day! In fact, I do it more than I need to just for the heck of it! Ironing is an important part of quilting (we often refer to it as pressing, which sounds much better than ironing). I would suggest that you have a good iron on hand when venturing into your first quilt. And make sure to check out my tutorial on how to press seams in a quilt before you get started!
The second part of this equation is a sturdy ironing board. And I’ll be the first to tell you that a new metal ironing board is not it. It’s time to venture out to the antique store and search out an old wooden ironing board. The flat surface makes for a great place to iron and most ironing board covers fit the older styles. Just make sure to take measurements before you buy. Make sure that you also pull the ironing board out, set it up and push it around—see what it can take!
A Great Pattern
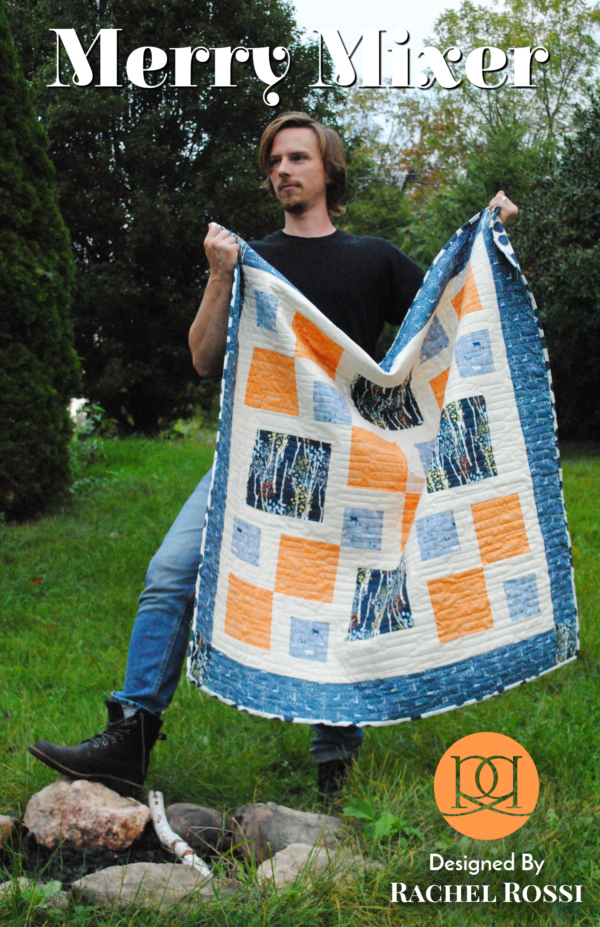
One of the biggest stumbling blocks when you start quilting is taking on a really complicated and overwhelming quilt or a pattern that doesn’t have enough diagrams and explanations. Make sure to pick up a pattern that you love and that will help you through on your first try! I strive to create great diagrams and instructions in every single one of my patterns, and on my shop you can find a bunch of easy quilt patterns for beginners or see a few of my favorites below:

Honestly, the list above is really all you need to start quilting. I have a great post about my favorite quilting tools, so be sure to check that out before you fill your shopping cart. Once you’re ready to choose fabrics, be sure to come back and get my free fabric shopping list and learn how to choose quilting fabrics!
If you have questions about starting to quilt, be sure to leave a comment below! I love to help new quilters learn and explore all the different things they can do with this fantastic hobby!
Enjoy reading this post? To make sure you don’t miss a thing, follow me on Pinterest, Facebook, and Instagram and sign up for an email subscription to my blog.
For more helpful tutorials and articles, please visit the main blog page, or see these great posts below:

See this post, along with lots of other great DIY posts over at the DIY Collective!


