Can you believe that Vacuum was my first quilt entered into a show?! Me neither—I don’t know what’s taken me so long! If you attended the Manusco Quilt Show in Philadelphia PA this month, you might have seen it.
Being my first quilt show, I learned a few things along the way and would love to share them with you! The first thing I learned is that I had no idea how to make a proper quilt sleeve. After a bit of Youtube, I had it all figured out and thought I’d try my hand. Today, I’m going to show you the full tutorial on how to make a quilt sleeve and give you some tips and tricks to make it easier along the way.
How to Cut A Quilt Sleeve
First, cut yourself a 8-1/2″ strip, you may need two depending on how wide your quilt is. Join pieces if necessary and make it the same length as your quilt width.

Pressing & Folding
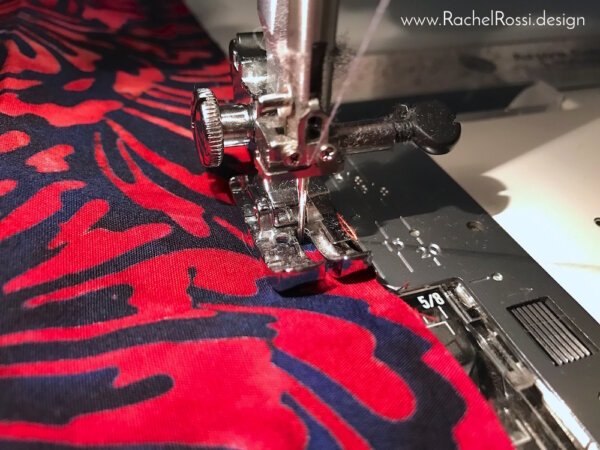
To finish your edges, fold your short ends over 1/4″ towards the wrong side of the fabric. Press and fold another 1/4.”
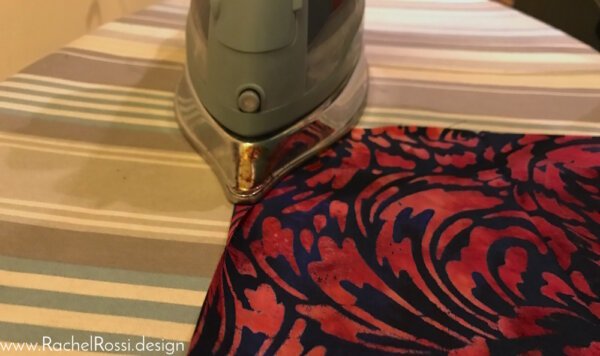
Topstitch 1/4″ away from the edge.
I like to take a second and make sure that my sleeve is the right length at this point…measure twice, cut once!
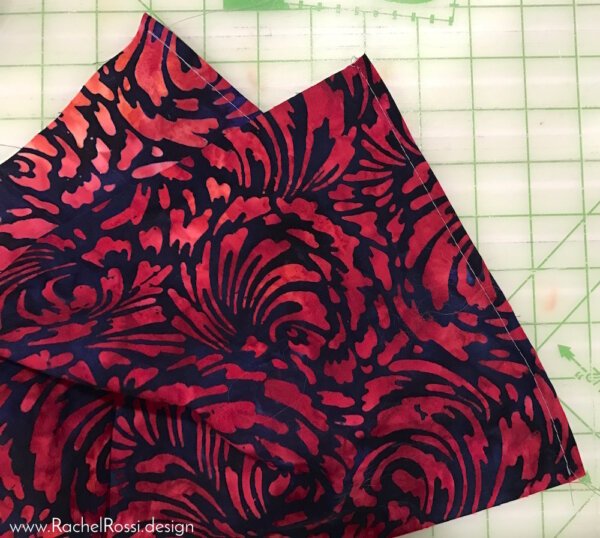
Next, fold your fabric in half, lengthwise, wrong sides together. Press.
Unfold what you’ve just pressed and fold one side into the center. Matching the raw edge to the fold you pressed. Press and repeat on the other side.

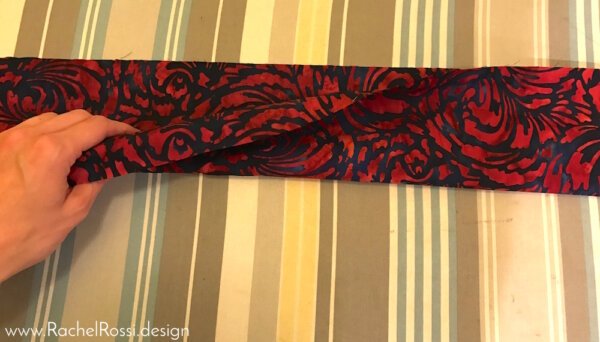
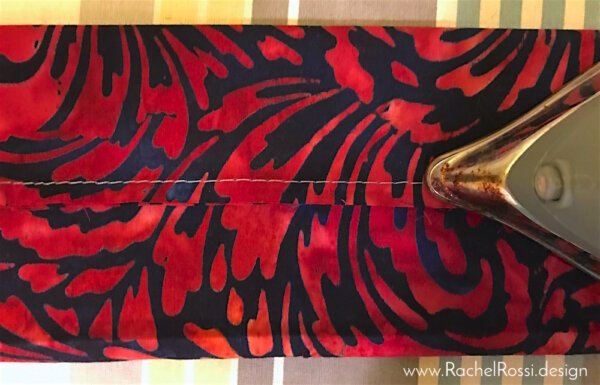
You’ll see where these folds come in later. Next, match the raw edges of the long sides, wrong sides together. Stitch 1/4″ seam.
Carefully press this seam, making sure to leave any folds you already pressed in place.
Placement and Sewing
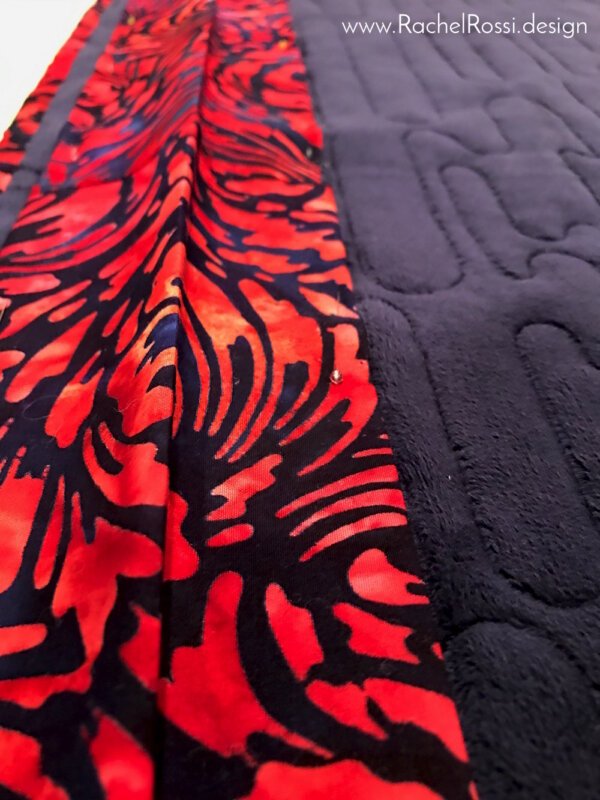
Lay your quilt on a flat surface. Place your sleeve on top, keeping it about 1/2″ away from your binding edge.

You’ll notice that there’s more fabric on the top of your sleeve than the bottom. This is what you want! This will allow for space for the hanging rod to go, and not distort your quilt.

Now, just pin into place and hand stitch on!
That’s all there is to it! Are you entering a quilt into a show? I’d love to see it on my Facebook page or in the comments below!
Enjoy reading this post? To make sure you don’t miss a thing, follow me on Pinterest, Facebook, and Instagram and sign up for an email subscription to my blog.
Delightful!!!