


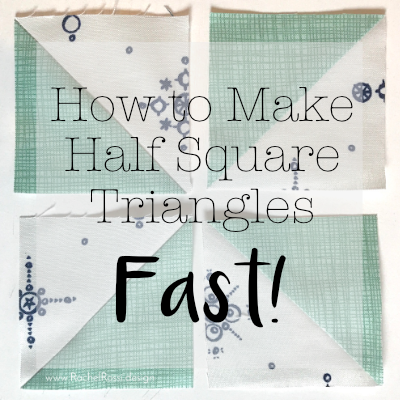
How to Make Eight Half Square Triangles at Once!
The Magic 8 method is certainly not original with me, but I thought it was worth sharing since I’ve been using it religiously on one of my newest designs (It’s called Breezy, and you’re going to love it! It will be releasing sometime in April.) Anyway, there are lots of ways to make Half Square Triangles, but this method is the fastest and most precise that I’ve found.
How To Make Half Square Triangles…Fast!
First, you’ll need to cut a square. I’ve got a handy chart here for you so that you know what size square to cut in order to get eight Half Square Triangles in the size you’re looking for.

So, if you want a finished 3″ square (2-1/2″ once it’s sewn, or finished), you’ll need to cut a 7″ square.
Then you’ll trace some lines on the back using a ruler or a tool called the Magic Wand by Deb Tucker.
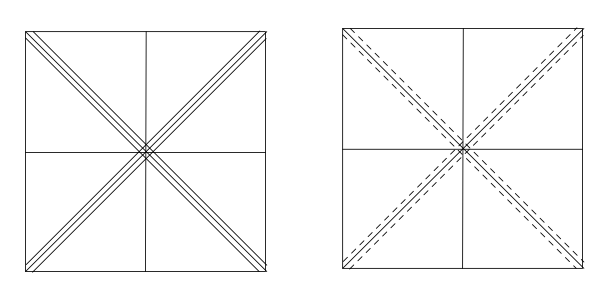

If you’re not using the Magic Wand, you’ll first draw 2 lines from corner to corner on the back of your Background 7″ Square. Next, draw a line 1/4″ on either side of the lines you just drew. Now draw a line across each center point for a total of 8 lines (first image above).

Next, match your drawn-on square with another 7″ square, right sides together.

Sew on the offset diagonal lines (dotted lines in the second image above).

Cut on the unsewn lines (the solid lines) to create 8 half square triangles.


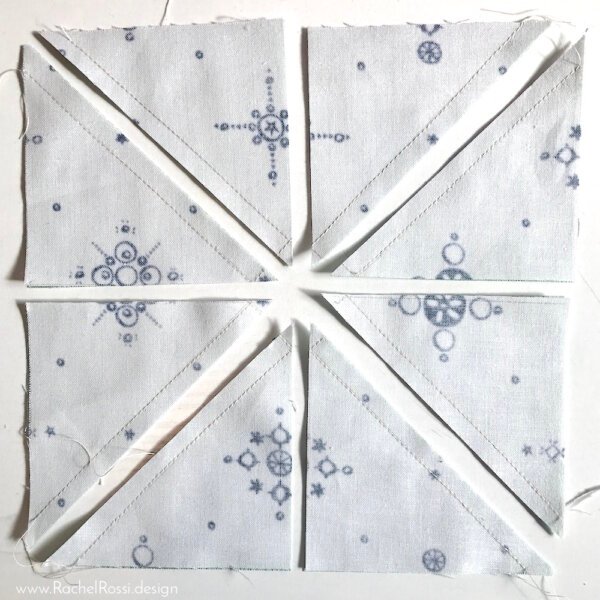
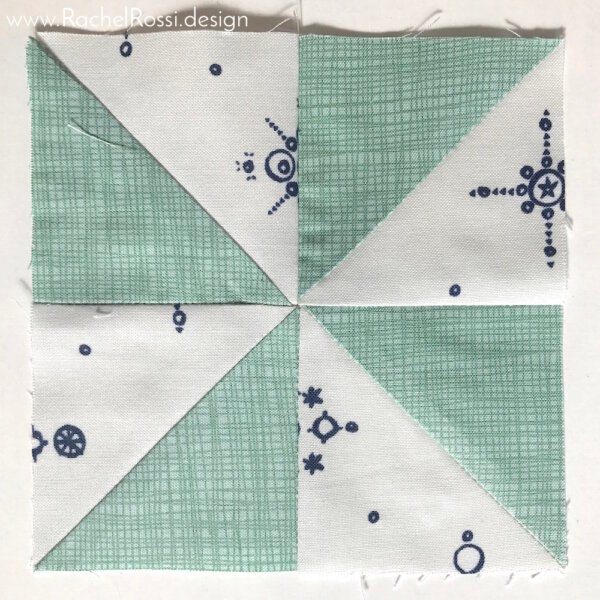
Press seams away from background fabric and trim dog ears. Each square should equal just a little bit more than 3.” You can trim it down to be exactly 3.”

Pretty fancy, eh!?
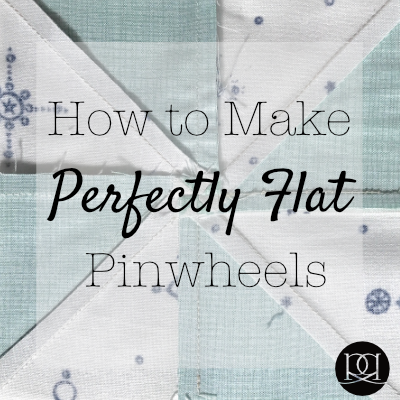
Well, make sure to check out how to really take advantage of this technique and take a look at my tutorial on How to Make Perfect Pinwheels!
Enjoy reading this post? To make sure you don’t miss a thing, follow me on Pinterest, Facebook, and Instagram and sign up for an email subscription to my blog.

Love your patterns, and the info you share. Saw you in Erie,Pa.wishing you the best in your sewing business
Thanks so much Kristy, I really appreciate it! 🙂
Thank you very much, for the info, I wish I could print it out, but I have a new computer a MAC, cannot figure out how to print it out.
I’m glad you like it, Linda! If you highlight the text and pictures that you’d like to print, you can then right click and push “print.” That should do it for you! 🙂
Thank you for this thoughtful tutorial.
Thank you very much, for your lovely explanation about the pinwill..looks so nice
I signed up for your newsletter but I can’t seem to download your “How to sew s flat pinwheel block”. Can you help me?
HI Dawn,
Great question! You can’t actually download the blog post, but you can print it out if you’d like! Just got to the file>print bar on your internet browser and print from there 🙂
I realize this is a slightly older post but I have a question. I used the Magic 8 tutorial and it helped a LOT. Thing is, I’ve come back to read the post about how to reduce bulk by pressing a certain way and realized I pressed ALL my HST’s (possibly) the wrong way! It says to press away from ‘background’ fabric and after looking at mine, I think I did the exact opposite. I pressed the plain fabric against my prints…. Is this going to be a disaster or will it all work out the same? I’ve already squared up everything and trimmed the dog ears…. Help please?! Thanks in advance ⭐
Hi Starr,
No worries! As long as you pressed consistently, you should be good! I think it will turn out beautifully- I’d love to see what you’re working on when it’s all finished! 🙂
Good tutorial and asy to follow.
I am getting sooo frustrated trying to sew pinwheel blocks. The points will not match up! Not sure what I am doing wrong, but have ripped out as much as I have sewn!
I’m so sorry to hear that! I’ve found that the trimming of the HST has to be spot on to get points to match up. A LocBloc ruler is super helpful, but if you don’t have one a good trick is to tape off (washi tape or masking tape) the size square you need to trim on your ruler. Then trim, ensuring that the diagonal seam lands EXACTLY in the corners of that taped off square. If those diagonals don’t meet perfectly in the corner, you’re not going to get matching points.
If you keep that in mind, you can see the rest of my tricks on this pinwheel post: https://www.rachelrossi.design/getting-a-flat-pinwheel-quilt-block/