


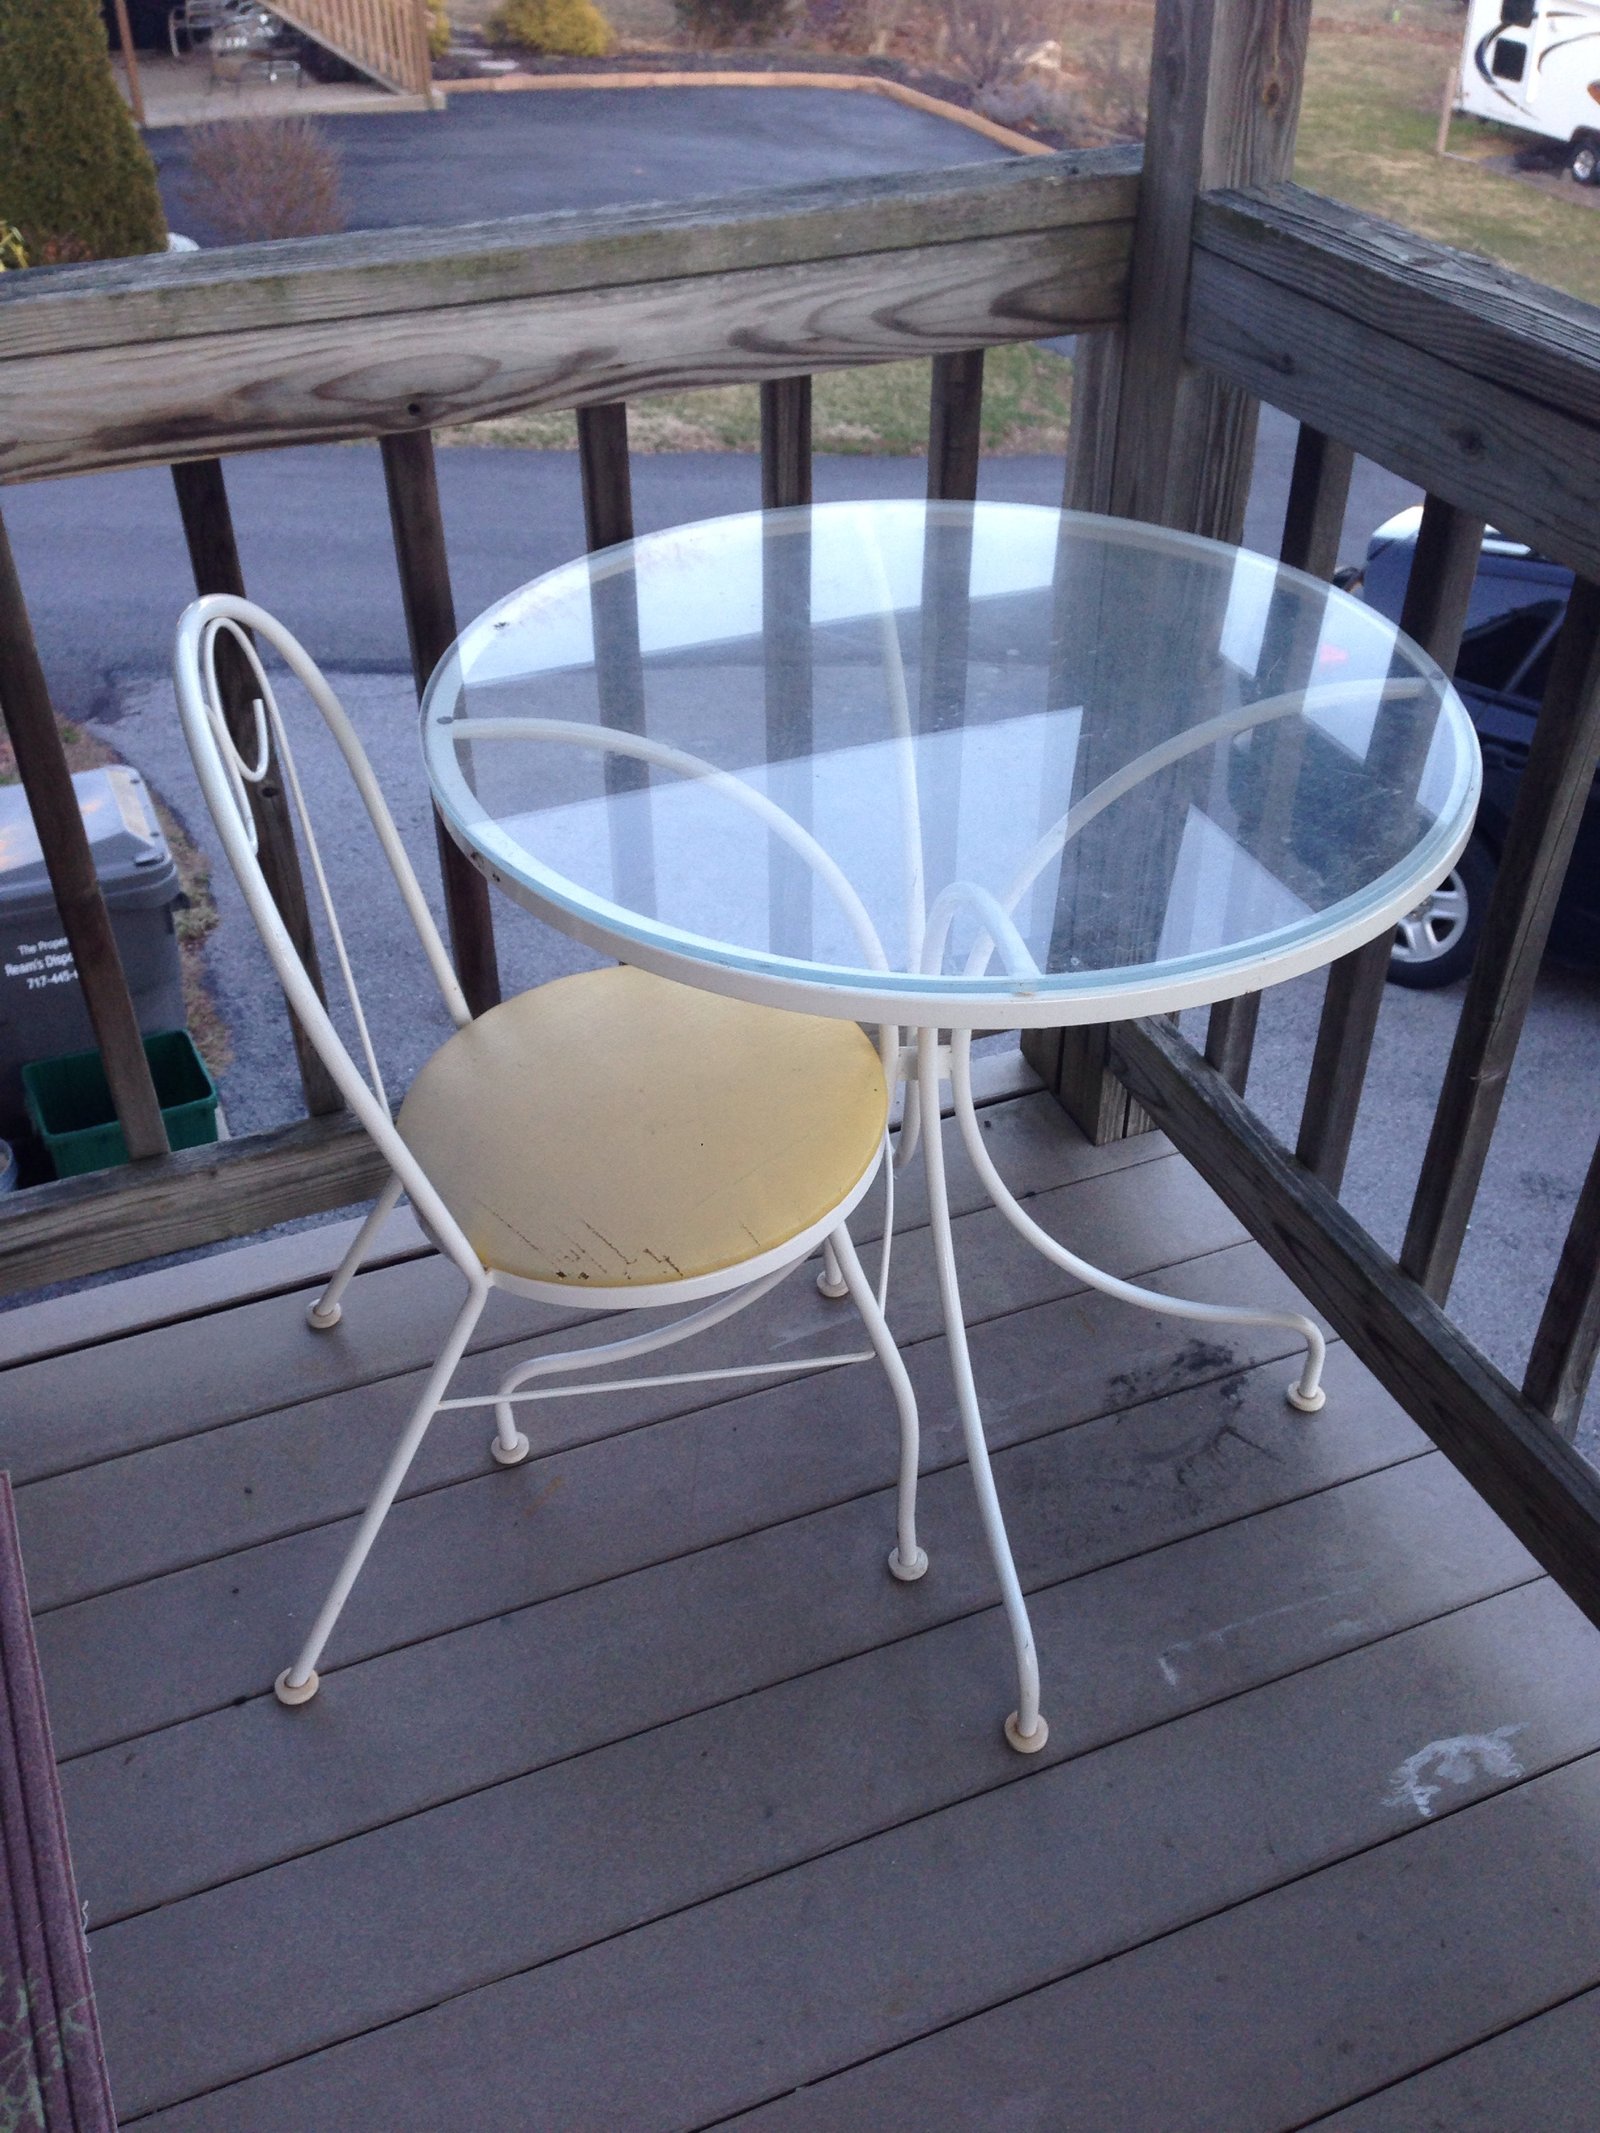
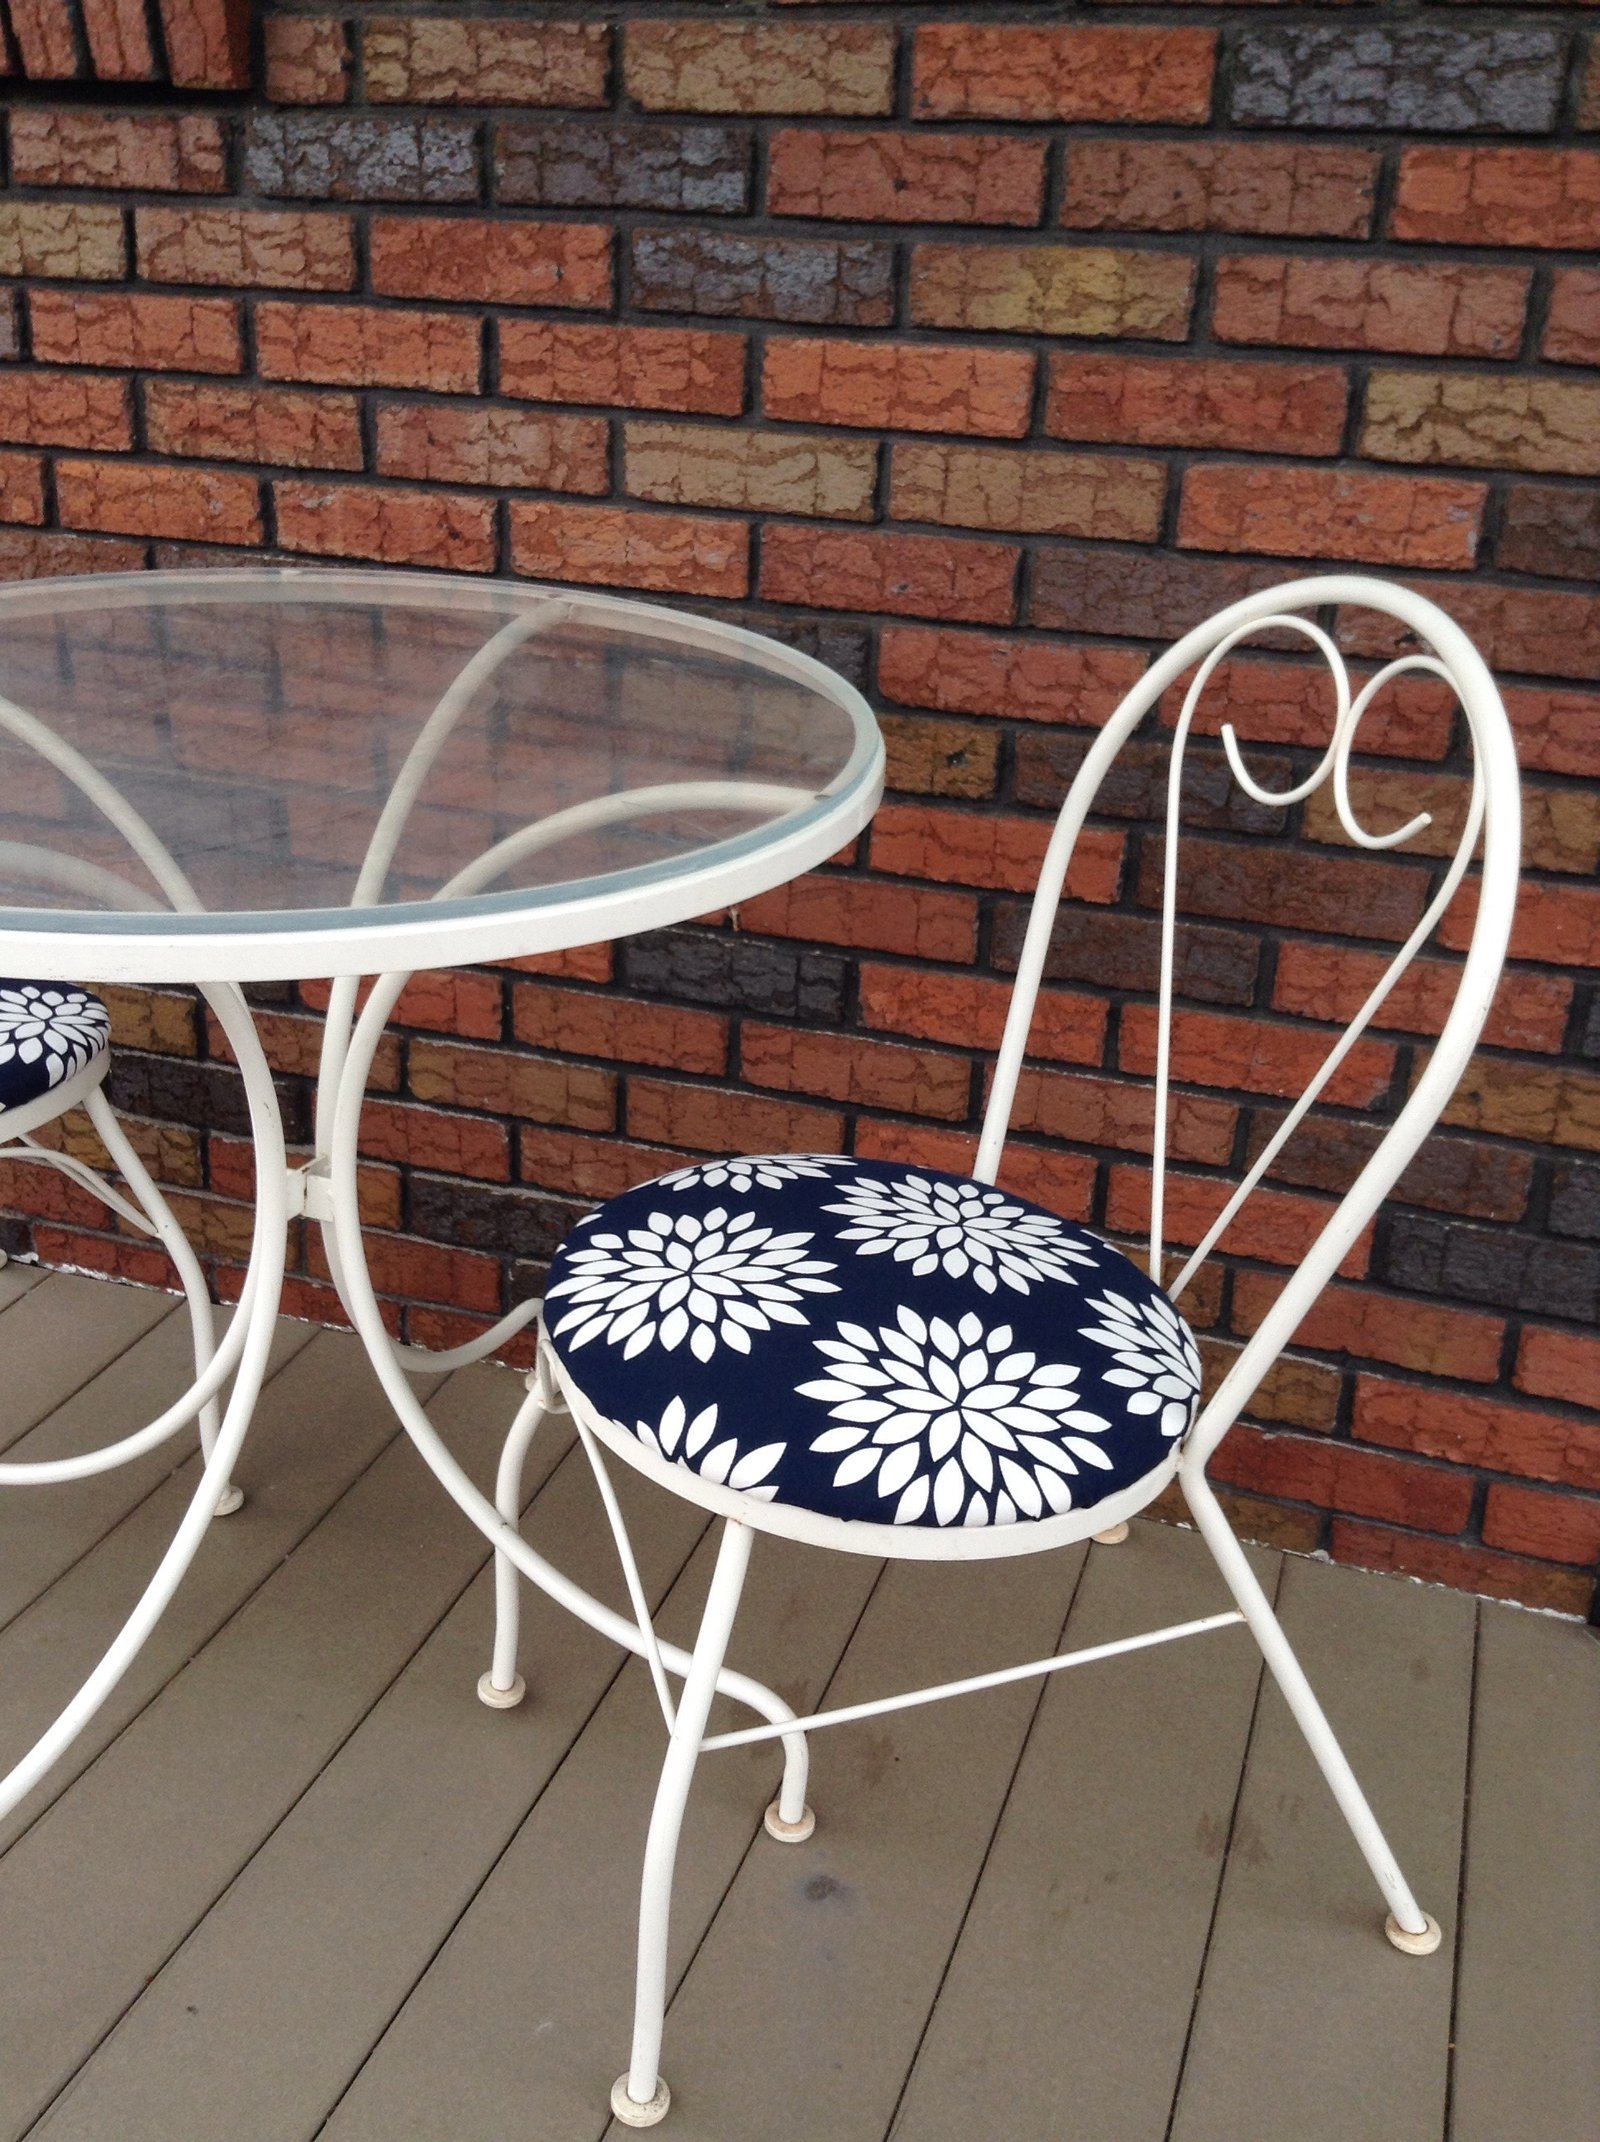
The past few weeks have been quite an adventure: my dear uncle (an HVAC professional) came and helped us decipher some of the heating issues in our home, which looks like it’s going to be a lot more involved than we originally thought. This may or may not hold up our basement renovation plans since we are still working on a final game plan. But for now, I’m focusing all of my I-can’t-wait-for-summer energies on the exterior of our home, starting with the deck. Today I recovered some cushions on a café set that my grandmother gave to us.
Recovering some cushions is a great Sunday afternoon project—it’s fun, easy, and you’ll be tickled with the result! I can’t stop wandering out on the deck to just look at these puppies! Two chairs took me about an hour (in my defense, I was watching Shark Tank, which may have slowed me down a bit) and cost less than $20, unless you’re splurging on the fabric. Like all good things, let’s start with a list:
You’ll Need:
- about 3/4 yard of Outdoor fabric
for every two chairs
- Staple Gun
& extra staples
- Fabric Scissors
- Screwdriver
- Two (or more) worn out chairs
Set Up
First, find a good spot to work on this. I found that my tile kitchen floor is the best spot in the house to use the staple gun. You need a firm surface underneath of you when you staple, or else they won’t fully go into the furniture. It also helps to work on the floor because you can get a lot of weight behind each staple by leaning in.
Once you’ve settled in, grab your screwdriver and remove the chair cushion from the frame from underneath. There’s usually only 2 or 3 screws holding the seat on.
Next, you’re going to remove that nasty paper covering- don’t be surprised if you find some wildlife living under there- eek!!
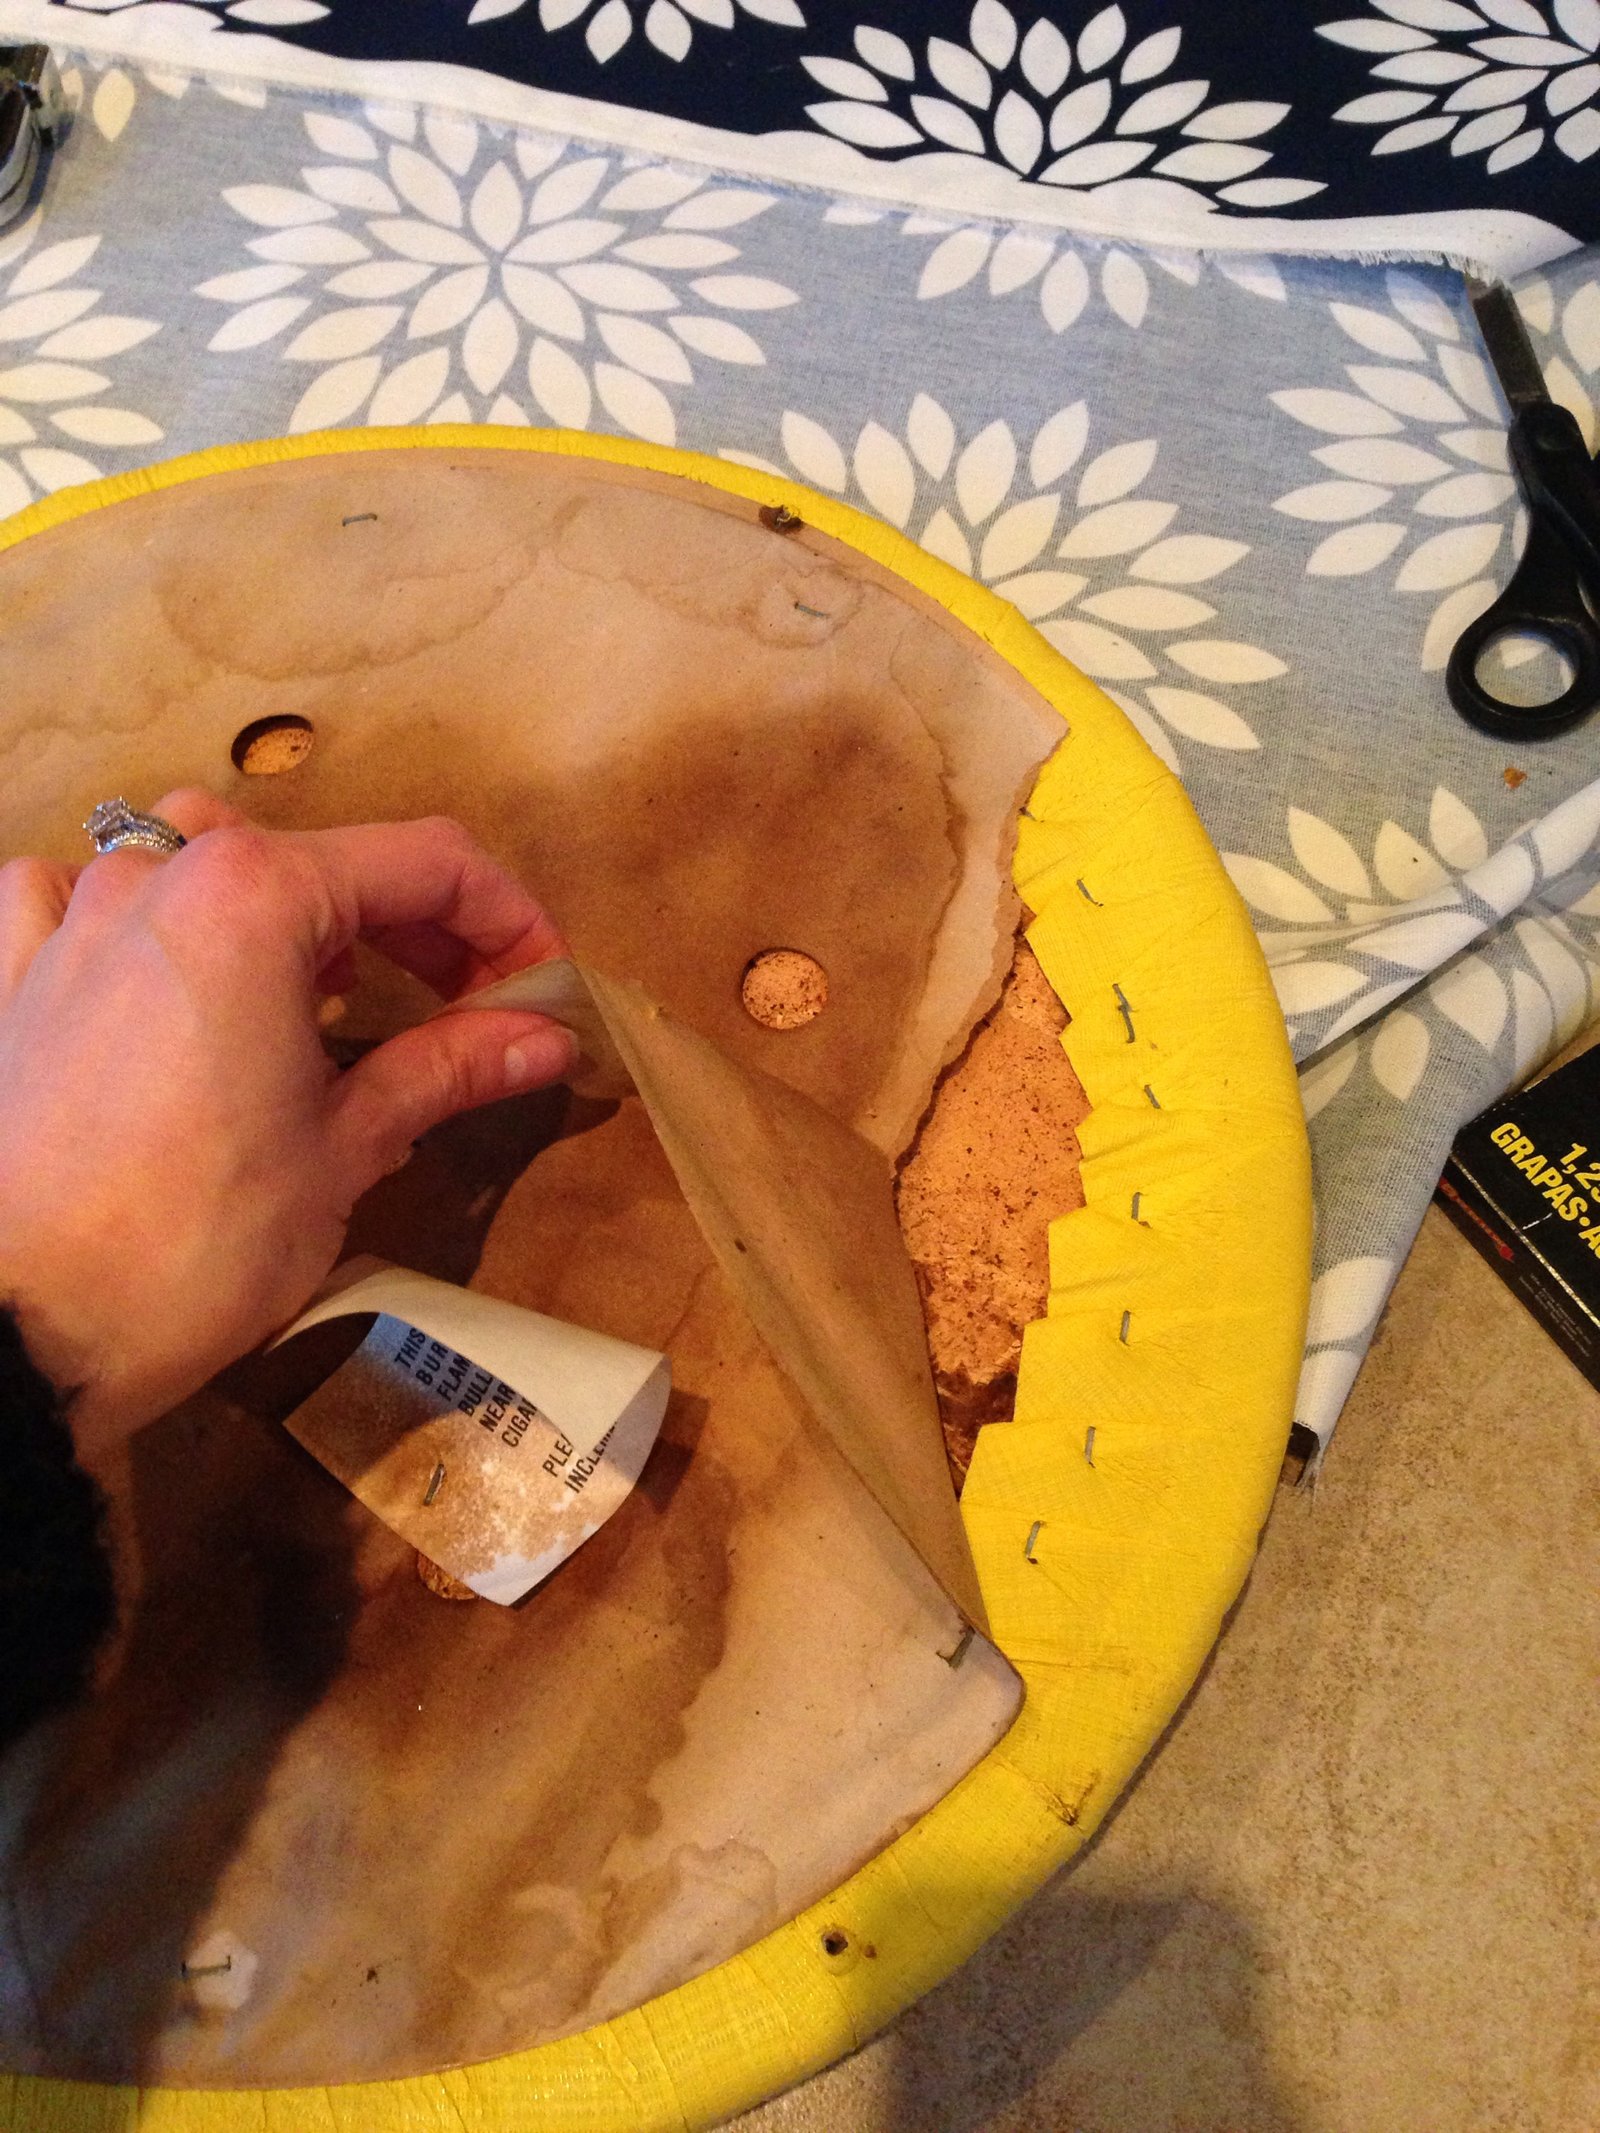
Now, this is important- take a look at the material that you will be stapling into. If it’s a solid piece of wood or plywood, go ahead and remove the staples holding on the existing fabric. If it’s particleboard or MDF, I would suggest leaving the existing fabric. If you remove all of those little staples, it’s going to pull apart what you’re stapling into and not have anything to grab on to. Make sure the existing fabric doesn’t show through the new. If it does, go ahead and remove it—we’ll try and staple in another area.
To remove upholstery staples, get a Phillips head screwdriver, push it under the staple (you may need to tap a hammer on the end of the screwdriver to get it underneath), and then pry it out. It takes a few tries to get the hang of it!
The Fun Part
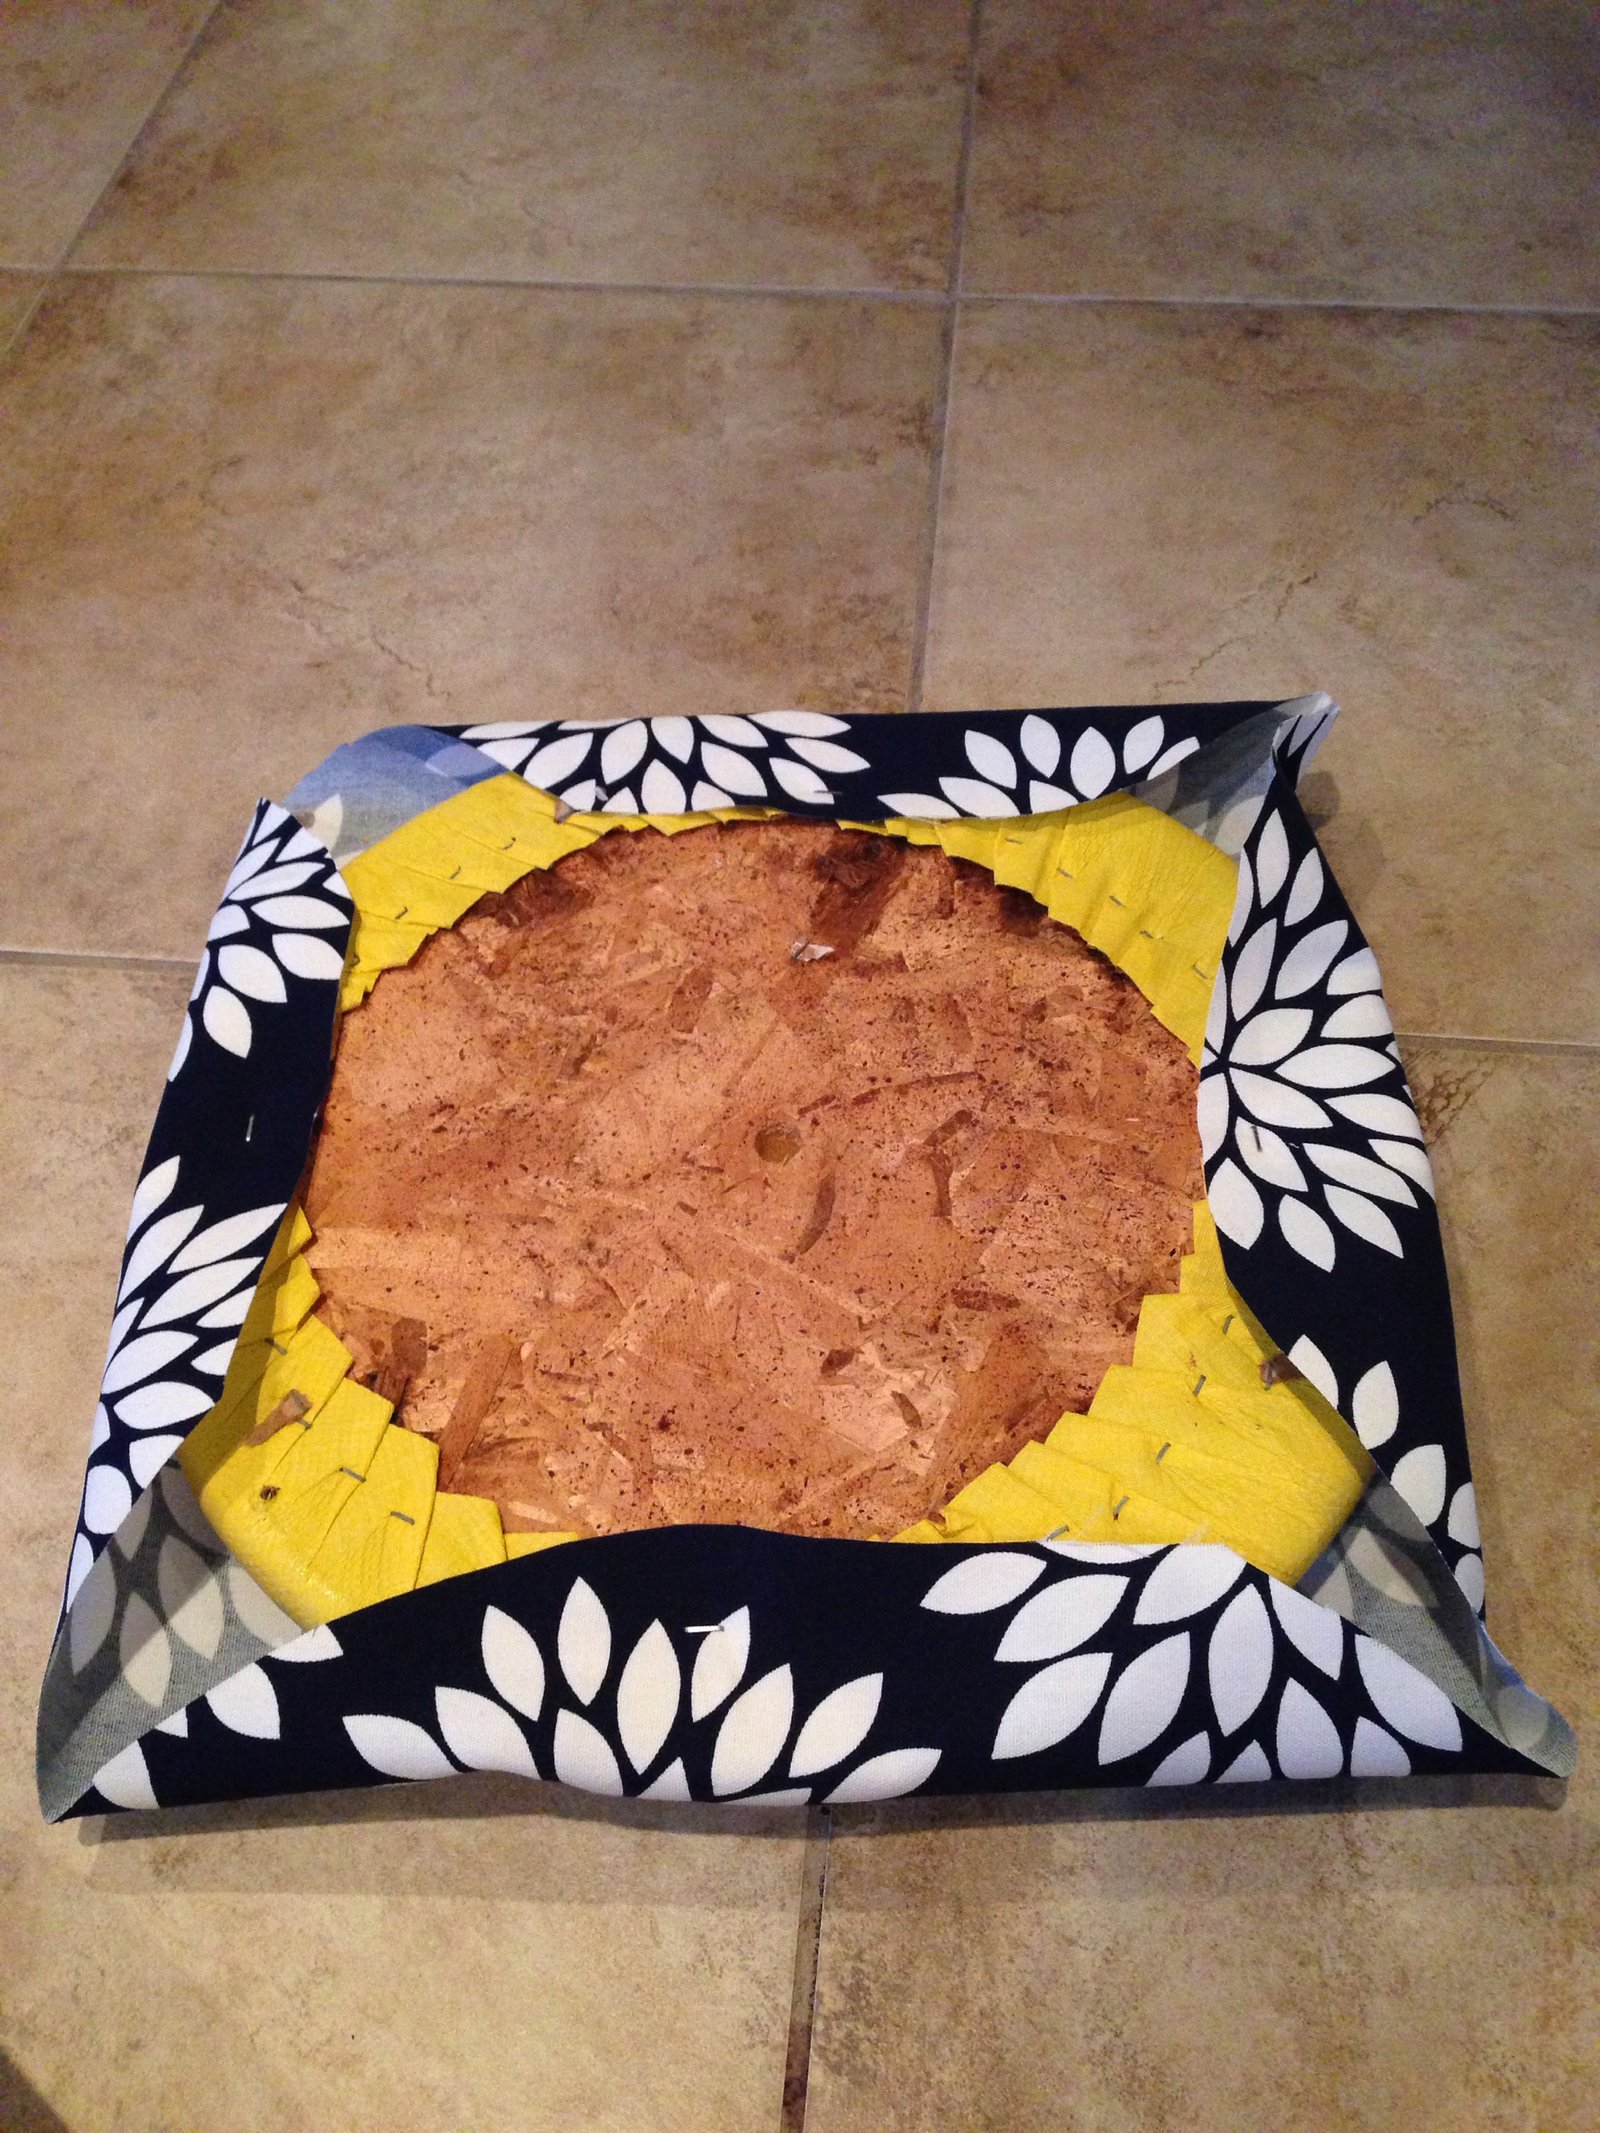
Now, this is the best part—I love it! You’re going to lay out your fabric with the cushion on top. Folding the edges over every now and then will help give you a guide for cutting. To cut a large circle like this, leave yourself about 3 inches on all sides for pulling over the edges.

Once that is all cut out, it’s time to staple! This is pretty simple, the main thing is to try and keep it nice and clean and not to stretch your fabric.
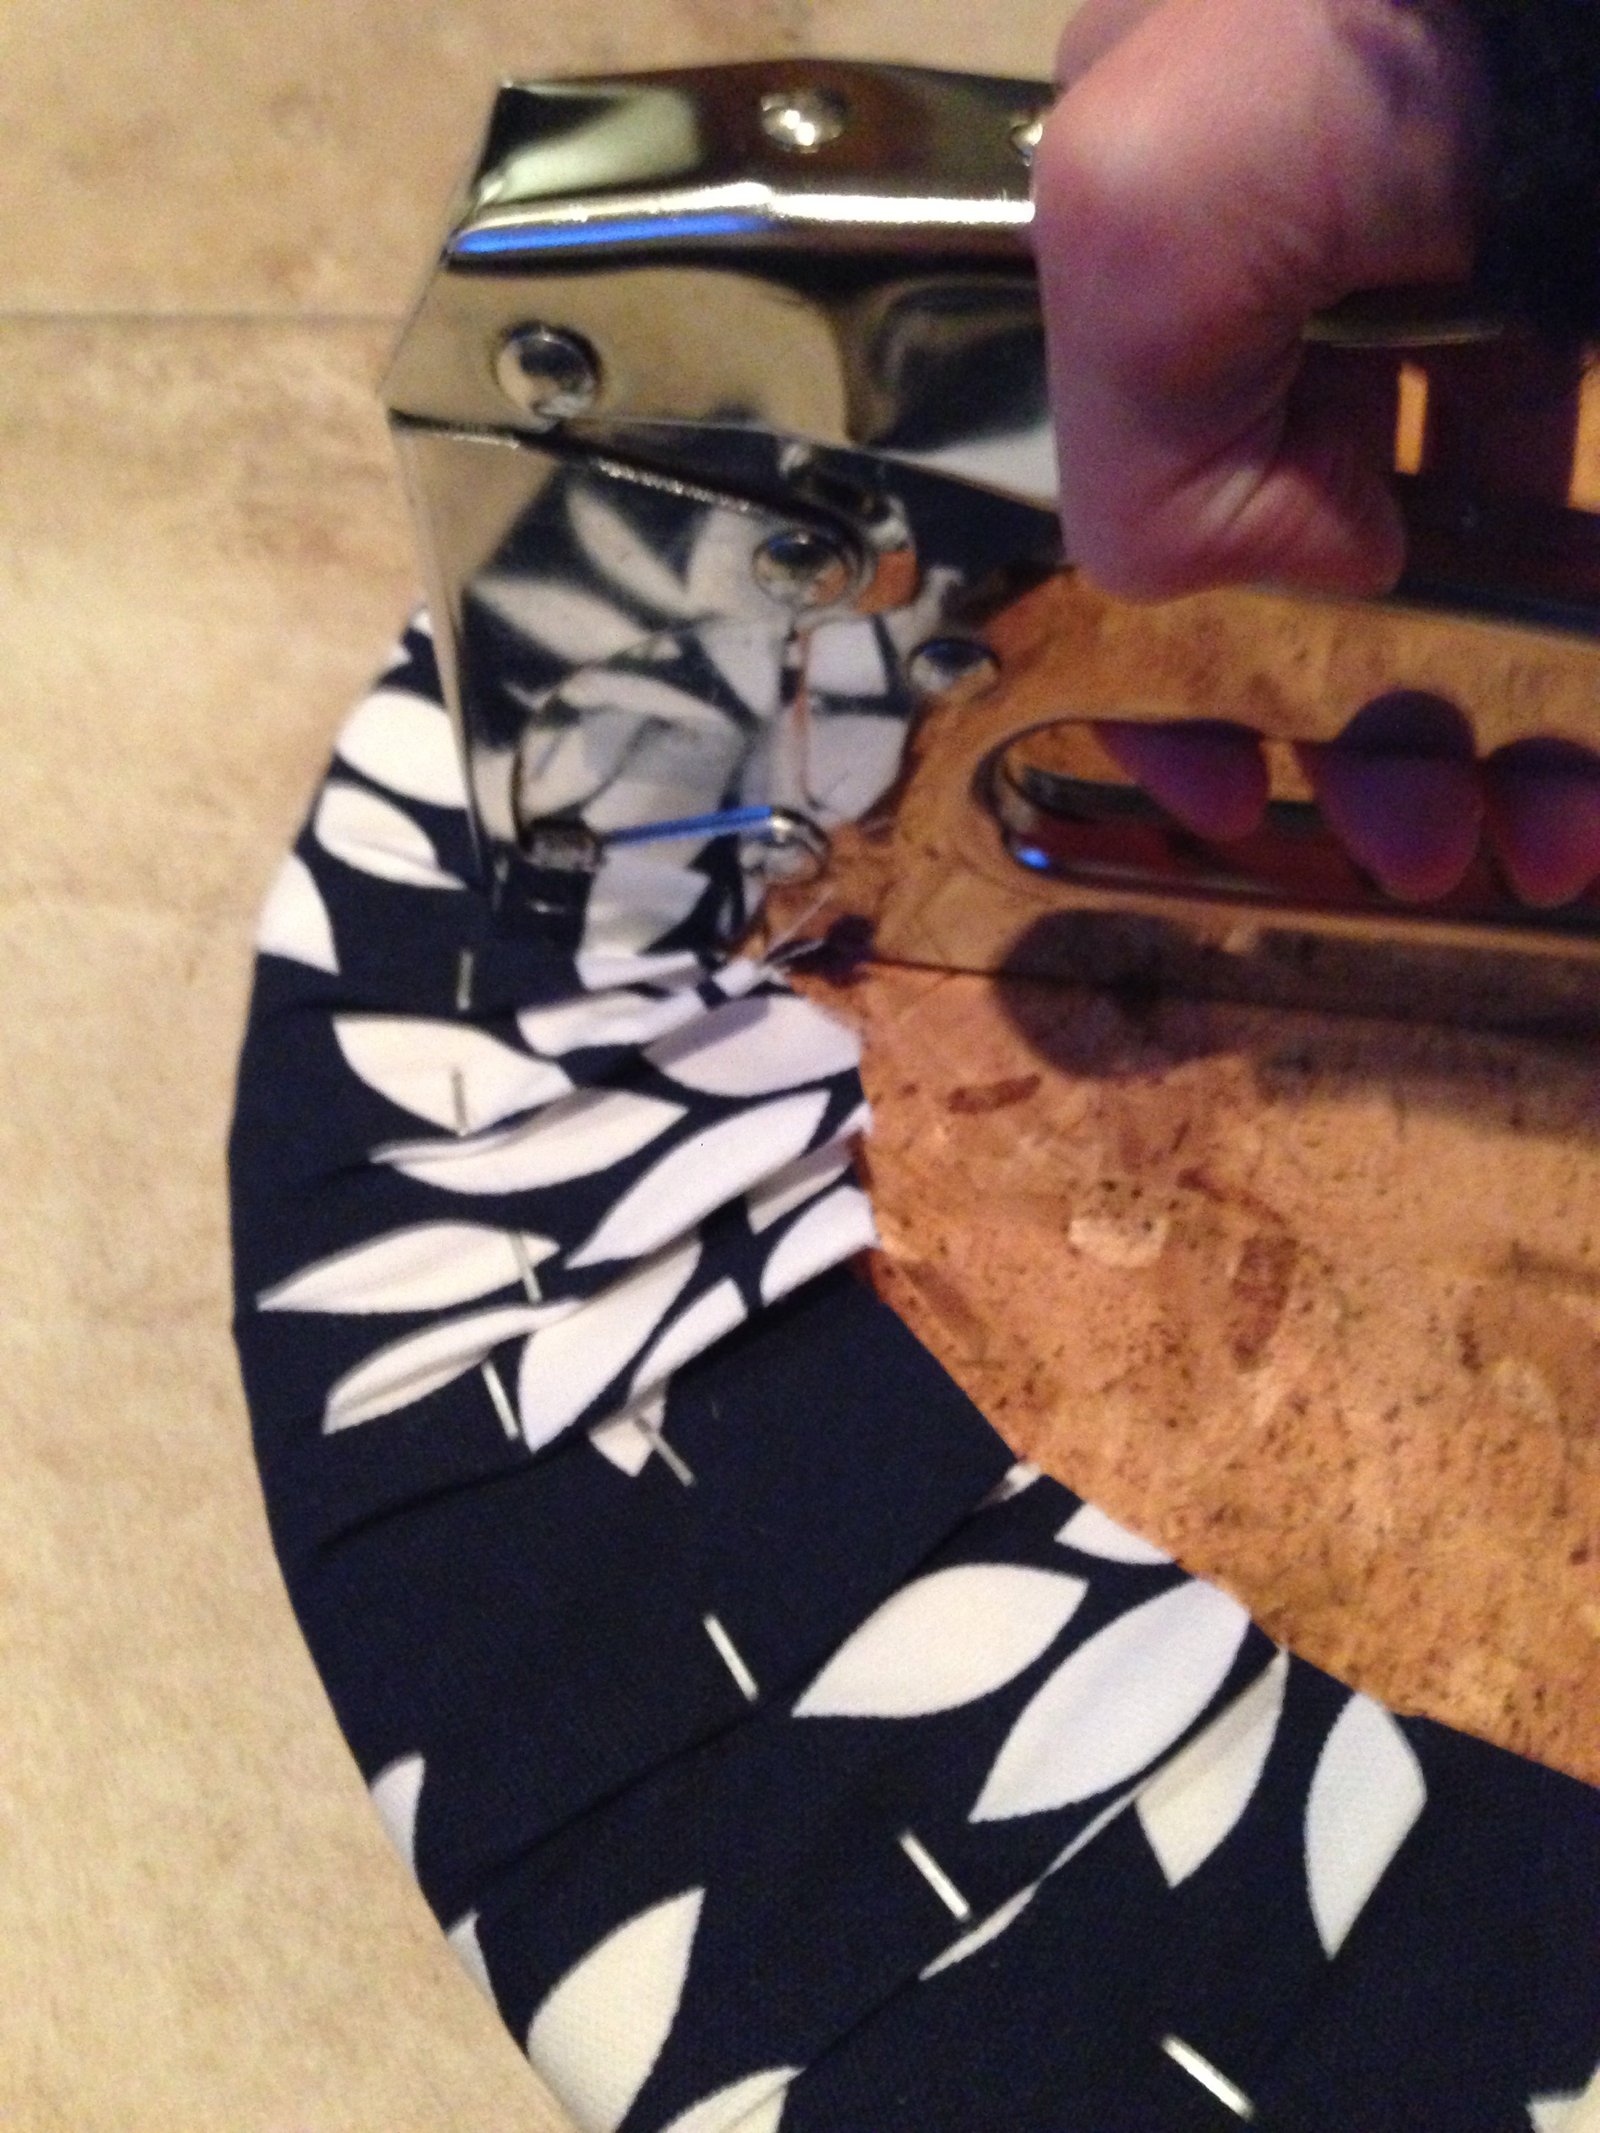
Using the old fabric as your guide, staple once on each side of the circle. Make sure your fabric isn’t loose and isn’t stretched too far (you’ll notice the pattern looking distorted if it is).
Staple in the center of those staples on both sides. Staple 4 more staples halfway between the existing staples.

Now that you’ve got a pretty consistent pull on the fabric going, start in one section and work your way around. Fold the fabric slightly (making sure that the fold does not show up on top) and staple to the board. Continue to do this until you’ve worked your way around the circle.
I would suggest checking the front of the piece periodically to make sure that you aren’t stretching the fabric in one direction or another—if you are, just pull the offending staples out and re-work it a bit. No biggie!
And We’re Done!
Now you can flip over the cushion. Make sure everything looks nice and tight, and get it back on to the seat. It’s easiest to place the cushion upside down on a counter or tall chair and then to pit the frame upside down on top of that. Grab your screwdriver and screws that you removed before and put them back in. How exciting, you’re all done!

Now haul those puppies back outside and show them off to the neighbors! What a gorgeous little detail. Be sure to share your success pictures on my Facebook page and check back in for more summer projects outside—I can’t wait to get this place looking like new!
Enjoy reading this post? To make sure you don’t miss a thing, follow me on Pinterest, Facebook, and Instagram and sign up for an email subscription to my blog.
This post can also be seen on:

Love this project! Looks like new and I love your choice of fabric too!
Thanks Debbie- it always amazes me what a little fabric can do!