
 “It was such a beautiful quilt, but…”
Over the years, I’ve heard this sentence end in a thousand different ways. You see, my mom owns a quilt shop and offers longarm quilting services. She sees hundreds and hundreds of quilts every year, and it’s surprising how many small techniques can make for an excellent, or not-so-excellent quilt in the end. I’m going to share with you how making small changes to your quilting techniques can make you a master quilter in no time!
The Right Tools make All the Difference
You wouldn’t cut a 4×4 with a hand saw (if you didn’t have to) and expect it to be perfectly straight—would you? No! The right tools make all the difference. In DIYing, you can get really precise cuts and results by using the right tools, like a table saw. Quilting is no different. It’s really difficult to get perfectly precise cuts using a pair of scissors, but you can efficiently make 100’s of perfect cuts if you invest in a rotary mat, cutter, and ruler. For a full list of quilting necessities, make sure to visit my post on the 10 Quilting Tools I couldn’t live without.

Fabric Quality
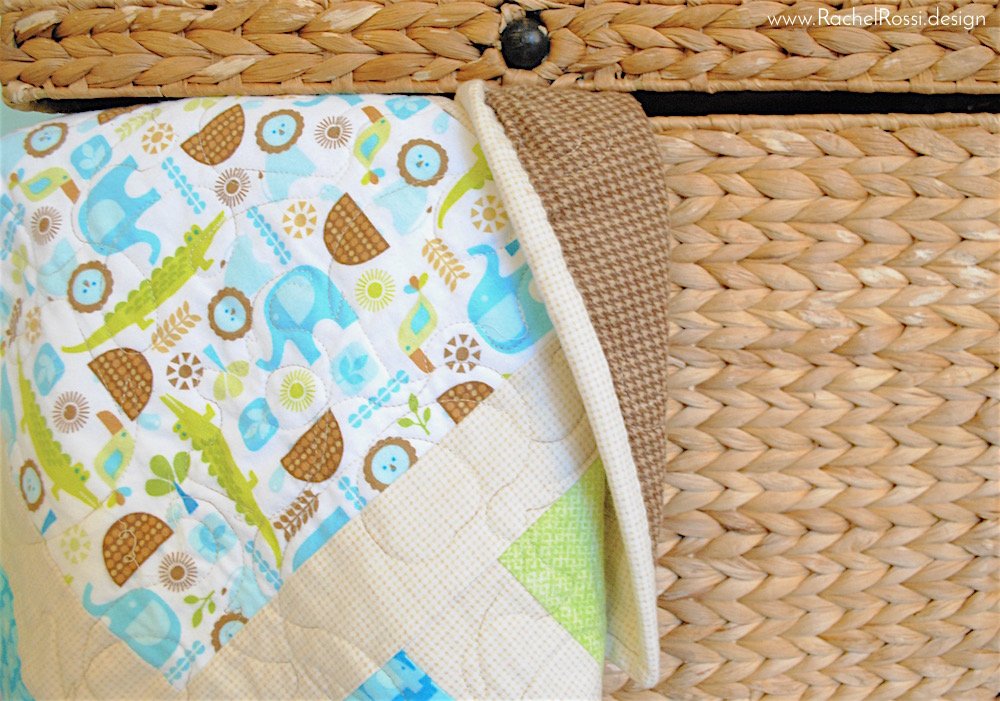
Better quilting starts at the very begining. You may have a great pattern, but the fabrics you choose can make or break the whole project. Fabric stores, like Joanns have a great selection, but their fabrics are known to have a lesser-quality. For a great start on your quilt, shop at a local quilt store that carries 100% quilting cotton. You’ll be so glad that you did: quilt shops typically carry 100% quilting cotton, which attributes to less shrinkage, less bleeding, and less chemicals in your fabrics. If that’s not enough, you get to support local business, get help from expert quilters in the store, and maybe even make a few new friends!
Fabric Selections
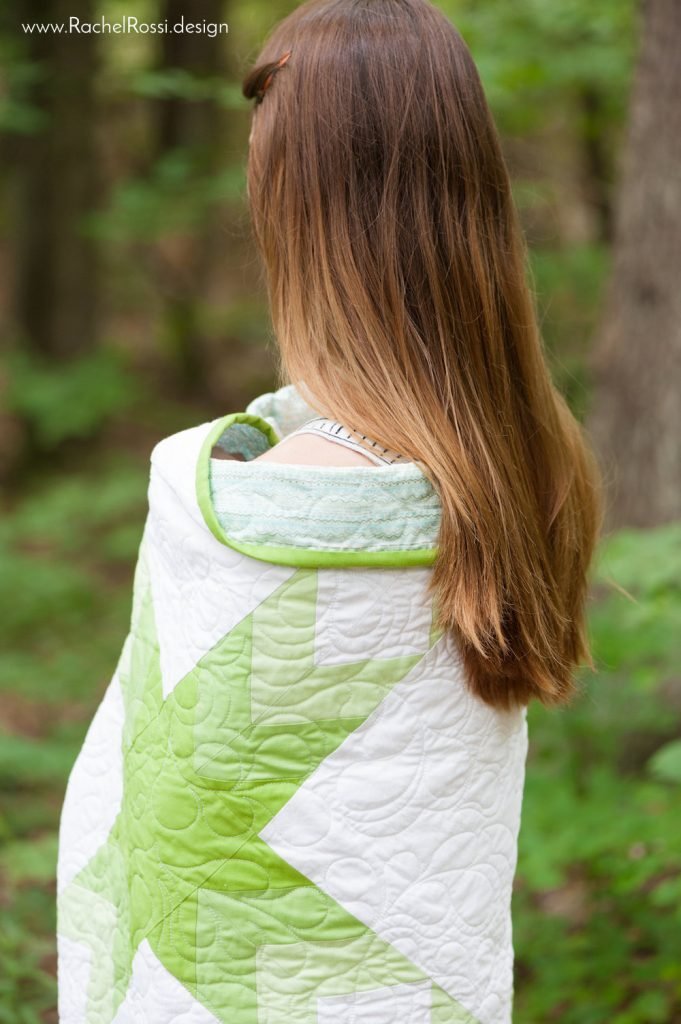
Choosing the right fabrics can make all the difference in your finished quilt. Whether you are an all-out pattern addict, or like to stick to the simple, modern pallet, make sure to take your time when selecting your fabrics. If you need help on where to start when choosing fabrics for your quilt, make sure to check out my tutorial on Choosing Fabrics. Or, if you’re making up your own color scheme, consider enlisting the help of a color wheel—get the full explanation on my Color Wheel 101 post.
Trust
Trust me on this one—OK?? You need to trust your designer! You could avoid a world of frusturation if you’d simply read over your pattern before starting. And read it again as you go. The extra two minutes it takes to pre-read your pattern will save you a half-hour of seam ripping later. I promise!
Making the Cut
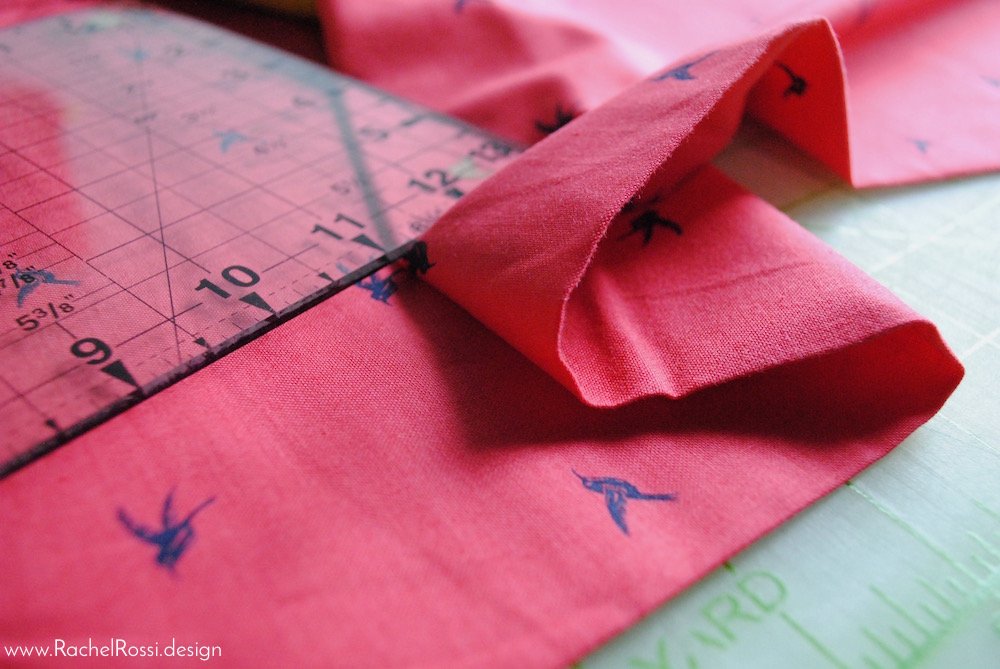
Cutting is a GIANT part of quilting. If you start out with the right fabric, the right tools, and the right cutting techniques, you’ve already won half of the battle. Make sure to square up edges before you start cutting your fabrics, and remember the old adage; “Measure twice, cut one!” Post this in your sewing room if you need to! Good, precise cuts help you in the long run, if you need a little help or more of an explanation on cutting fabrics, make sure to check out my Fabric Cutting Tutorial, or if you have giant pieces of fabric that seem overwhelming, check out my tutorial on Cutting Large Pieces of Fabric. Precise cuts are especially helpful in avoiding the next temptation that I’m about to unveil: Stretching your fabrics.

While You Stitch…
Stop Stretching!
One of the biggest (and easily avoided) problems I see with quilts is stretching and warping of fabrics. This is often less of a problem when quilts are made with quality fabrics, as you saw above. BUT, some of us can’t resist tugging on our fabric as it’s being stitched, or pulling one side down just a little bit so that things line up more perfectly. DON’T DO IT! This will create all sorts of wonky spots on your finished quilt top. Make sure that you are cutting your pieces correctly so that blocks line up nicely, and if they don’t square it up! For more on squaring up blocks, see below.
Keep Seams Flat
I know, I know…sometimes seams just jump over and bunch up. But, tearing out that small 1/2″ section and keeping all of your seams flat is worth the effort! If your seams stay how you pressed them, your quilt top will lay flatter and the quilting will go much easier. Always try to make sure that, while stitching, pieces with a lot of seams have the wrong side facing up so that you can hold them in place as you go.
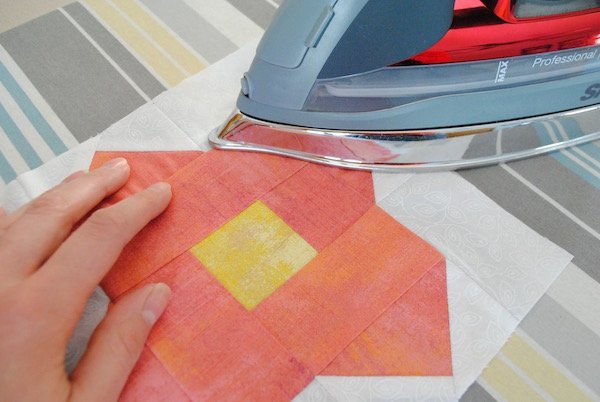
Pressing Seams
You’ve heard me harp on this before, I’ve even given ironing it’s own special blog post! But, I wouldn’t repeat it time and time again if it weren’t important. How you press your seams makes all the difference in sewing and quilting. Make sure that you follow the pattern instructions on which way to press your seams: to one side or the other, or open. And pretty please, iron on the back first, then the front…if you’re not sure what I’m talking about, make sure to check out my blog post, Pressing Makes Perfect.
Starch
Starch sort-of goes hand-in-hand with pressing, but I gave it it’s own category. Starch is especially important if you pre-wash your fabrics (see my Pre-Wash Debate if you’re not sure if you should pre-wash your fabrics or not). Starch gives the fabric a sort of crispness, that will help you keep it from stretching and warping. For a delicious scent and amazing wrinkle removers, make sure to get yourself a bottle of Best Press—this stuff is unbelievable!

Squaring Up
Squaring up is a very important step in quilting that is often really easy to forget, or skip, whether it’s lack of time or patience. But I promise you, your quilt will be square if you take the time to square up your blocks, and then when finished, your quilt.
Squaring Up Blocks
Squaring up blocks can be done after creating each block, or all at once when your blocks are all sewn together and pressed. Essentially, you want to get a 90 degree angle on each corner of your block, and to have the piecing inside each block run parallel to matching sides, so that everything is straight. Always proceed with caution when squaring up blocks with points—you never want to cut off too much, or you won’t get a crisp point once it’s sewn in. I don’t have a tutorial quite yet for you, but Craftsy has a decent one in the meantime!

Squaring Up the Quilt
Squaring up your entire quilt, once finished is what separates the boys from the men. It can help your quilt to fold evenly, and lay flat. Or, if it’s hanging on a wall, you want those edges to be perfectly straight! Squaring up the quilt is essentially the same as squaring up your block, just on a much larger scale. You’ll create a 90 degree angle in each corner and trim away the excess fabric and seam allowances along the edge. For a full tutorial, check out this one from The Sewing Loft!

There you have it—10 reasons that your quilts aren’t as amazing as they could be. Maybe you’ve got the first parts down, but get lazy when it comes to squaring up your blocks …ehem, not that I speak from personal experience… what parts do you struggle with? What do you think you could improve on to become a better quilter? I’d love to hear all about it in the comments below!
Enjoy reading this post? To make sure you don’t miss a thing, follow me on Pinterest, Facebook, and Instagram and sign up for an email subscription to my blog.
You Might Also Like
