Hi there! I wanted to drop in today with a quick little tutorial (a few, actually!) on different approaches to bias tape appliqué. But first, maybe a little introduction is in order…
What is Bias Tape Appliqué?
Bias Tape Appliqué is a really fascinating method of quilt appliqué that takes advantage of the stretch that you get when you cut on the bias of a fabric.
When you cut your fabrics on a 45 degree angle (rather than straight on like you’re probably used to) you get a much stretchier piece. Pair this with a nifty tool or two and you’ve got yourself endless possibilities!
How do I cut on the bias?
Great question! Check out this super quick tutorial on how to cut fabric on the bias (the quick and easy way).
A quick note: In all of my tutorials on this post, I’ll be cutting 1″ strips and using a 1/2″ bias tape maker. You can create a variety of bias tape sizes, so what you end up using might be different than what I am showing, but the technique remains the same!
What is a Bias Tape Maker?
A Bias Tape Maker takes that strip that you just cut on the bias and folds both raw edges in, creating a perfectly folded strip in a really simple motion.
My Favorite Bias Tape Makers and Sizes

I LOVE this style of bias tape maker from Clover. The plastic handle doesn’t get hot from your iron like the metal handles do and that makes all the difference!
This specific kit includes 5 different sizes. Here are some details on each and how to cut for them:
- The smallest finished size is 1/4″ wide, For this size, cut strips that are 1/2″ wide. These will be your most “bendable” strips.
- The next largest size is 3/8″. Cut strips that measure 3/4″ wide.
- For 1/2″ finished bias tape (shown in my tutorial videos), cut 1″ wide strips.
- For 3/4″ finished bias tape, cut 1-1/2″ wide strips.
- For 1″ finished strips, cut 2″ wide strips.
How to use a Bias Tape Maker
Now that you have this little contraption, check out my super simple tutorial on how to use it:
First up is my tutorial on how to make the actual bias tape and how to mold it to the shape you want. This is a simple way to get started th. You’ll use your paper template to create the shape and glue to hold it down while sewing (make sure to keep scrolling for another neat option!)
Next, I want to show you another option that is pretty slick: Iron-on adhesive…
Both are great options and you might use both depending on your scenario! Here are some links for the different adhesives you see in my video (click to buy on Amazon):


I’ve made my bias tape…now what?!
Congrats! You’ve made your bias tape and now it’s time to attach it to your quilt! You can use your favorite appliqué stitch or use my favorite: an invisible machine stitch. I think this is the best way to get crisp lines and a clean look. If you want to see how it works, make sure to check out my tutorial:

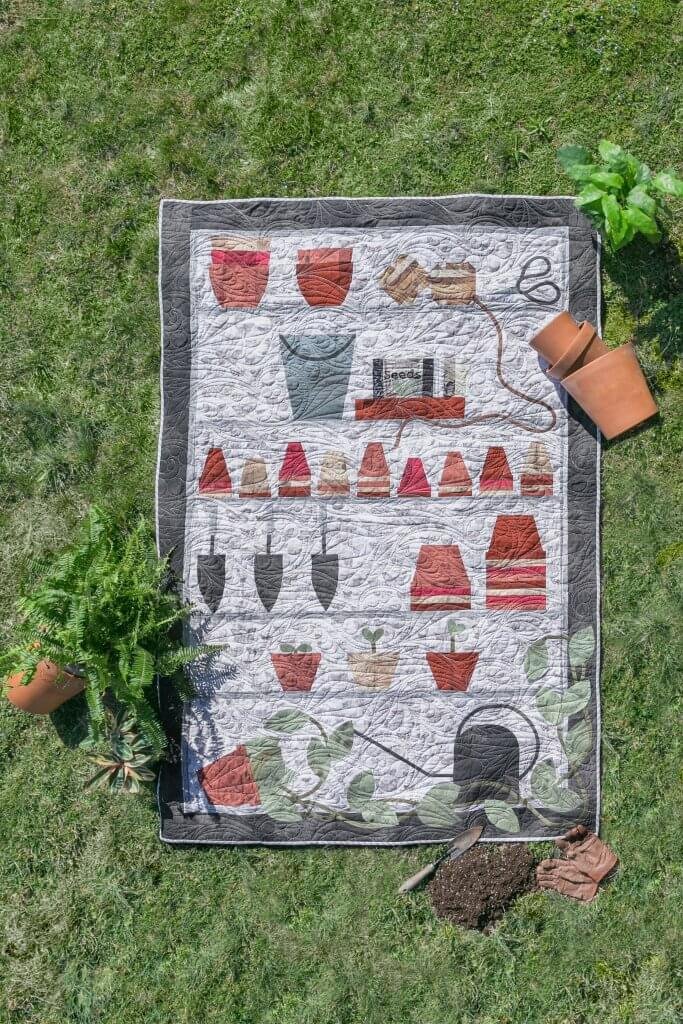
Loved that Quilt?!
Me too! Make sure to check out all the details on my Potting Table Block of the Month Club!

Join My BOM Club and Get…
✔️ 1 quilt block pattern per month
delivered to your email
✔️ Member-only tutorials
✔️ Monthly quilty prizes
2 chances to win for every block you finish
✔️ Access to my private Facebook group,
just for BOMers
…for just $5 a month!
charged annually
Virtual Class and Kit available at additional cost