


There’s lots of reasons to photograph your quilts and other sewing projects. Whether it’s because you’re giving it away, entering it into a show, or showing off on Instagram or Facebook—photography is the victory lap around a finished piece, it’s so important that you get good pictures of your priceless art! Today I want to show you how to photograph quilts and other sewing projects for a better portfolio, photo album, or however you keep track of your projects!
Do I Need Special Camera Equipment?
When talking about photography, a lot of people feel very intimidated by the whole thing. You might think that you need equipment that costs thousands of dollars or weighs a hundred pounds. The truth is, that if you’re a good photographer, and know what you’re doing, you should be able to get a decent picture on your smart phone or digital camera. Sure, a DSL makes things easier and has more control, but it’s not necessary in order to get a good picture of your sewing.

My sister and photographer, Sara Bittner! Make sure to check her our if you’re looking for a photographer near Lancaster PA!
How to Get a Clear Image of Your Work
So, if photography is all about skill, and not so much about equipment, what do we need to know?
First off, you don’t want blurry images of your work. Nothing shines like a crisp, clear picture. If you don’t have a tripod (which does make life a bit easier for you), that’s OK. Try setting your elbows on a table top, chair, or other piece of furniture that sits at the right height.
Lighting Your Quilt for Pictures
If I had to choose one thing that makes or breaks good images of quilts and other projects, it’s lighting. We really don’t notice until we see the difference in lighting between two images. The best time for great lighting is on a cloudy day, early in the morning, or evening. If possible, always take your work outside. Make sure that there’s not a glare on any parts of the fabric or that one part is washed out.
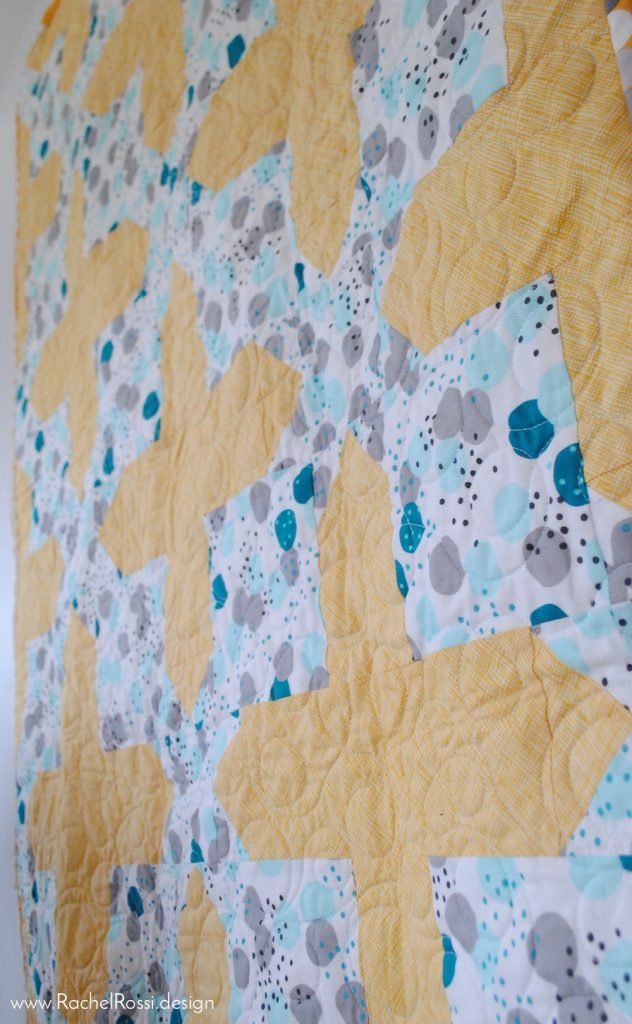
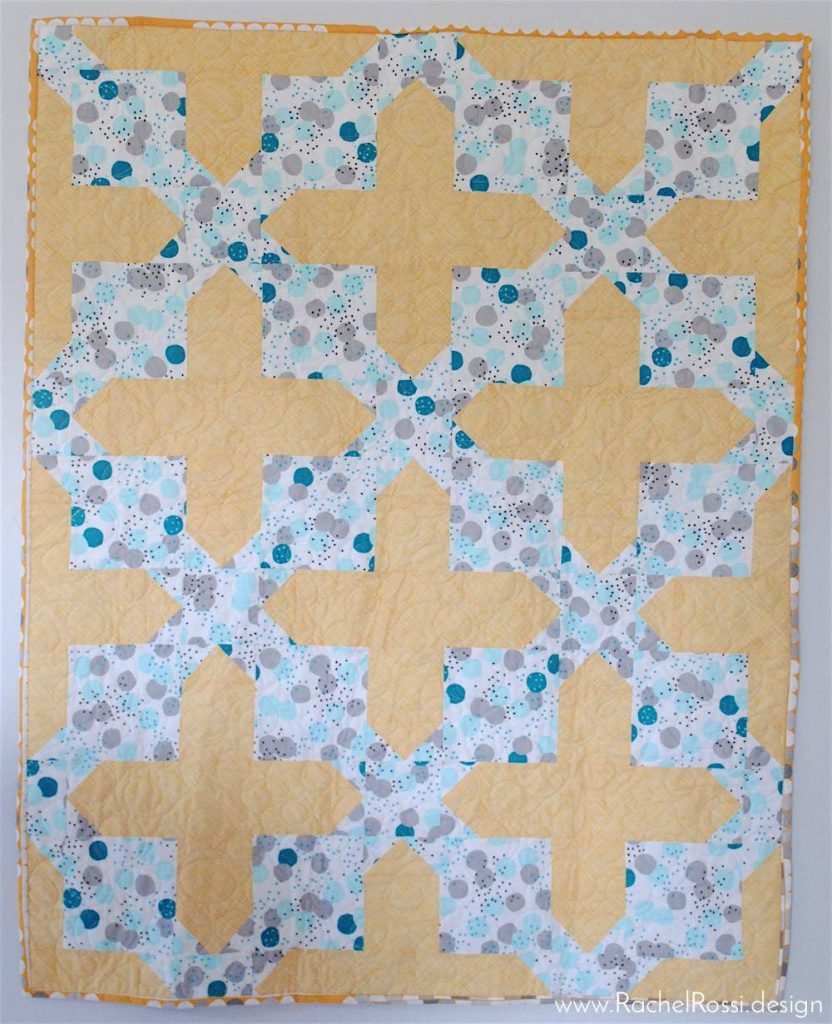
You can find good sunlight, even inside! My Crossroads quilt shines in the light of our master bedroom.
When I needed to post images of the Burst Quilt for it’s release, it was pouring buckets outside for weeks!
If it’s just not possible to get outside and you NEED your images now, inside photos of your sewing are still an option! I find it easiest to get good lighting in the morning in a room with windows on multiple walls in the room. It creates a sort of light-box where the light is bouncing off of walls in multiple angles. If you don’t have a great set up like that, never fear—photograph your work in the morning near the a window and make sure that all indoor lights are turned off to avoid a yellow glow.
Staging Photos of Your Work
There are only 3 must-have photos for quilts and other projects: the overall, the detail, the lifestyle, and/or the recipient.
Getting an Photo of Your Completed Quilt
Each quilt has it’s own personality, sometimes they take on different faces depending on how close or far away you are when looking at it. It’s always important to get a photo of the entire quilt. This can sometimes be tricky, but with the right tools, it can be a cinch.
Clotheslines are just the thing for displaying your quilt and getting a shot of the entire piece. If you don’t have one outside, you can always string one up inside or hang one against an interesting wall.
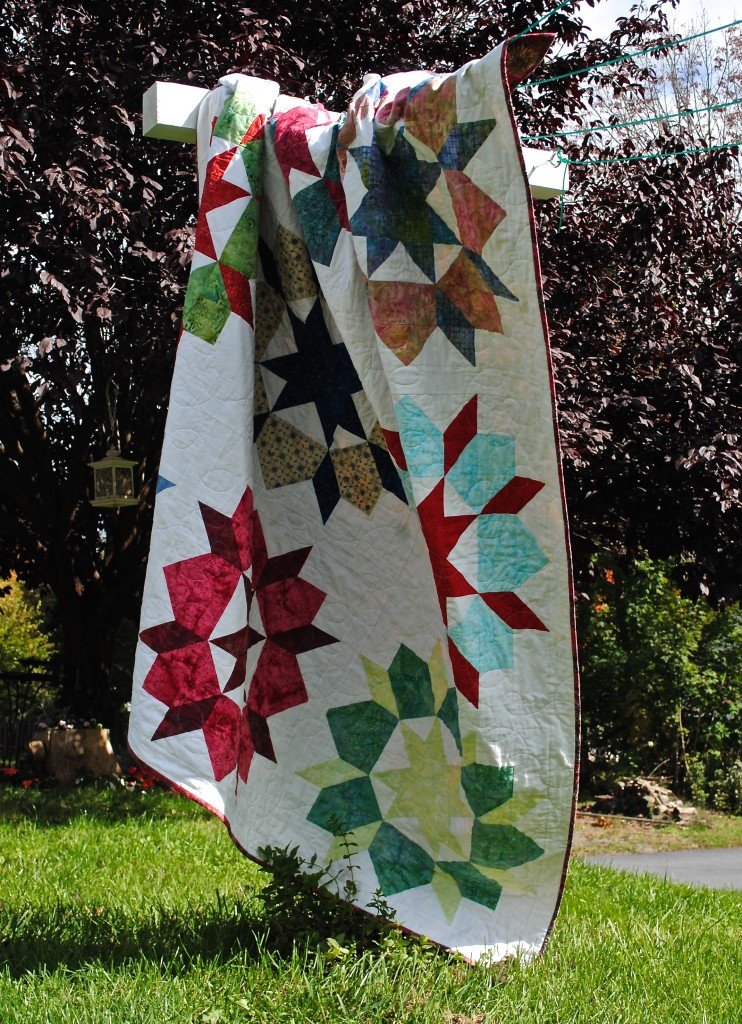
The Swoon quilt looks lovely on the clothesline, doesn’t it!?
Grass makes a beautiful background for any quilt. A shot like this takes a little more elbow grease, requiring a tall ladder (really tall for larger quilts) and the right lighting, like we discussed above.

This construction quilt, Building Blocks, was my first release. It only seemed right to have a little boy climbing around on it in the grass!
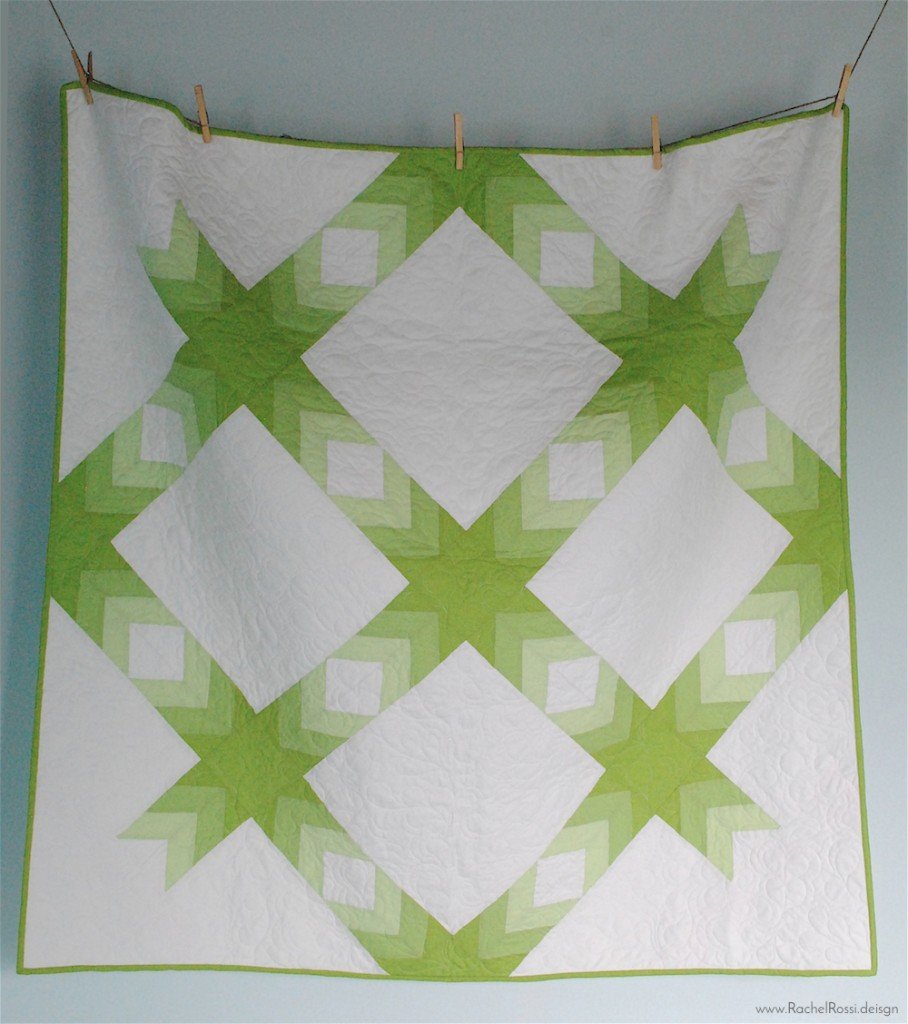
A blank wall can be your best friend. Even if it requires taking down a piece of wall art, it works really well. Just hammer in two some small finishing nails (to later be covered by your art) and slide your binding onto them. I discovered this trick by accident when photographing my latest quilt, Crossroads.
Quilts don’t look especially nice with fingers holding them at the corners or feet sticking out the bottom. If you’ve got a little bit of editing skill (and the right program for it) you can get some really whimsical shots! All that’s needed is a little bit of computer savvy and an image with the quilt and without.

Burst, my modern throw quilt, is the perfect subject for this whimsical floating shot!
Getting Detail Shots of Your Work
Every quilt and sewing project deserves it’s close up! You worked hard on this & every detail needs to be appreciated. Don’t be shy about getting up close and personal with the piecing, applique, and quilting.

Head in the Clouds is the perfect baby quilt for lots of little detail shots, each hot air balloon has it’s own flavor!
Lifestyle Photos of Your Sewing
Lifestyle photos might not be necessary for every project, but they sure are fun to have! Drape your quilt over a couch, chair, crib, even an interesting bench you found around the neighborhood. People might look at you funny for the 5 minutes that you’re getting the photo, but the final image will be well worth it!

I couldn’t resist the morning sun shining on my neighbors bench!
The Recipient and Their Quilt
This is a must have! What fun to have an image of your quilt and the person receiving it—even if it’s a little bit of a hassle to get the picture scheduled, staged, and taken—you will not regret having this photo to look back on.
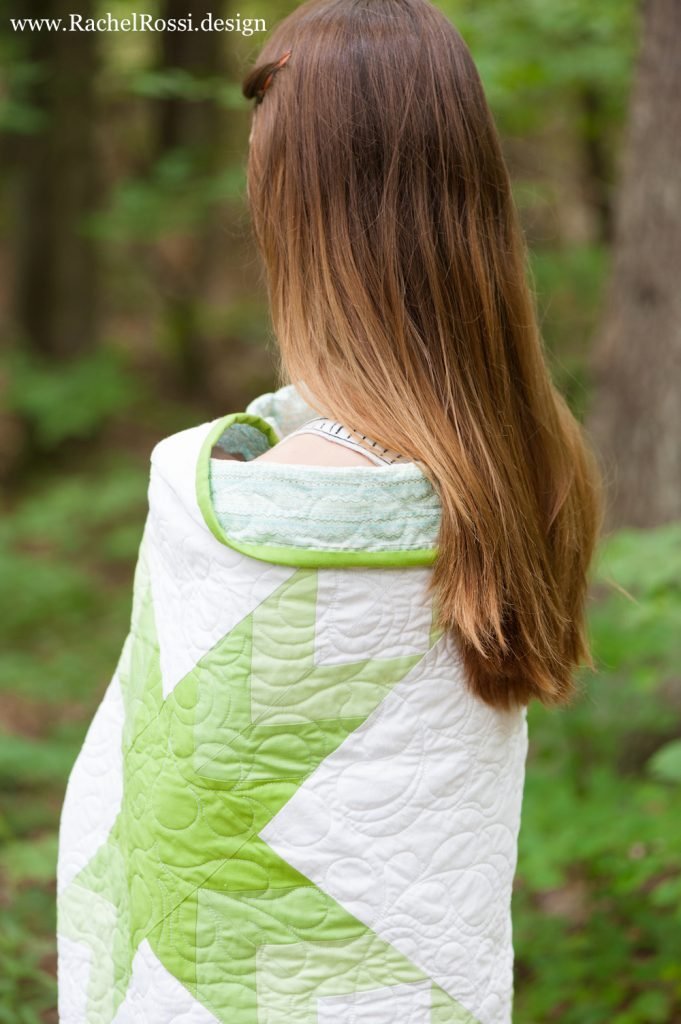
You caught me! Burst was a creation for myself!
I hope you’ve enjoyed this tutorial on getting better images of your quilts and sewing projects! Do you have any tips and tricks that weren’t shared here? If so, please make sure to let me know in the comments below—there’s even a picture upload option!
Enjoy reading this post? To make sure you don’t miss a thing, follow me on Pinterest, Facebook, and Instagram and sign up for an email subscription to my blog.
Great work!!! Thanks for the tips. I usually lay my stuff on either the floor or my bed, then get up on a step ladder to get the pics. Will need to try outside too!
Thanks so much, Beth! There’s nothing better than natural sunlight! 🙂
Rachel, these are wonderful photo’s & great tips! Your quilts are lovely! I hope to make one someday soon!
Thank you Glenda! I look forward to seeing your take on one of my patterns! 🙂