


I’ve received lots of questions about today’s topic because I mention it in almost all of my patterns & my binding tutorial. So, I’m going to share one of my favorite products with you:
Can you guess what it is?
The Fons & Porter Binding Tool!
Maybe that’s your favorite thing too, or maybe you’ve never heard of it. If you haven’t heard of it, then let me tell you all about it!
Note: Some of the links and images in this post may be affiliate links. That means, should you decide to click on one of these links and then make a purchase from that site, I will receive a small commission. This is how I’m able to provide you with great content every week, free of charge! Thank you for your support!
The Best Way to Join Binding Ends
So, what’s the big deal about this nifty little binding tool? I love this tool because it creates a very sneaky seam in your binding where the beginning and end join. When I first started quilting, I couldn’t figure out how to make that transition without a big lump in my binding or a very noticeable seam. Not long after, I was introduced to this useful binding tool and I’ve used it on every project that needs binding since!
How the Fons & Porter Binding Tool Works
There’s no sense in me telling you about the product and not showing you how it works! Below, you’ll get a picture tutorial of how to use the Fons & Porter Binding tool. I’d suggest bookmarking it— I always refer to pictures on how to use this to make sure that it turns out right each time!
Fons & Porter Binding Tool Tutorial
Start by sewing on your binding, you’ll want to leave a rather large gap between the beginning and end of your binding, about 12″ minimum. Backstitch at the start and finish.

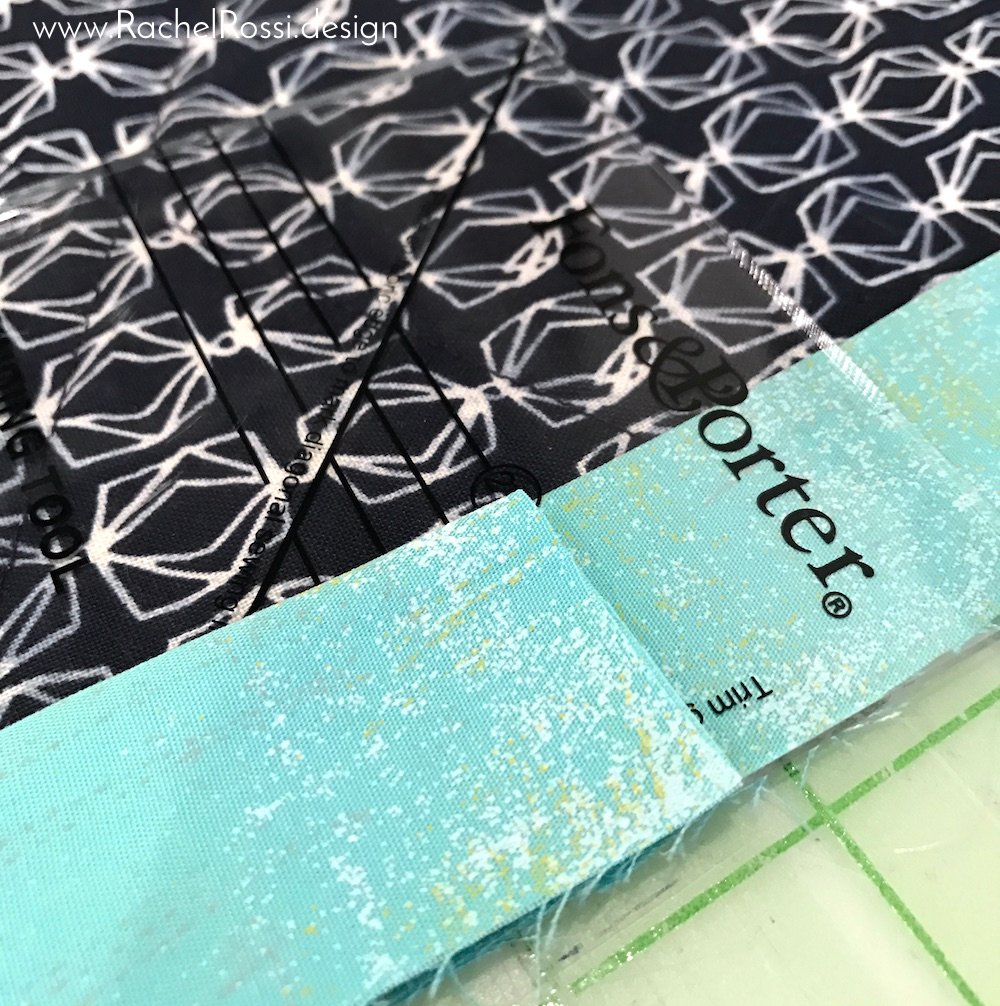
Lay one piece of the binding out flat along the edge of your quilt. Match the bottom of the Fons & Porter ruler with the bottom of the binding piece.
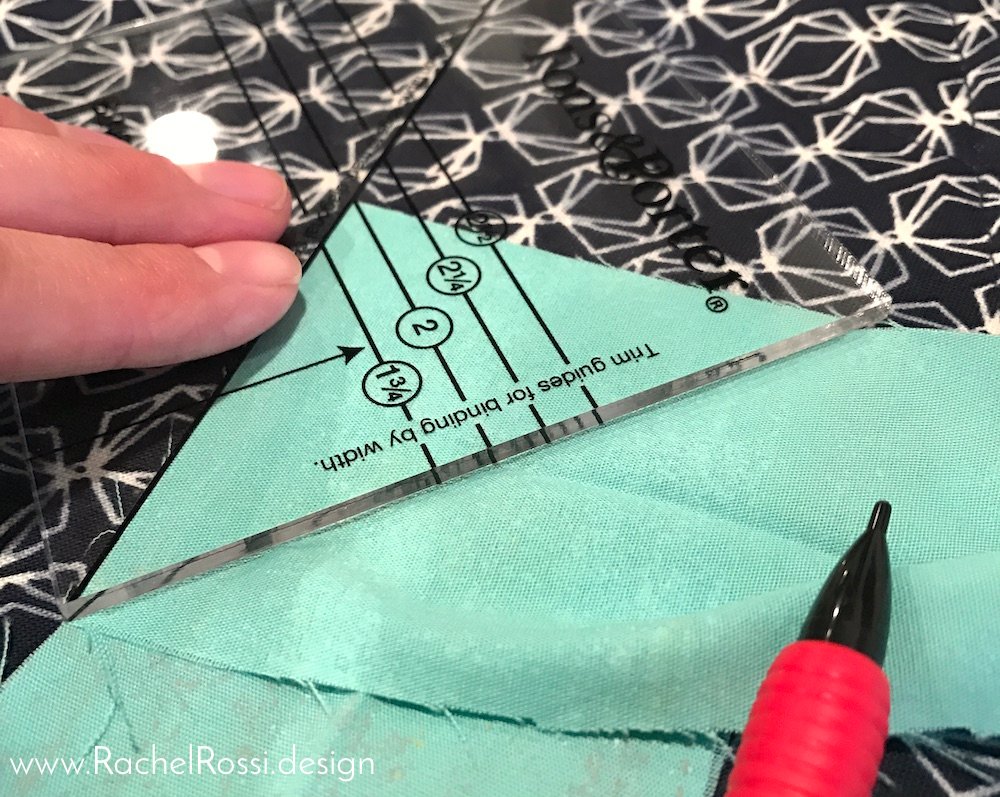
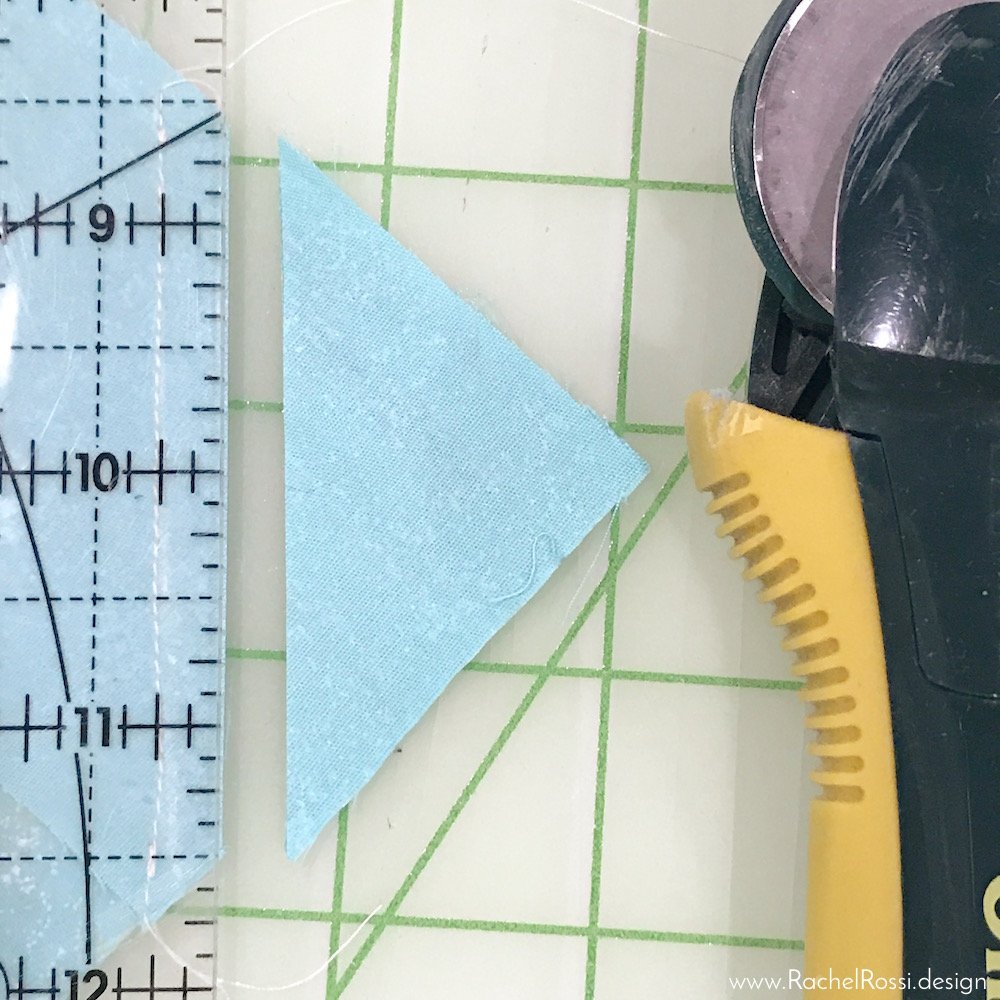
Then, lay the remaining binding piece on top of the ruler, matching raw edges with the edge of the quilt. Trim the top piece according to the line labeled with your binding width. I do my binding at 2-1/2″ so I cut my top piece at the line labeled 2-1/2.”
Now that (the most terrifying) step is done, you’ll unfold your binding and match the corners right sides together as shown in the image below.

Pin and draw a diagonal line across the corners.
Before you stitch across the drawn line, make sure that your binding isn’t twisted and once it’s sewn that it will lay flat. I almost always get it twisted and have to rip this part out at least once! If you run into a problem, make sure to check out my tutorial on ripping out seams quickly—it won’t be such a pain if you do sew it wrong.

Now, using a ruler, line up the 1/4″ mark with the seam and trim.
Gently press your seam to the side and press your binding in half again, wrong sides together. Lay your binding out flat and stitch the open section of your quilt closed!

That’s all there is to it! Now fold your binding over the edge and get to finishing that binding up! For a full tutorial on hand sewing binding, make sure to check out my post on how to bind a quilt.
If you haven’t gotten it yet, make sure to get your Fons & Porter Binding Tool on Amazon today!
Looking For A New Quilt To Bind?
Check out these fun quilt patterns!
Did you know that in addition to fantastic tutorials, I offer quilt and sewing patterns? Here’s a few of my favorites, but make sure to see them all in my shop:

Head in the Clouds is a pattern that is so quick and easy—you’ll fly right through it!
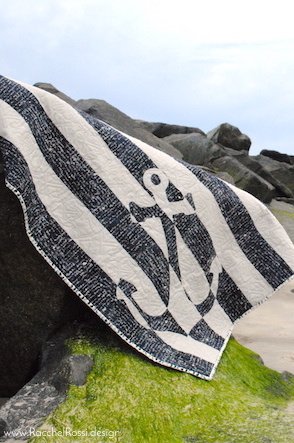
Shiplap is a modern twist on a favorite nautical image, and a quick quilt pattern to boot!
All quilt patterns are available in my shop, so order your copy today!
Looking for More Great Tutorials?
I’ve got lots of great tutorials and free patterns for you! Make sure to check them out:

Enjoy reading this post? To make sure you don’t miss a thing, follow me on Pinterest, Facebook, and Instagram and sign up for an email subscription to my blog.
I am reviewing this product because I use and love it with every quilt I make! In no way is Fons & Porter compensating me for my opinion.
Love your site. Thanks for showing how to use the binding tool.
Of course! It’s so helpful to have around the sewing room.