I was getting set for the Erie quilt show this fall and while designing the layout for my booth, decided that it needed some character. I dug out my old steamer trunk that’s been sitting around, begging to be updated for at least 10 years now and got to work!
I pained for hours (not exaggerating) over what to recover this awesome old antique in. I wanted to preserve the beauty of this piece and had a hard time not overwhelming it with something too bright or too modern. After sifting through pages and pages of wallpapers, I finally came to the decision to cover it in cork (I told you I was obsessed—if you don’t believe me, make sure to check out my sewing with cork post or my cork wallet review!). I priced out options for covering the trunk in cork fabric…let’s just say it was a little incredibly pricey, so I did a little research and found metallic cork shelf liner for a much better price. I figured since this trunk was mostly for display, I’d give it a try! I’m tickled with the results and so glad I did. I’d love to show you my process!
From Trash…
This old trunk was something that I found at an antique store when I was in middle school. I still remember thinking this was such a steal at just $35! In hindsight…the dealer probably was glad to be rid of it!

It was obviously in need of a little love, but I still thought it was amazing, tears and all!
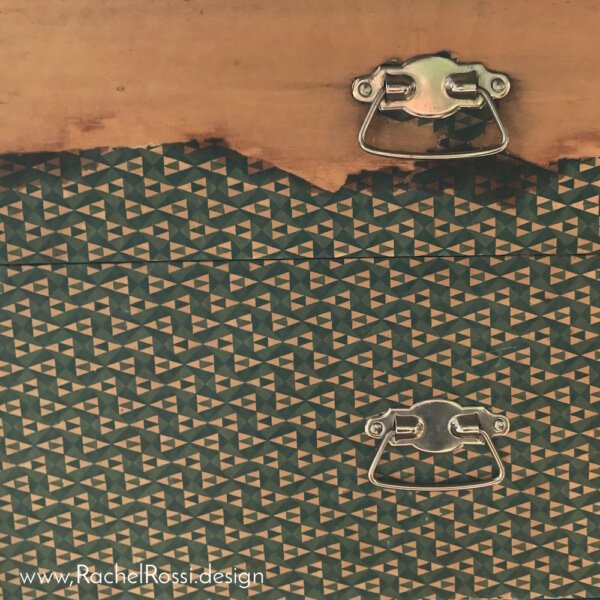
It pained me a little to see this authentic paper go, but it just wasn’t being used in it’s current state.
Out With The Old
Once I finally said goodbye to the vintage paper, I took a look at my hardware. I realized quickly that it wasn’t as simple as unscrewing knobs on a drawer…these things were riveted into the drawer fronts and were not going to budge. I debated, tried to cut the cork out to match the plate, but in the end I had to pry off the hardware.

After gently prying off the hardware, I had a clean slate to work with!
There were a few spots on the trunk that I knew wouldn’t take the cork very well. Since the cork was about the same color as the raw wood, I just decided to sand the paper off and leave it raw.

Once everything was wiped down and ready to go, I was ready to cut!

I measured the drawer fronts and cut my cork to size using a rotary cutter and self-healing mat. The cork cut like a dream!
I used wood glue to adhere the cork to the front of the drawer boxes. I chose to leave the sides of the drawers in their original paper…I like to leave a little bit of the original character peeking out!

My binding clips were the perfect tools for holding the cork in place until it dried!
Once all my drawer fronts were dried, I was confident enough to move onto the other parts of the trunk!

And here it is all finished and on display at the quilt show!

I’m pretty thrilled with how everything turned out! I love the metallic details and am waiting to find the perfect knobs to put on the drawers. I think it looks nice and clean without, but knobs would just be the cherries on top!
What antiques are you thinking about refinishing? I hope this inspired you to get moving!
Enjoy reading this post? To make sure you don’t miss a thing, follow me on Pinterest, Facebook, and Instagram and sign up for an email subscription to my blog.


