


Today I thought it might be nice to start from the begining. This one goes out to you who are brand-new to the quilting world. You’ve got a pile of fabric and a pattern that you’re dying to get started on, but are a little afraid to make the first cut. Never fear! I’ll show you everything you need to know and how to get started on your very first quilt.
Step 1: Prewash (Or Don’t)
This may or may not be your step 1. There is a big debate in the quilting world as to whether or not your should pre-wash your fabrics. You can read all the pros and cons of prewashing in my Prewash Debate Post. But for the short and sweet version, just stay tuned:
Prewashing fabrics ensures that once your project is finished, it won’t shrink after washing. This is especially important when making clothing (because it is washed often and needs to be the correct size to fit). But when it comes to quilting, there is some question as to whether or not to pre-wash. Personally, I don’t prewash because I think the crispness of new fabric helps to keep everything straight when cutting and sewing. In the end, it’s up to you. Just know that if you choose to not prewash, your quilt will shrink a bit after its first wash.
Step 2: Read the Directions
While you’re anxiously awaiting your prewash cycle to be over, you have just enough time to read the pattern! As a pattern designer, I can’t stress to you how carefully worded and diagrammed each and every part of your pattern is! You’ll be glad that you read your pattern before getting started and so will we. Often times, things won’t really make sense until you see the whole picture and process of how things are going to go together. Ideally, a quick run through of the instructions will save you lots of time and frustration, and you won’t have to spend as much time with your seam ripper…

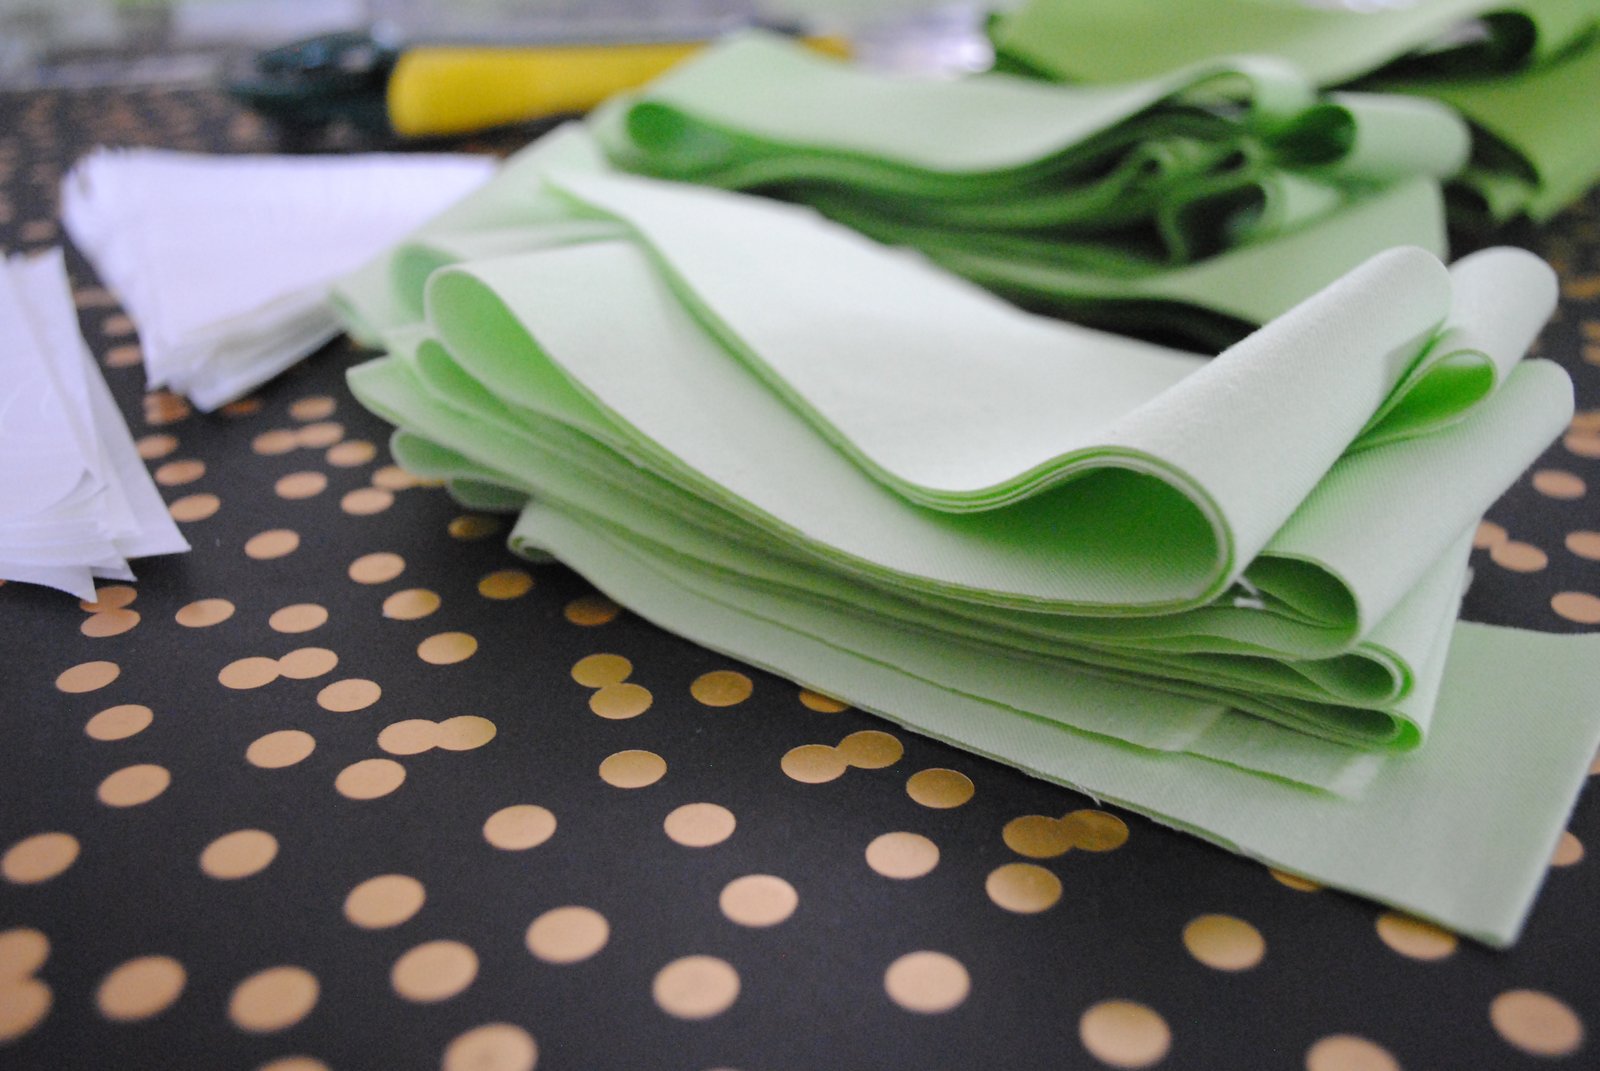
Step 3: Cutting Time
For quilts, cutting is one of the most important steps. Get this right and you’re on a good start! I do not suggest cutting with scissors! It’s incredibly hard to get perfectly straight lines when you’re not using the right tools. I absolutely suggest investing in a rotary cutter, self-healing mat, and acrylic ruler. It doesn’t have to cost you an arm and a leg, but these tools will make or break your project! For a full list of my favorite tools see 10 Quilting Tools I Couldn’t Live Without.

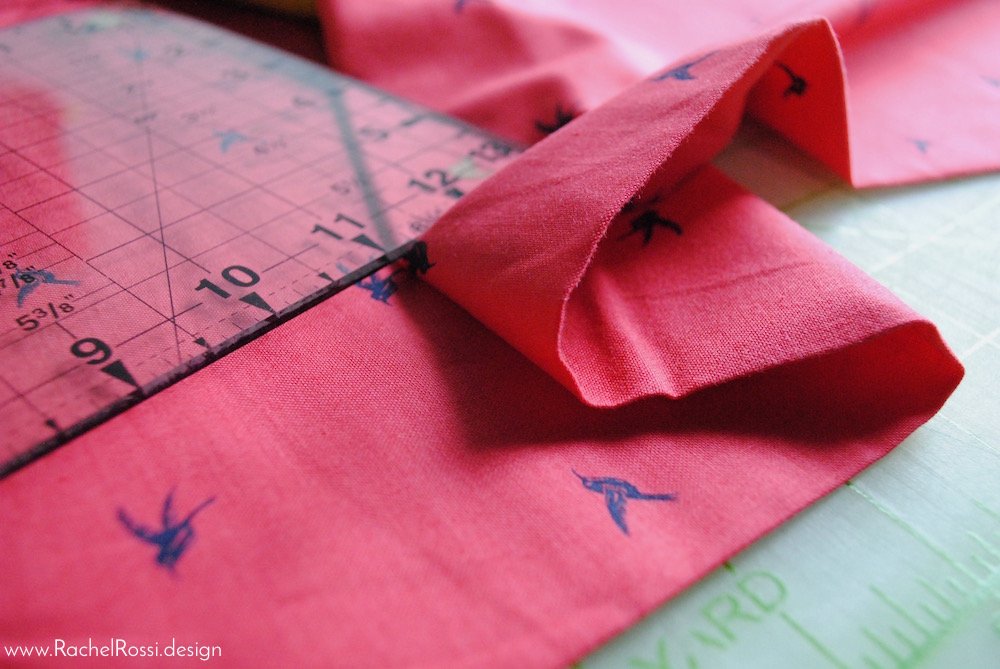
The second most important part of cutting is the very first cut! I this part ensures that you’re getting a straight cut. You’ll do this by lining up the folded edge of your fabric (just like it was folded on the bolt) along the bottom line of your cutting mat. Scoot it over until the perpendicular raw edge is covering an entire line. Next, you’ll take your quilting ruler, line it up along a straight line on the mat (near the raw edge) and trim off any pieces that aren’t straight.
You can see all my tips and tricks for cutting on my post: Measure Twice, Cut Once.
Step 4: Sewing
Finally! You’ve gotten to the sewing machine! This part is just as important as cutting—you want your seams to all be the same, so, make sure you stick to one sewing machine, as many differ just a bit on their seam measurements.
The easiest way to ensure that you are getting a consistent seam on each piece is to use a quarter inch foot on your sewing machine. This looks like a regular sewing foot, but it has a little metal tab on it. You line up your fabric there and get a perfect seam every time!
Step 5: Pressing
I realize that so far, I’ve said every step is the most important…which is true! But, I get a little crazy when it comes to pressing! So many great quilters falter at this point—don’t let that be you! Make sure that you press each and every seam right after you sew it. Your pattern will state which way to press it, but make sure that you don’t skip or wait for this step! For a full tutorial on how to press for the best results, make sure to check out my post, Pressing Makes Perfect!

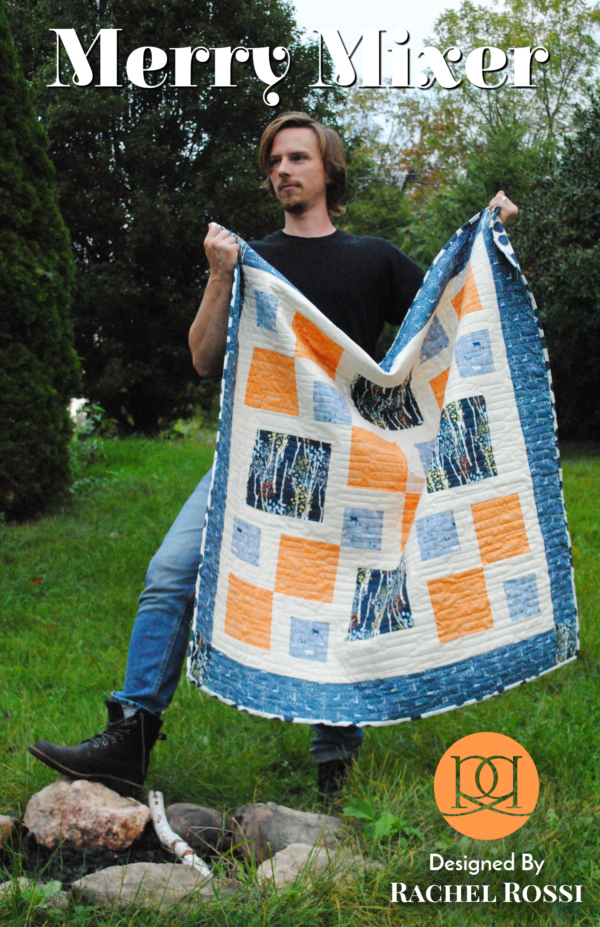
There you have it—your first quilt block! Now it’s time to do your second, third, and fourth! I can’t wait to see what you’ve done! Make sure to post your first quilt in the comments below! If you’re looking for a pattern for your first quilt, but haven’t found it quite yet, make sure to hop on over to my shop and take a look around.

Enjoy reading this post? To make sure you don’t miss a thing, follow me on Pinterest, Facebook, and Instagram and sign up for an email subscription to my blog.
From a person who teaches beginning quilting classes all the time – well done Rachel! I too say “pressing makes perfect”!