


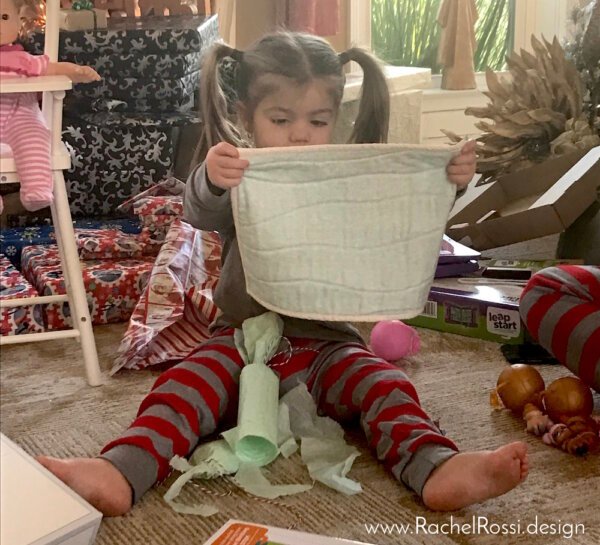
You guys, I’ve been busting for the past week and a half—I made the most adorable baby doll quilt for my niece and haven’t let myself share it with you…Christmas secrets are SO hard to keep! Anyway, I think it’s very funny that this little scrappy baby doll quilt it one of my most favorite projects so far—I tried some new things on it and was really happy with the result! I’ll be sharing those things with you in the very near future, so read on to get all the adorable (scrappy) details and your Scrappy Baby Doll Quilt pattern for free!
Let’s start at the beginning of the story; I wanted to make or get something special for my niece this Christmas. Everyone suggested clothes, furniture, or accessories for her baby dolls—she’s 100% in on the baby dolls. But I just didn’t want to drop $50 on a mini high chair or something else that would just be another piece of furniture. After talking to her mom, I discovered that she always was looking for a blankie that was the right size for her dolly, but everything was just too big. She often used her little brother’s preemie quilt, but even that was too big! So, it was settled, I was going to make a mini 9″ x 12″ quilt for Christmas!

Then I really started overthinking it.
I was paining over what block to do that could be shrunk down easily enough and would still appeal to a little girl…let’s just say it was 1 day until Christmas before I started this little project! But once I bit the bullet and just went for it, I fell in love with this little baby doll quilt.

I decided to go with a scrap quilt—what do little girls love more than lot of fun colors?! I really couldn’t have gone wrong here, but I didn’t know how right it would go! Here’s the details, but keep scrolling for the free pattern.

I told you I did some new things on this one, just to experiment a bit, first was my double needle quilting—I was inspired by a bag that I recently saw at a quilt guild meeting and was itching to see what it would look like to quilt with a double needle. Make sure to keep an eye out for a tutorial on that, coming soon!

I also am working a lot more with invisible thread. I’ve used it in invisible machine applique, and wanted to see the best way to use it with machine binding. That tutorial will be posted here soon too!
How to Make a Scrappy Baby Doll Quilt
Now, the text that you’ve been scrolling for! The free pattern for this scrappy baby doll quilt is here, and so very simple! Download your copy now for all the exact details, and use the images below to guide you through the basics.
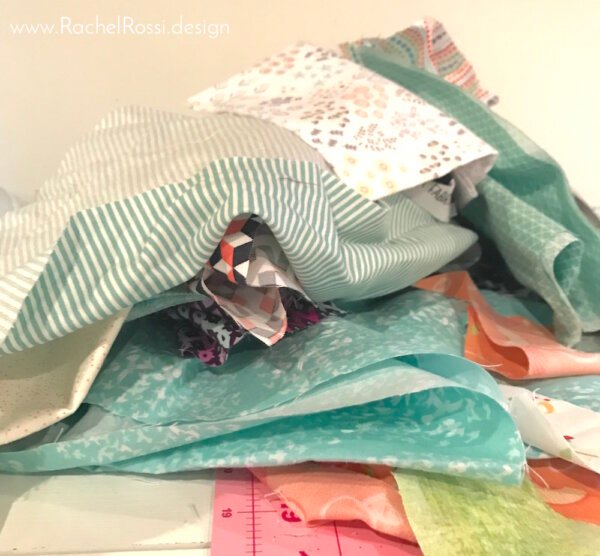
Gather Your Scraps
Start digging through your scrap piles. I suggest gathering a variety of scraps—all sorts of shapes and sizes. Long Strips (at least 6″) are the most useful.
Sew Scraps Together
Next, you’re going to start cutting your scraps. If you like a pattern and direction, you’re just going to have to trust me on this.
Start simple and cut a strip in half—try to make it not perfectly straight, if you don’t your quilt will end up just looking like it’s striped, and not so scrappy.

Next, sew two scraps together. Then three and four. This doesn’t have to look pretty (at all) and you don’t want it to look straight!

Now that you’ve got a few scraps together, you’ll start in a different direction. I chose a crooked piece to make the whole next section off-kilter. Simply lay the next strip over top of your sewn section, making sure to cover all the pieces. Then sew along the edge with 1/4″ seam.

Once you’ve sewn this strip on, trim the excess fabric down to 1/4″ seam.

Keep adding strips and pieces until you get a piece that is about 15″ x 13.” You want to make sure that it’s a little bit bigger than your finished size (plus seam allowances). Press all seams open.

To create your blocks, create a straight edge.

Then cut two strips.

Next, you’ll cut those strips down into four rectangles.

Now it’s time to mix them all up! Once you have them arranged how you’d like, sew two sides together, as shown below:

Then sew the two sections together to create your baby doll quilt top! Next we’ll spray baste the top to start the quilting.

Then we quilt (a tutorial on quilting with a double needle is coming up soon!).
And bind…I love my Fons & Porter Binding tool, check it out on my product review!

Then it’s time for gifting!
Get the Printable Baby Doll Quilt Pattern Here
Enjoy reading this post? To make sure you don’t miss a thing, follow me on Pinterest, Facebook, and Instagram and sign up for an email subscription to my blog.