
“So…somehow I’m the activities director for the guild,” I sheepishly explained to my husband after my very first guild board meeting – I had just agreed to shadow at the Modern Quilt Guild for a position in 2019. So, I’m really not sure how it happened, but I was indeed appointed to be the activities director for 2018. I was actually pretty excited about the whole miscommunication, the only problem: I’d have to participate in the activities! And if you know anything about me, you’ll know that I’m a little busy. So, I justified my appointment and reassured myself that it would all work out, I’ll just make each project and blog about it! Double points for having fun, using scraps, and getting work done. So, over the next few months you’ll see some fun smaller projects on the blog that are perfect for small gifts, guild events, and swaps!
Note: Some links and images in this post may be affiliate links. This means that if you choose to click on and purchase through these links I will receive a small commission. This is how I’m able to give you great content and free patterns, free of charge! Thank you for your support!
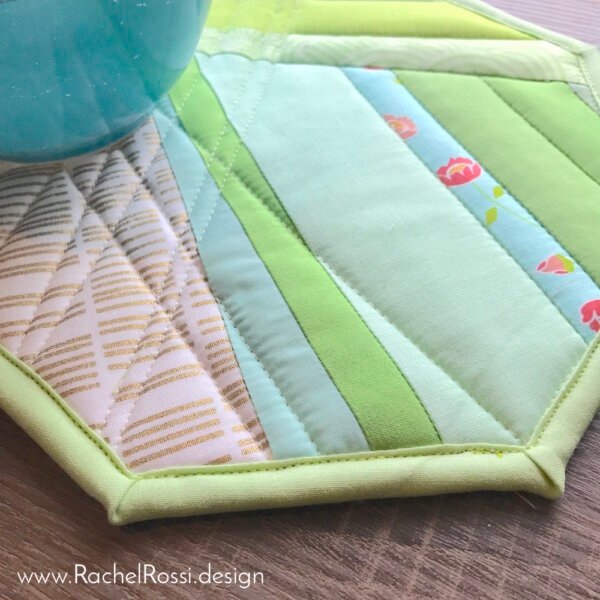
So, without further ado, I give you the Oven Octo Pot Holder!
This was our first holiday-inspired swap of 2018, just in time for St. Patricks Day. The challenge: Create a pot holder using a piece of Insul-bright that the guild provided in various shapes and sizes. The only stipulation other than using what we gave the ladies was that it had to incorporate the holiday in some way—be it an Irish Chain, Cloverleaf, green fabric, green thread, a pattern or designer with an Irish Name…whatever it takes. Side note: This totally reminded me of elementary school when I forgot about wearing something green on St. Patricks Day, so I swore I was wearing green underwear to keep from getting pinched…there was no way to prove it! It’s a jungle out there!
Anyway, I’m pretty excited about this swap and am really looking forward to seeing the variety of things that people create! Here’s a helpful tutorial (and a small glimpse into my process) on how to make a basic pot holder. If you want the no-fail pattern to make a version just like mine, it’s free in my shop! And, if you missed it, check out my post about Insul-Bright before you get started to learn about this awesome product!
How to Make a Quilted Potholder
What You’ll Need
- 10″x10″ square of Insul-Bright
- 20″ x 10″ rectangle of 100% cotton batting
- Cotton fabric scraps
- Cotton Thread
- Frixion Erasable Fabric Marker
- Your Free Pattern!
Sewing and quilting is the best because you can basically make anything you want to. Oval potholder, casserole caddy, Swirly spiral trivet—no problem! You dream it, you make it. Looking to make an adorabe potholder? Just keep reading!
There’s four basic parts to your potholder: The top (pieced side if you wish), batting, backing, and binding (check out my angled binding tutorial here!). Everything is on such a small scale that it really takes no time at all (in Mom-time, it’s about 1 good baby nap). So, let’s get started!
Making the Top
I’m working really hard on my improv skills…usually things end up being straight strips, no matter how hard I try to skew things! But I always like how it turns out, and it has a really organic, yet organized feel to it that I like.
Note, this is just an overview of how I made my hexi potholder, for the free pattern and a paper pieced template, head on over to my shop and download now!
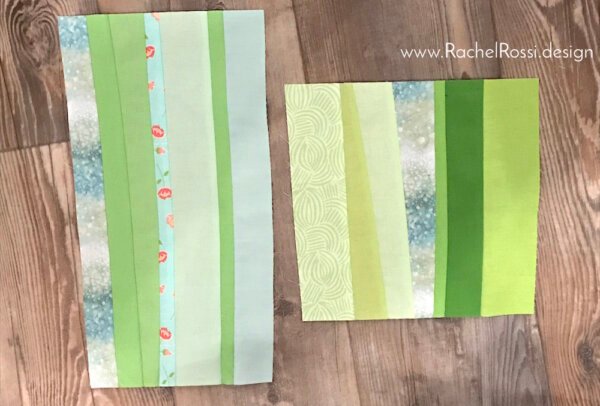
I first started with some green and blue strips cut into random sizes.

Every few strips I cut into “wild cards,” which just means I had one side straight and then cut the other on a diagonal so that I had no choice but to make things imperfect.

Then I started sewing! No certain plan, I just started putting strips together…I know, crazy, right?! The only rule was that I wanted everything to end up bigger than what I needed for the potholder so that I’d have room to play around with the design.

Once I got to a decent sized strip, I pressed all my seams in the same direction. Then I did the same thing for a second strip
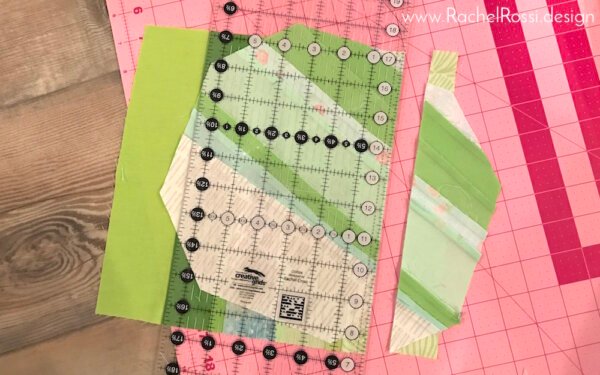
I ended up with some unruly looking strips of fabric, so I cut them down into something a little more manageable:
I had sort of a vision of what I wanted the potholder to look like, so I played around with the fabric in a few different ways and then laid my batting on top. This looked like the right start to me, so I sewed on my solid background fabric to one of my strip sets.

After that, I felt a little lost at sea, so I decided to cut out what I had so far. I simply laid my batting shape on top and then cut around it.

Then I added my second strip set randomly onto my little pot holder top. Eek!
This part was terrifying: I trimmed my seams down to 1/4″ (which involved cutting the pot holder in half, essentially). Then pressed my seams.

Once again, I laid my batting on top of this crazy looking thing and trimmed it down to size

And, there I had my Pot Holder top!

If you’re not feeling super improv-y and like this design, hop on over to my shop and get the paper piecing template with the free pattern!
How to Quilt A Pot Holder
Batting
As I mentioned in my post explaining all you need to know about Insul-Bright, you’ll need some of this amazing material to make a Pot Holder. You’ll also need at least one other piece of 100% cotton batting, I like to use two, just to be safe!
How to Cut an Octagon
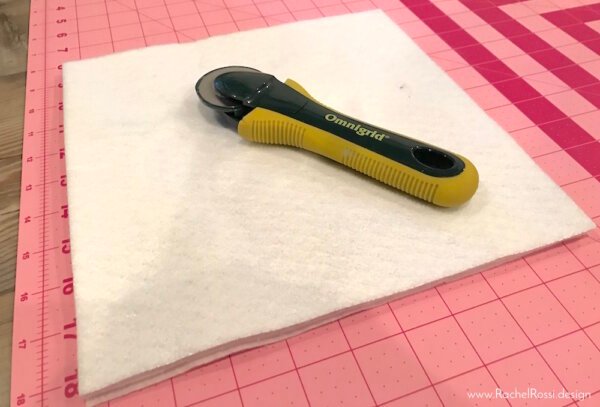
First, cut a 10″ x 10″ square.
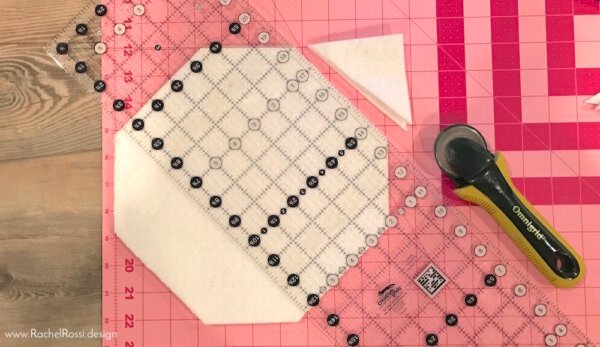
Then make a mark 3-1/8″ from each corner, this means you’ll make 2 marks on each of the 4 sides.
Then, connecting your marks across corners, carefully cut each corner.

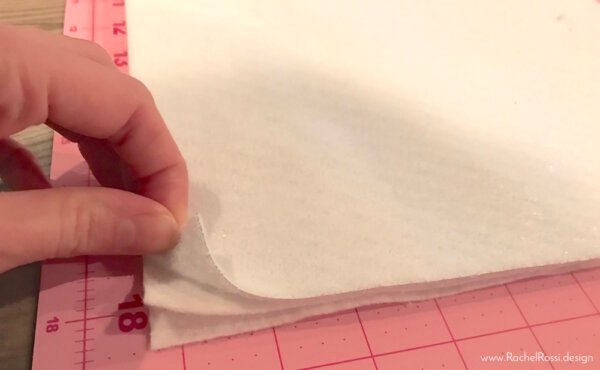
Because there’s so many layers here, I basted my batting together before getting started. Sandwiching the Insul-Bright between two matching pieces of 100% cotton batting.
Then, using a big stitch, I stitched along the outside edges, making sure that everything stayed lined up as I went.

Now onto quilting!
Quilting on Your Home Machine
I’m not one to quilt anything bigger than a baby quilt on my home machine, but small projects like this are so doable (and fun!). I thought it would be neat to quilt in sort of the same way that I pieced the top of the pot holder. I just drew a few simple lines with an erasable fabric marker on the top. Start simple—you can always add more later.

Man…writing on a quilt top is terrifying! Even with a Frixion Pen!
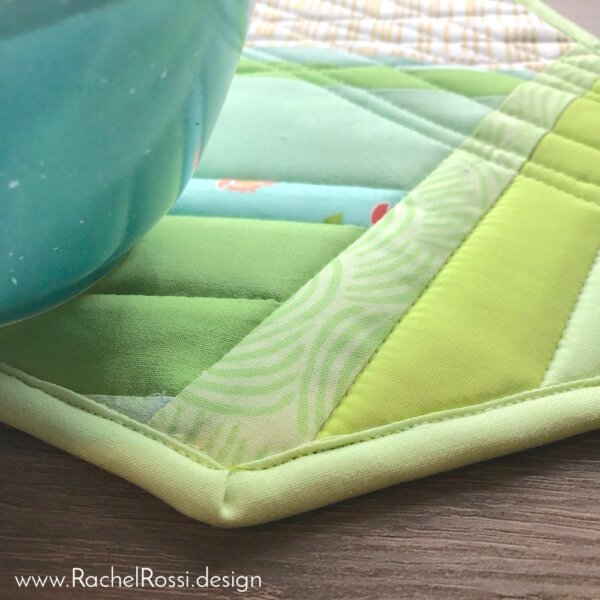
After getting my lines drawn, I used my Stitch in the Ditch Walking Foot to keep things straight.

Once I was done quilting, it was time for binding! You can get a basic binding tutorial on my blog and check out my post on how to bind angled corners, like here on the octagon!
Get Your Free Potholder Pattern Here!
The Oven Octo is free in my shop and includes the paper piecing templates, you can print and make this hot pad today!
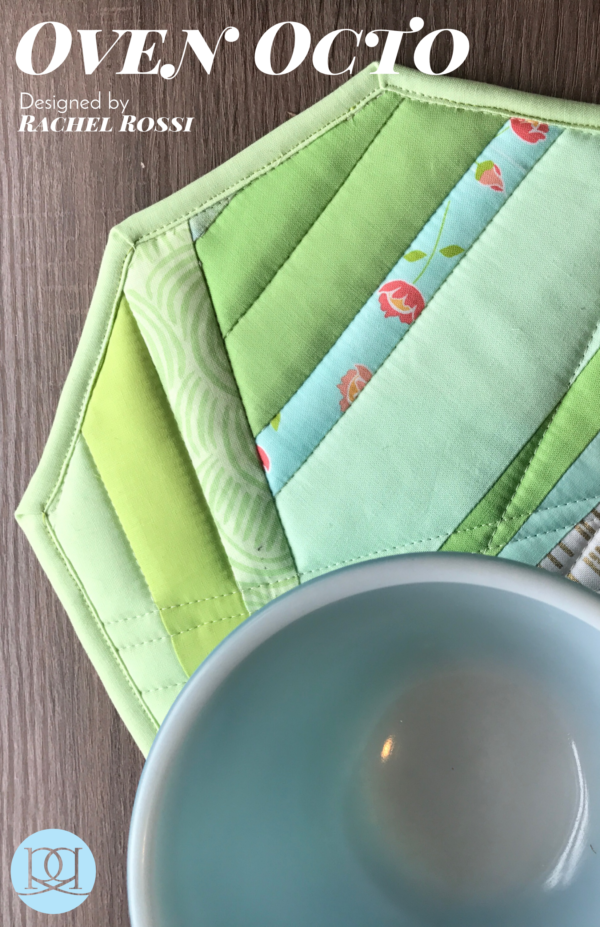
Oven Octo Potholder by Rachel Rossi
Enjoy reading this post? To make sure you don’t miss a thing, follow me on Pinterest, Facebook, and Instagram and sign up for an email subscription to my blog.
What a fun idea. I am one of those that have a hard time throwing away larger scraps of fabric that I really like. So this will be perfect!
I hope I get your potholder in the swap!
See you next time!
Fran
haha- I know I sort of ruined the surprise, but maybe I added a little hype at the same time!? 🙂
I think that this is the perfect kind of project to give a bit to improv a try. Thank you for linking up with the Tips and Tutorials Festival!
This is a fun little project and a great idea for a swap.