Oftentimes, quilting and sewing patterns assume that you know what you’re doing, the words that they are using, abbreviations, and that you already have the necessary tools to create your masterpiece. But what happens when you’re a new quilter, or faced with a new technique that you’re unfamiliar with? Today, we’ll cover some of the most used sewing or quilting wording and techniques that you might not be familiar with. If you’re looking for what tools you might need to get started on quilting, be sure to visit my Getting Started with Quilting Tools post.
Common Quilting Abbreviations & Terms
WOF | Width of Fabric
First on our list of common sewing terms and abbreviations is WOF. WOF means “width of fabric” or from selvage edge to selvage edge (see below for a definition of selvage). Typically, fabric is about 45″ (114.3 cm) wide. The length depends on what you cut from the bolt!

Selvage | The Part You Cut Off
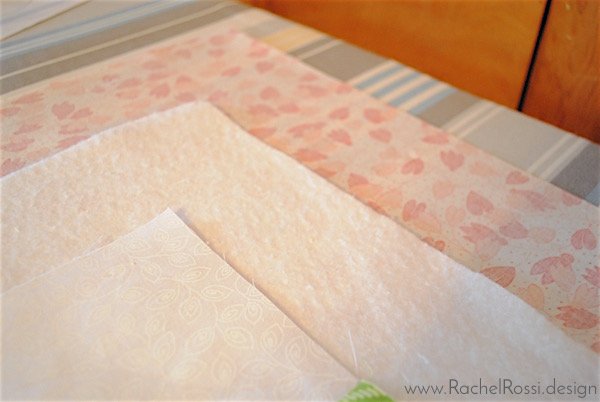
In the image above, do you see the white edge that says designer, company, collection, colors…?The Selvage edge of fabric is simply the white part that runs down both long sides of the entire bolt of fabric. You’ll always cut this part off before sewing, but it is a useful tool prior to cutting and sewing! The selvage edge always lists the vital information for each fabric. It has samples of each color used in the fabric—this is an incredible tool if you’re trying to match different collections for the same project. It’s also always a good idea to save a piece of your selvage edges until your project is finished so that you know how to track down more fabric if you need to.
Square Up A Block | You’ll Be Glad You Did!
Squaring up a block is an important step to every quilt that is often overlooked. Sometimes it is mentioned in the pattern, other times it is assumed that you’re squaring up your blocks. So, always remember to check and make sure that you do this important step! To Square a quilt block, simply line up the block on your cutting mat and using the straight edge of your ruler, trim off jagged edges. I found a great tutorial here for complete instructions.

Common Sewing & Quilting Techniques
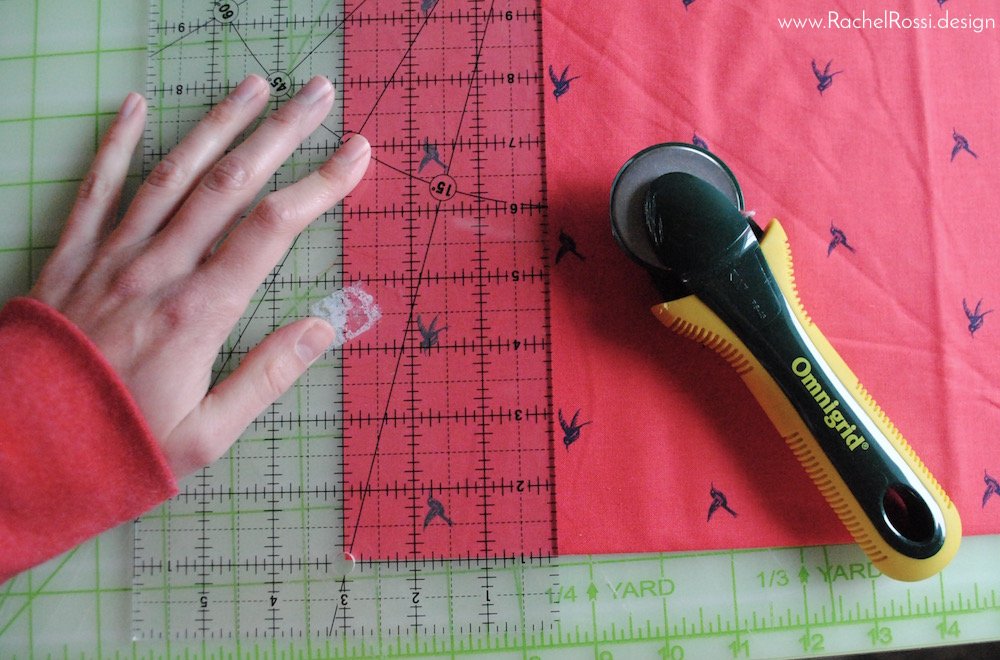
Cutting | There is a Technique!
Cutting out your quilting or pattern pieces is the first, and most important step of your project! If you’re not familiar with cutting, especially using a rotary cutter, make sure to check out my cutting tutorial: Measure Twice, Cut Once. It lists all the tools that you’ll need for quilting and important tips on how to make sure that you are cutting your fabric to be straight.
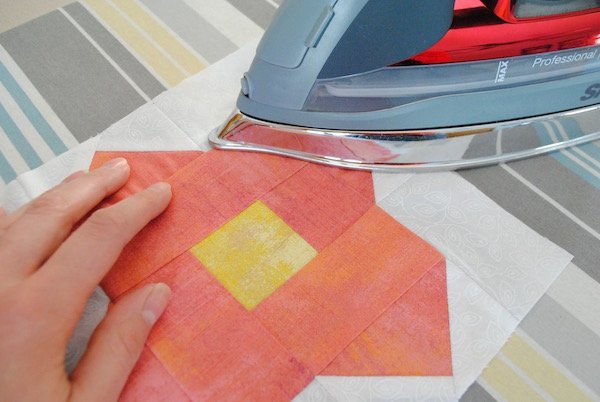
Pressing | Ironing Seams
Pressing is one of the most important parts of quilting. If you don’t believe me, check out my post on How to Become a Better Quilter. There are 2 main terms for pressing seams that are used in quilting. For a better grasp on pressing in general, make sure to take a look at my Pressing Makes Perfect post.
Pressing Seams Out (or Open)
Until recently, I hadn’t liked pressing seams out, but I’m starting to find that this way of ironing your seams creates a really crisp, flat design. All you need to do to press seams out (or open): separate the seam, so that it lays open to either side (like pages in a book) and press. I like to iron the back first and the flip to the front and press again.

Pressing Seams Toward…
Typically, patterns will have you pressing seams toward or away from something (toward the background fabric, or away from the Flying Geese Block). In this case, starting on the back, push the seam in the correct direction and then press with the iron. If using this technique, it’s really important to flip the block over and press from the front once you’re done–sometimes things get bunched up on the other side, and we don’t want that!

Topstitching | Stitches that You’ll See
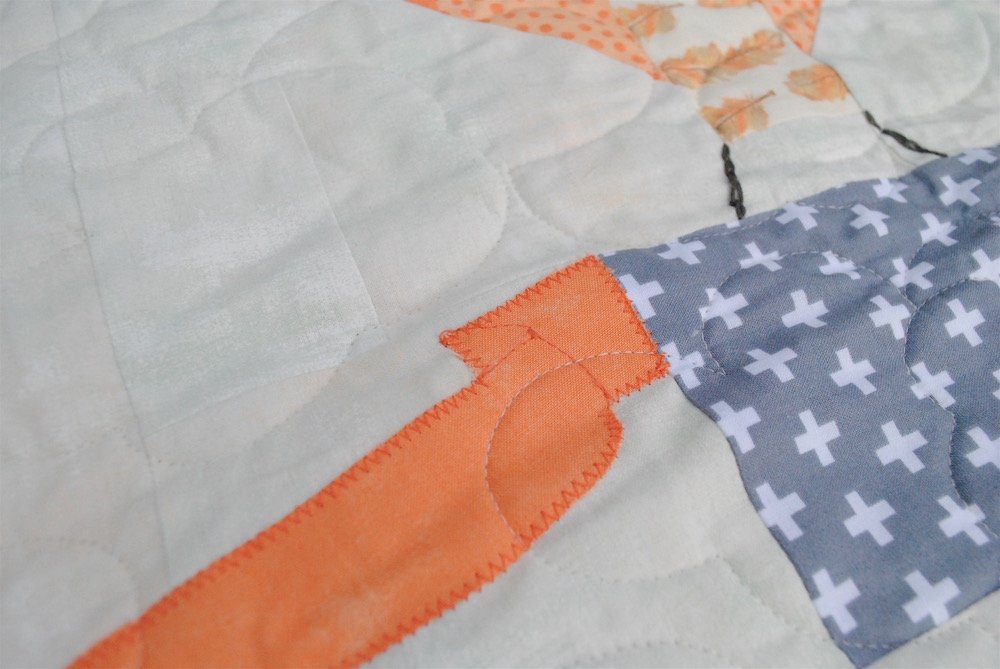
Typically topstitching is just what it sounds like; stitching on the right side of a fabric (as opposed to sewing a hem), where you’ll see the stitching. Topstitching can be done with any decorative stitch or a straight stitch. When Topstitching in a straight stitch, I like to set my stitch to be quite a bit larger. It creates a really nice, even look. Typically Topstitching isn’t structural, it either holds something in place (with the structure hidden inside or behind it) or is purely decorative.
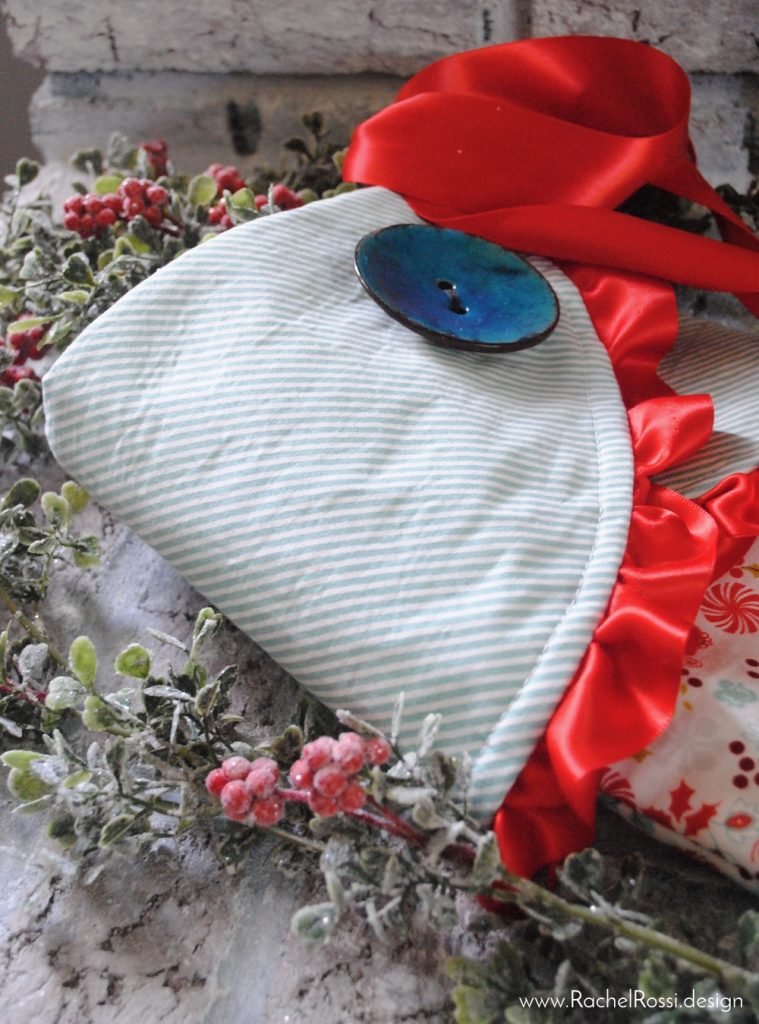
You can see the topstitching around the curved part of the stocking cuff, in the image above.
Appliqué
Applique is a technique that can be done in several ways. Raw Edge Applique is the most common, and what I typically use in my patterns. Stay tuned for a detailed applique tutorial in the near future! For an idea of what it is and how it works, keep on reading:
In my Head in the Clouds Quilt, The Balloons are made from quilting blocks, but the flowing banners are applique!
Appliqué is a quilting technique that allows you to stitch shapes on top of your quilt. It’s great for creating designs that you might not be able to do within a quilt block or strips.
Raw Edge Applique uses Fusible Web. Fusible Web can be found at any fabric store that carries other interfacing materials. It has a sticky fabric (activated by heat) sandwiched between two paper pieces.
The first step in applique is tracing the shape onto the paper side of fusible web, using a pencil. My patterns have already been reversed for tracing, but always make sure that your pattern has the pieces reversed already, or everything will come out mirrored! Next, you roughly cut around each shape. Place your fabric on a flat surface, wrong side up. Peel off the blank paper side and place the web side to the wrong side of your fabric. Press with a hot iron. Then, cut out each shape according to what you traced onto the paper.
To topstitch (see definition above) the appliqué onto your quilt, peel the paper side off your fused fabric, to reveal a shiny side on the wrong side of your fabric. Place onto the right side of your quilt, and press with a hot iron. This will hold the appliqué in place while you sew it on. You can use any stitch you like to topstitch. The most common stitches are a blanket stitch or zig-zag. Then you’ll simply stitch around the appliqué piece, securing it to the quilt top.

What Your Pattern Isn’t Telling You | Quilting and Binding
There are always certain rules and standards in each and every hobby. A standard for quilt patterns is for the instructions to only tell you how to make the quilt top. Once you’ve achieved that, you’re welcome to finish it however you’d like. This is because there are 1,000 different ways to finish a quilt. The two main steps to finishing are quilting and binding.
Quilting
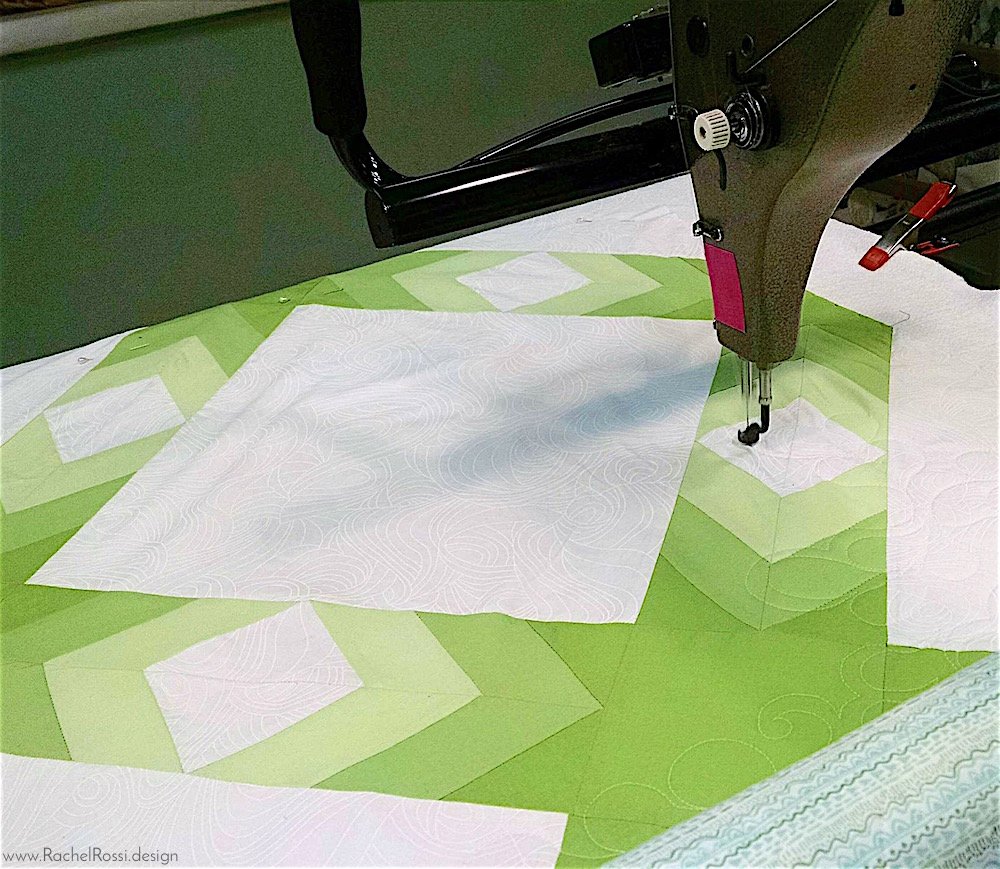
Quilting is simply the stitches that hold the quilt top, batting, and backing together—commonly referred to as a “quilt sandwich.”
Quilting can be done in several ways: you can quilt it by hand, on a sewing machine, or by a professional longarm service. The most common in our day and age is sending your quilt away to be quilted by a professional Longarm Service. Different longarmers have different requirements, so be sure to check with them on what they require for backing and batting. Some require an excess of 4″ extra on each edge and some provide batting as part of their pricing.
If you’d like all the details on different styles of quilting, make sure to visit my How to Quilt post, it will explain all the quilting techniques in greater depth.
Binding
Binding hides all the raw edges after you are done quilting by wrapping around the edge of the “quilt sandwich.” As with quilting, there’s 1,000 different ways to do this. My favorite way is to machine sew on one side and hand sew on the other, this creates a sturdy binding, and I get to enjoy my favorite movie or show while I’m hand sewing.

For a full tutorial on how to bind a quilt, visit my Quilt Binding Tutorial.
What are some common things that you see in patterns that you think should have more explanation? Make sure to let me know in the comments below, it might just get added to the post!
Enjoy reading this post? To make sure you don’t miss a thing, follow me on Pinterest, Facebook, and Instagram and sign up for an email subscription to my blog.